
-min.jpg "How to Make DIY Texture Modeling Paste (Easy Recipe) Learn how easy and awesome it is to make your own modeling paste! Homemade texture paste is perfect for mixed media, stencil art and other fun papercrafting. There's a pretty good chance you have what you need for this diy modeling paste already!")
How to Make DIY Texture Modeling Paste (Easy Recipe)
Learn how easy and awesome it is to make your own modeling paste!
Homemade texture paste is perfect for mixed media, stencil art and other fun papercrafting.
There's a pretty good chance you have what you need for this diy modeling paste already!
Let's get started.

Textured art is totally in--and if you haven't given it a try--you need to!
It's such a fun element to any craft, paper craft, wall art, painting or project to add lots of thick and creamy texture.
It's commonly done with joint compound, but that typically cracks as it dries.
Making your own texture paste is a good substitute for store bought texture paste and you can make so much more quantity with very little expense.
-min.jpg "How to Make DIY Texture Modeling Paste (Easy Recipe) Learn how easy and awesome it is to make your own modeling paste! Homemade texture paste is perfect for mixed media, stencil art and other fun papercrafting. There's a pretty good chance you have what you need for this diy modeling paste already!")
Ingredients Needed for Homemade Modeling Paste:
- 2 parts Acrylic Paint (any color)
- 3 parts Mod Podge (can also use Elmer's glue or white glue)
- 4 parts Cornstarch (Avoid using Baby Powder if it is just Talcum Powder)
- Palette Knife
- Mixing Bowl or plastic cup
- Airtight container for storage (find at dollar stores)
- Stencils/Mixed Media Art Supplies/Colorful Embossing powder or glitter (optional)
 3 parts Mod Podge (can also use Elmer's glue or white glue) 4 parts Cornstarch (Avoid using Baby Powder if it is just Talcum Powder) Palette Knife Mixing Bowl or plastic cup Airtight container for storage (find at dollar stores) Stencils/Mixed Media Art Supplies/Colorful Embossing powder or glitter (optional)")
Step 1: Cornstarch
I'm guessing that you could use a soda-based pastes substitute here, but I have only made this compound with cornstarch.
Cornstarch is such a fine powder, it really gives the paste a smooth finish with thick texture...it does not feel grainy or sandy. (plaster of paris could be a good substitute, but I don't think it's as cheap as cornstarch--try what you have already!)
-min.jpg "Step 1: Cornstarch I'm guessing that you could use a soda-based pastes substitute here, but I have only made this compound with cornstarch. Cornstarch is such a fine powder, it really gives the paste a smooth finish with thick texture...it does not feel grainy or sandy. (plaster of paris could be a good substitute, but I don't think it's as cheap as cornstarch--try what you have already!)")
Add 4 parts of your cornstarch to a mixing bowl.
I'm just making a sample of the texture paste, so I am using a plastic cup.
I measured out 4 tablespoons of smooth, silky cornstarch into the cup.
-min.jpg)
Step 2: Acrylic Craft Paint
I work with Plaid as a Plaid Creator and I love it.
I've been working with Plaid since 2016 and I'm super committed because they have such a wide range of high quality products, awesome support and Mod Podge!
This texture paint can be made with any color of acrylic paint, but I opted for an off white in a matte finish.
My texture paste is ultra matte, but go ahead and experiment with different colors and finishes!
If you shop at Plaid Online, use code: DOODLECRAFT15 for 15% off your purchase!
-min.jpg)
Next add 2 parts of paint to the mixture.
I added about 2 tablespoons of paint into the plastic cup with the cornstarch.
I didn't exactly measure it, I just squeezed it right in until it looked about right.
-min.jpg)
Step 3: Mod Podge
I am using Super Matte Mod Podge, but any of the Mod Podge family will work perfectly.
If you have PVA glue (white school glue), that should work too.
-min.jpg)
Add 3 parts of the Mod Podge into the cup with the acrylic paint and cornstarch.
Again, I just used the honor system and poured it directly into the cup, eliminating waste from pouring into a measuring spoon.
I did one tablespoon at a time and mixed it with the palette knife and then added more until the entire mixture was smooth and paste-like.
-min.jpg)
Step 4: Mix
Mix up the DIY modeling paste until it is creamy, smooth and has the thickness of spackle...or frosting.
Then it is ready to add to canvases, paper crafts and other mixed media art projects.
(please ignore all the kitty-cat scratches all over my arms...my new friends are sharp!)
-min.jpg)
Step 5: How to Use Modeling Paste
After making your homemade texture paste, it is time to use it.
Or it can be stored in an air-tight container and used in the future too.
I'm using it on card stock with a stencil from Plaid.
Place the stencil on the paper and add some modeling paste with the palette knife.
Palette knives are so fun to use and really do help when applying texture to art.
-min.jpg)
Spread the texture paste right over the stencil like frosting.
It's creaminess and smoothness from the cornstarch make this really effortless and quite fun.
Texture paste can be used to add patterns or can be built up on certain parts of a painting to give it visual interest.
-min.jpg)
Once an adequate amount of texture paste is covering the stencil, use the side of the palette knife to scrape off the excess texture paste and put it back in the container for future use.
If you prefer to keep your stencil highly textured, you can just peel back the stencil, but I find that scraping it clean off gives it the most polished and finished textured look.
-min.jpg)
Last step, remove the stencil while the texture paste is still wet. This will make cleaning the stencil very easy.
Then peel back the edge of the stencil and see the textured patterned reveal!
This is always my most favorite part of the whole process!
-min.jpg "Last step, remove the stencil while the texture paste is still wet. This will make cleaning the stencil very easy. Then peel back the edge of the stencil and see the textured patterned reveal! This is always my most favorite part of the whole process!")
Oh, it's so pretty!
The cornstarch gives it texture in a cool, smooth way.
The super matte Mod Podge gives it a plaster-like finish...but the paper is flexible still, without any cracking!
This homemade texture paste is awesome and comes in handy for adding just a big more to a project!
-min.jpg "Oh, it's so pretty! The cornstarch gives it texture in a cool, smooth way. The super matte Mod Podge gives it a plaster-like finish...but the paper is flexible still, without any cracking! This homemade texture paste is awesome and comes in handy for adding just a big more to a project!")
That's it!
Hope you enjoyed this super easy recipe tutorial on homemade modeling paste!
Save and pin this post so you always have this texture paste recipe handy--trust me, you'll be looking for it in the next couple weeks for sure!
Use this textured modeling paste on your next canvas, papercraft or mixed media projects!
Like, Pin and SAVE!!!
Check out more:
Watercolor Galaxy Profile Pocket Notebook

Mini Paper Purse Favors
Make miniature purse party favors that are the perfect size to hold a single Hershey Nugget.
These are perfect for little name cards at a table setting or end of year hand outs.

Classic blue watercolor cards!
These fun cards can be made in any color or all the colors!
They would be awesome with some texture paste and then added color!

Learn Bounce Lettering
Learn how to do bounce lettering in a faux calligraphy way.
Adding flourished hand lettering to any project is always a big win!
Candy is always better when it's wrapped with a little handmade note!
Add some glitter paper and some hand lettering for the perfect last minute favor, gift or thingy.

Make a watercolory mermaid scale notebook for keeping track of important details, sketches or doodles.
This cute notebook is easy to make and just takes a little color and drying time.
It would also look awesome with a little texture paste!

Spring is in the air! Haha, I made this darling sign weeks before there were other things in the air.
So let's focus on the scroll sign with rolled flowers and less on the phrase.
Make a rolled paper flower banner for Spring!


Learn how to fold cute paper envelopes and matching cards using double sided paper.
These cute cards can be sent through the mail and brighten the day of the recipient!
You can make these A2 envelopes out of things you already have, like magazine pages or cereal boxes.


Handmade cards are so fun to make and these stunning floral cards look so fabulous.
I am in love with flower stamps and love making floral themed cards.
Make a stack of floral cards to have on hand for happy mail, sympathy cards, get well soon cards, birthday, anniversary or wedding cards.
These flower cards can cover all occasions.

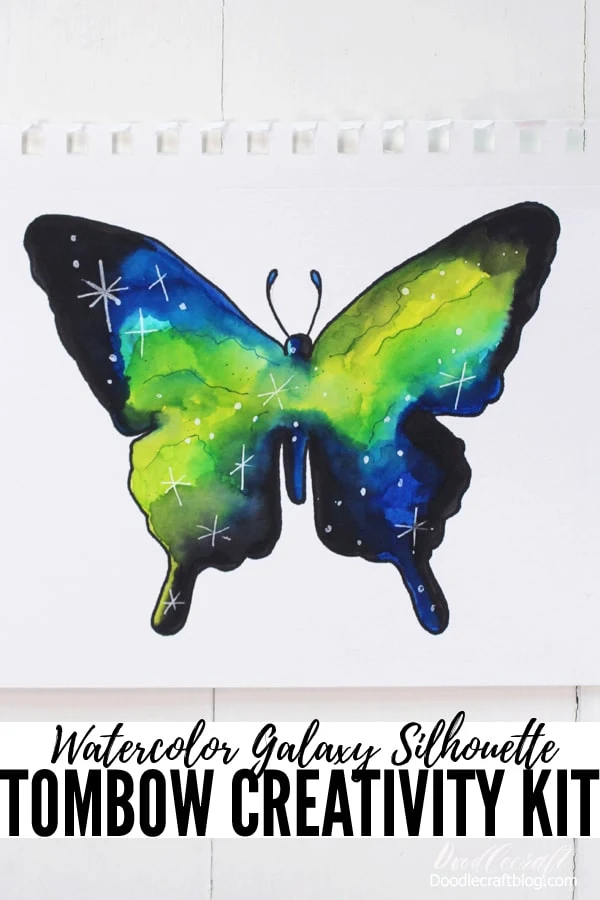
Painting a watercolor galaxy is such a fun technique, and painting them in little crystal clusters is absolutely dreamy!
Geometric crystals are so fun to draw and much more simple than you might think!
This fun craft is easy for all skill levels and great for beginners.

This watercolor galaxy silhouette was designed by Tombow Creator Katie Smith.
She is the queen of galaxies! Check out her work, it's amazing!
This cute card is easy to make and has the perfect pop up heart for a fun surprise for the recipient. Makes a great last minute Valentine, or just a card to send love any day of the week.
Make a cute Valentine Heart pop-up card using patterned paper, cardstock, Tombow Adhesive and Dual Brush Pens.

I love making handmade cards and these Watercolor wash stamped cards are so much fun!
The Tombow Dual Brush Pens add all the colors using a super simple wash technique.
These cute cards are great for Valentine's day or any other day of the week.
Typically I will make a bunch of cards at a time, that way I can keep them on hand for when the occasion arises.
There's never time to make a card the instant it's needed, so having a stash is the perfect solution.


-min.jpg)


Comments