How to Make a Rubber Stamp from an Eraser DIY
What are you doing to fill your Summertime days? If you need a fun craft, carving your own rubber stamps is super fun! Make a stamp and use it on mail, in your journal or let your kids stamp all over paper. This craft is a tricky one, but older kids/teenagers would love it!
I used supplies from
Tombow as part of their Design Team.
Carving rubber stamps is really fun. It takes a few supplies but is super rewarding with a reusable stamp of your own making.
Turn this eraser into a rubber stamp!
Supplies needed:
Tombow MONO Eraser
Tombow MONO Twin
Speedball carving knife set
Tombow Fudenosuke Brush Pen
Hobby knife
Tombow MONO Drawing Pencil
Tombow Power Mini Glue Tape
Clear stamping block
Tombow Dual Brush Pens
White cardstock
Colored cardstock
Step 1: Stamp Image
Begin by cutting a piece of scrap paper the size of the MONO Eraser.
Then, use the Fudenosuke Brush Pen to write “happy” in your favorite lettering style. If you haven’t done hand lettering yet,
Tombow has FREE worksheets to get started.
Next, turn the paper over and fill in the lettering with the pencil.
Then, turn the paper back over and cover over the entire word with pencil.
Set the paper on the top of the eraser with the scribbled pencil side touching the eraser. Then, trace the lettering with the pencil. Press firmly to transfer the pencil graphite. Don’t press too hard to indent the eraser.
Remove the paper and see the graphite that remains.
Then, use the MONO Twin Permanent Marker to draw the reverse image of the word “happy” on the MONO Eraser.
Step 2: Carving the Stamp
Now, the MONO Eraser is ready to carve. If you haven’t done something like this before, it can be tricky. The MONO Eraser material needs to be removed about 1/8th an inch, leaving the black lettering raised.
Start with the smallest carving tip and trace around the written word. Move slowly and carefully, one wrong knick and it will show on the stamped image.
Use the hobby knife to get into the hard to reach places (like the loops of the Y, PP’s, A and H).
When you’re satisfied with the carving, use the Power Mini Glue Tape to stick the MONO Eraser to a clear stamping block.
Step 3: Color the Carved Stamp
Use the side of a Dual Brush Pen to add ink to the surface of the stamp.
Stamp the image onto a piece of paper and see if there are places that need more carving.
Step 4: Make Happy Cards
Now, the carved stamp is ready to use! Make a whole bunch of birthday cards to have on hand as needed throughout the year. Use Dual Brush Pens for the ink. Dab the stamp off on a wet cloth or baby wipe. Stamp a row across a paper cut to 4″ x 5.25″.
Use a MONO Drawing Pen to write a sentiment. This cute stamp can be used for so many happy things!
Next, cut a piece of standard size cardstock in half. Fold it for the perfect card. Use the Tombow Power Mini Glue Tape to adhere the “happy” page on the card.
Super cute and ready to send!
Make a bunch of cute happy cards to have on hand during the year. Then as events come up, you’ll have a card whenever you need it.
That's it!
Like, Pin and Share!
Check out these fun rubber stamp carvings too!
Pineapple stamp
Tardis Stamp
Hogwarts Crest Stamp
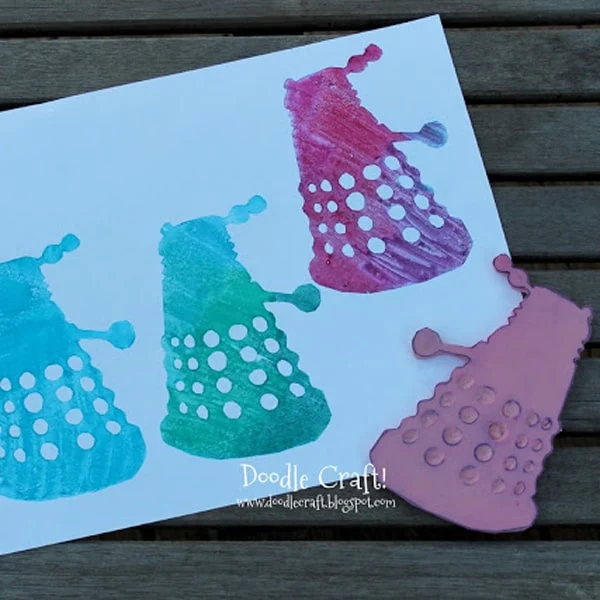
Dalek Stamp


-min.jpg)


Comments