
-min.jpg)
How to Make Sublimation Magnets!
Learn how to make custom magnets using a sublimation printer and Cricut EasyPress. Sublimation is such a great way to make custom handmade gifts.
Sublimation vaporizes the solid ink into a gas state without going through a liquid state. It makes an amazing transfer onto a blank in vivid colors!
I used family pictures to make these cute magnets and love to see my cute family throughout the years.
-min.jpg)
Supplies Needed for Sublimation Magnets:
-min.jpg)
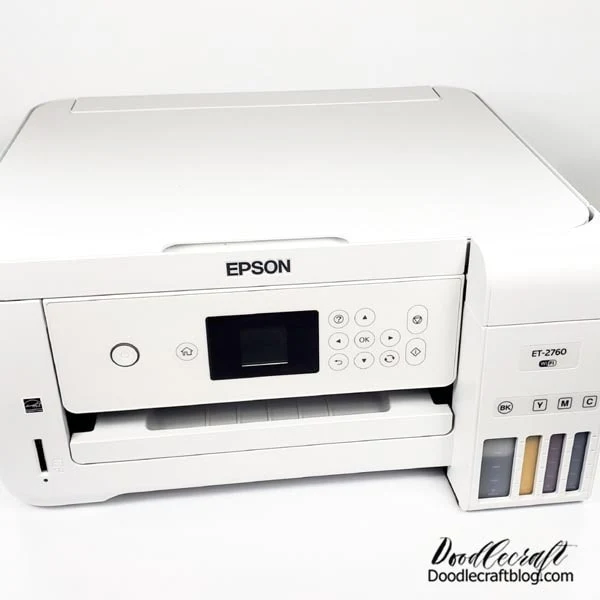
Step 1: Printing!
Begin by setting up your Sublimation Printer if you haven't already. Here's a full post on getting a Sublimation Printer set up.
Reverse the images you are using. I do all my photo prep in photoshop.
Size them to fit on these Sublimation Magnets, 2.4 inches square--or 6 centimeters.
Then print them out on sublimation paper and cut them apart.
-min.jpg)
Step 2: Prep Magnets!
Begin by peeling the clear cover sheet off the top of the sublimation surface.
The sublimation surface comes separate from the magnets, which protects the magnet from exessive heat.
-min.jpg)
Step 3: Tape!
Now place the sublimation surface face down on the desired photograph. Then tape it in place with the heat resistant tape.
-min.jpg)
Step 4: Flip!
Turn the magnet so the sublimation blank is on the Cricut mat and the sublimation paper is on the top.
-min.jpg)
Step 5: Butcher Paper!
Now cover the sublimation stack with a piece of butcher paper.
-min.jpg)
Step 6: Press!
Now press the sublimation blank for 1 full minute at 400*.
-min.jpg)
Step 7: Magnets!
Let the sublimation blanks cool down completely and then peel off the tape and sublimation paper.
-min.jpg)
Then peel off the backing of the magnets to expose the sticky side and place it on the backside of the sublimation blanks.
-min.jpg)
Repeat the process for all the custom magnets you want to make!
These make a great handmade gift!
I love giving custom gifts for the holidays. Sublimation is such a fun way to make those custom gifts. There are so many kinds of sublimation blanks, so the sky is the limit to how many things you can make!
-min.jpg)
That's it!
Make custom magnets for the perfect handmade gifts!
Like, Pin and Share!
-min.jpg)
Check out more on Sublimation Printers and Projects:
-min.jpg)

-min.jpg)


-min.jpg)


-min.jpg)


Comments