

How to Make a Mug with Cricut Infusible Ink in the Oven!
Making a mug using Cricut Infusible Ink is a game changer! Cricut Infusible Ink works on a sublimation ceramic mug and can be done without a heat press in your own oven.
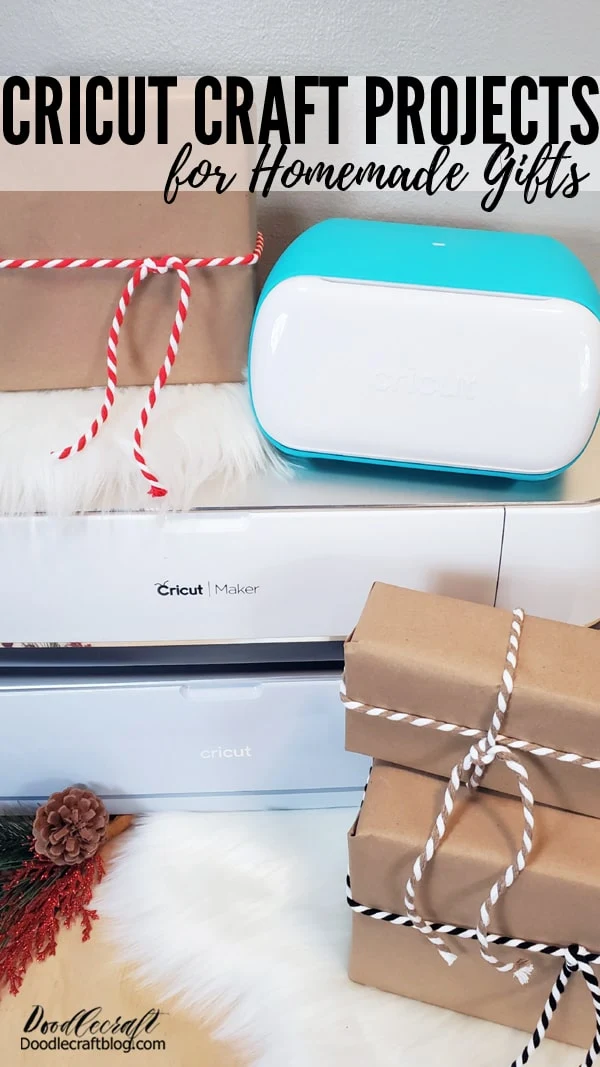
Make a custom mug using Cricut Infusible Ink as the perfect handmade gift.
This post will teach you all about making a sublimation mug using Cricut Infusible ink in your own oven.
The CRICUT MUG PRESS will make mug making a cinch--but here's how to do it without one.

Hi Cutie!
I wanted to wrap the entire mug and leave some negative space with my hand lettering.
I love how the full wrap design turned out! It's so me.
I can't wait to make custom mugs for all my friends.
If you are hesitant about investing in Cricut, check out this post about Starting a Cricut Business!
It's all my tips, tricks and tried/true tactics! (that's a long alliteration!)
Make your craft tools work for you.
I love giving handmade gifts for the holidays, check out my list of 968 handmade gift ideas here!

Okay, let's get started on the benefits of making your own beautiful mugs.
These are perfect last minute gifts; great for teachers, neighbors, friends, coworkers, small business, etc.
I filled them with hot chocolate packets, candy and treats for a great Christmas gift for my friends.

Best part is that this coffee mug can be used in the microwave and washed in the dishwasher safely.
The ink does not budge!
This will work with sublimation ink, sublimation printer, sublimation paper and any infusible ink sheets.
A New Cricut Mug Press is an awesome mug press if it's in the budget, a sublimation oven is awesome too...or at least a dedicated convection oven, but if you don't have those, here's a way to make finished mugs at home using a regular oven.

This fun craft uses a Sublimation blank mug.
This is a special mug with a coating on it that reacts with the ink to transfer it flawlessly, vividly and absolutely seamlessly.
I'm using the 15 ounce mug size...I love the size and the large handle!
***But be cautioned!!!

This was my first sublimation mug using Cricut Infusible Ink...and I did it wrong the first time and it was a gigantic fail. Details on this later.


Let's get started!
Supplies Needed for Cricut Infusible Ink Mug:
- Sublimation Mug (Cricut Mugs are great too)
- Cricut Infusible Ink
- Silicone Mug Wrap
- Cricut Brayer
- Cricut Maker Cutting Machine/mat
- Cricut Heat-Resistant Tape
- Oven
Or CRICUT MUG PRESS

Helpful Tips when working with Infusible Ink:
- Don't rush, make sure you have plenty of time for the project
- Make sure your hands are clean and dry (not sweaty or moist)
- Touch the transfer paper as little as possible
- Don't forget to mirror the image
- The Infusible Ink will brighten after pressing, so don't panic if it's dull
- All instructions can be found at http://infusibleink.com/

Step 1: Mug Design
First step, begin by designing your mug in Cricut Design Space™. I love this geometric colorful Infusible Ink, so I decided to do a mug wrap and use my own hand lettering as negative space.
You can also use premade infusible ink designs, find png files, or an svg file for the perfect mug design.
I like a cheerful mug, especially with these bright colors, so I wrote out hi cutie. I also like it when the mug is just as cute from either side.
OPTION: You can design your own sublimation design using Infusible Ink Markers!

Open Cricut Design Space:
I added a square shape in Design Space and unlocked the ratio so I could make it a rectangle measuring to fit the size of the sublimation mug. It's 3.75 inches tall and 9 inches wide.
Then I set the hi cutie image on both sides, half inch from the edge. Then I sliced it to cut the lettering out of the rectangle.
Repeat for the other side.
This is a little complicated for a first mug, but it worked beautifully, so don't let yourself get overwhelmed.
Mirror the image in CDS and place the ink side up on the Cricut cutting mat. Then cut! (Must be cut in mirror image)
There are so many gorgeous text images in Design Space that you can pick from and use the positive space to make a fun mug too.
The good news is that Cricut Design Space already has a lot of awesome mug wrap designs ready to cut and use.

Step 2: Cutting Infusible Ink
Place the Infusible Ink Transfer on the Cricut Mat and use the brayer to smooth it down. Try not to touch the infusible ink transfer sheet too much.
Now insert the Cricut Mat into the machine and have it cut out the design. Set the material to Cricut Infusible Ink Transfers and it will cut perfectly.

Step 3: Placing Infusible Ink
Use your fingers to peel out the negative space of the cut Infusible Ink. Don't use a hook tool because it can prick ink onto the transfer sheet and it will still show up.
Next, use a strip of Heat Resistant Tape and tape the edge down on the mug. Line up the image around the mug and tape it down on the other side. Tape the Infusible Ink down on all 4 edges.
Pictured here is the first mug I did (the fail), I overused heat tape and covered the entire thing. This is not necessary.

Again, this is overkill on the Heat Resistant Tape, just a strip across the top and bottom to keep the Infusible Ink project from shifting.
****Okay, if you have the MUG HEAT PRESS, this is where it comes in to save the day!
A mug press machine is awesome if you are making a lot of mugs. If you are just trying out one or two, use the oven...if you are going to start a business, get a dedicated machine, a sublimation oven is worth the extra cost in my opinion.

At this point, you can just bake this without the silicone wrap...but I like having it. It holds the wrap on the mug firmly and helps guarantee better print quality without ghosting on the top or the bottom of the mug.
If you don't have one, wrap the sublimation blank with butcher paper and heat resistant tape in place.
Then stretch the silicone wrap around the mug surface and click the closure tight.

***Okay, here's where my fail came in.
I decided to use a toaster oven to bake it. I think because a toaster oven is so small, there is more heat around the mug than if it's in a large oven. It roasted the mug!
The temperature of your mug needs to be about 400*F but the toaster oven wasn't able to regulate the heat properly.
The mug came out brown like a roasted marshmallow. It melted the Heat Resistant Tape and burned the Infusible Ink right onto the mug!
I bought my toaster oven at the thrift store and it just did not work out as desired. I think it would work great for toast, but not for the consistent transfer temperature for sublimation prints on enamel mugs.

What a disappointment!
There may be a way to use a toaster oven, but I don't want to keep experimenting with it. Maybe with less heat or less time...but I don't know--I just don't want to waste supplies.
The sublimation process needs the absolute correct temperature (high heat) in order to achieve the best results...but also, not too hot.
If the BLACK lines on your sublimation design turns BROWN, it was too hot for too long.
If the BLACK lines on your sublimation design turns GREEN, it was not hot enough or long enough.

Step 4: Baking the Mug
So I tried again. I set the mug on a baking sheet and heated my kitchen oven to 400 degrees F. Then I put the tray and mug in our regular kitchen oven.
Just bake for 15 minutes, then remove from the oven.
400*F for 15 minutes
The correct temperature is important, so let the oven pre-heat before placing the mug in the oven.
There is also some internet concern about the off-gassing when sublimation is baked in the oven.
I'm not a chemist and have not researched this...I do recommend a dedicated sublimation oven, as opposed to using the kitchen oven...but this is how well it works!

The mug will be super hot, so be careful!
Wear oven mits or heat-resistant gloves to remove the silicone wrap.
Then wait about 20 minutes to let the mug cool down and remove the Heat Tape and Infusible Ink backing.

Removing the Infusible Ink backing from a cold mug is like Christmas morning, unwrapping the present you are so excited about!
Especially after my big fail, I was eager to see if this worked. It did!

Isn't this beautiful!? The Cricut Infusible Ink becomes bright and vivid!
Works great for different size 11 to 15 oz mugs.
Works with sublimation printing.
Works with sublimation compatible blanks.
Great for permanent designs and tumbler wraps.
This high quality mug is the envy of the cupboard. I love the larger size handles.

Think of all the gorgeous gifts you can make with this fun trick! Just add a packet or 2 of hot chocolate and you have the perfect handmade gift for the holidays or birthdays.
If you haven't given Infusible Ink a try, it's a fun new way to create custom infusible ink mugs for family members, friends or to sell.

Awesome, right!?
Making Infusible Ink Transfer Mugs is so much fun and a great way to create custom gifts or things to sell.
It's great to have a big fancy sublimation set up, but you can create beautiful custom mugs with far less cost and using the kitchen oven.
What will you put on your first mug? Make one and share it--tag @doodlecraft so I can cheer you on!
Like, Pin and Share!

Here's some more helpful Cricut Posts:
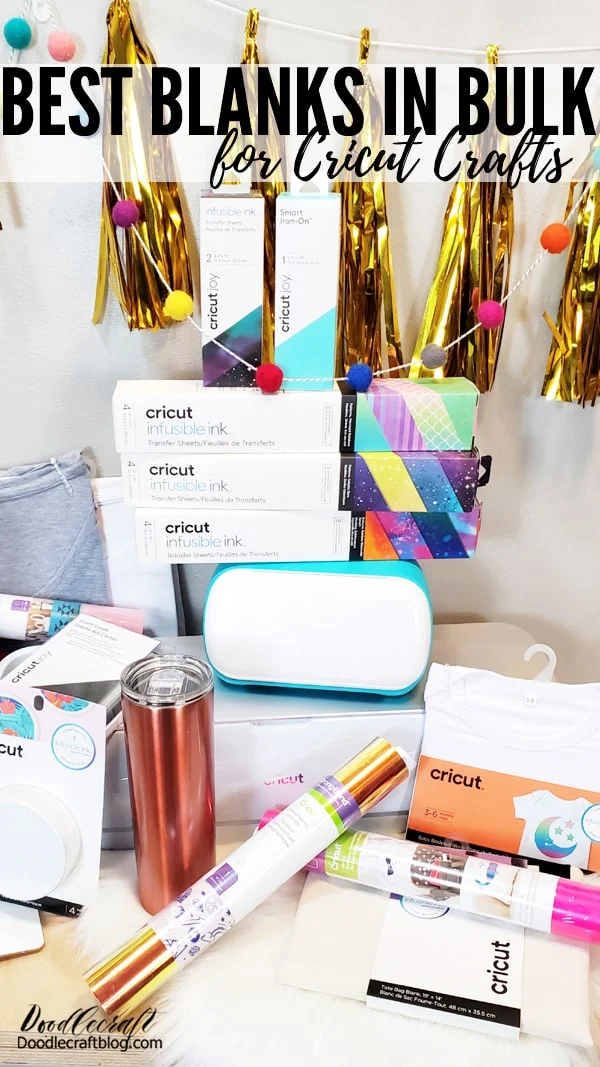
Having a Cricut Machine is awesome! There are so many things you can make, create and customize...but you kind of need other things to do that. Blanks. Things like t-shirts, mugs, totes, acrylic, paper, etc...everyone wants the best blanks, usually in bulk, for their crafting.
I work with Cricut, so naturally I love them. I loved them before I started working with them and sought them out to work together. Cricut is sponsoring this post, all opinions and ideas are mine. Happy holidays!
Of course it's important to get the best blanks...because getting the Cricut Machine needed is a big investment. Let's talk about the variety of tools needed for different applications first.
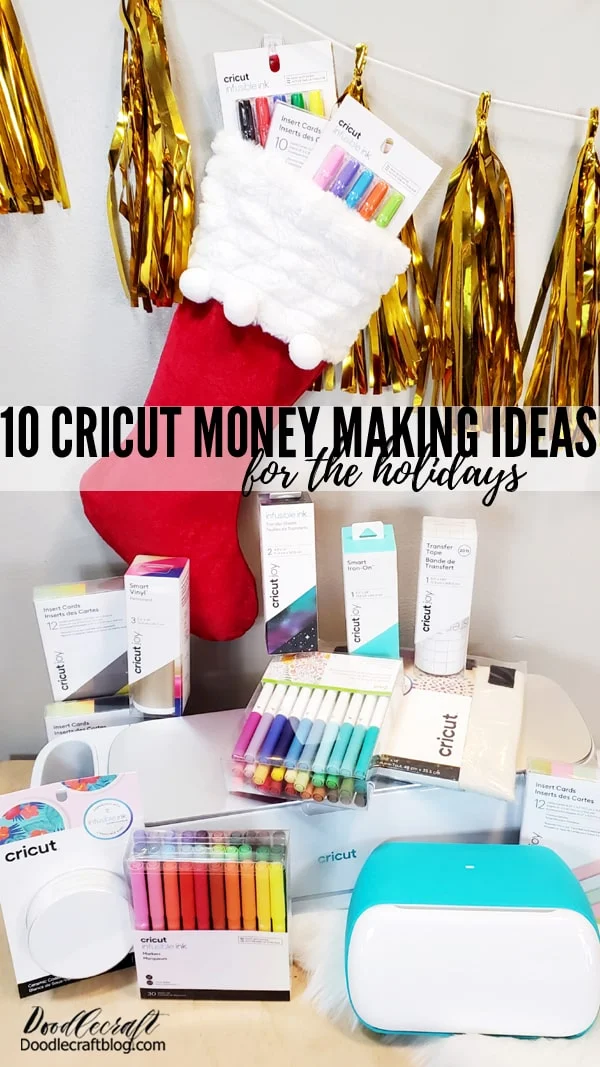
Let's talk about making money from home--I'm going to share everything I know in this blog post about working from home selling handmade goods!
Everyone could use a little extra income--right? I love that I have found ways to earn income from the comfort of raising my children and wearing pajamas. It's turned into a profitable business and I have the best time creating!
I usually like to have a few avenues of income coming in...and this is one of my (and my craft room)'s favorites.

Everything you need to know about starting a Cricut business or side hustle from home.
Learn all the tips, tricks, and all my best advice about starting a Cricut business.
From the best selling items, how to price handmade goods, the business end of things and everything in between!
If you are thinking about making an income with Cricut, save this post--this is for you!

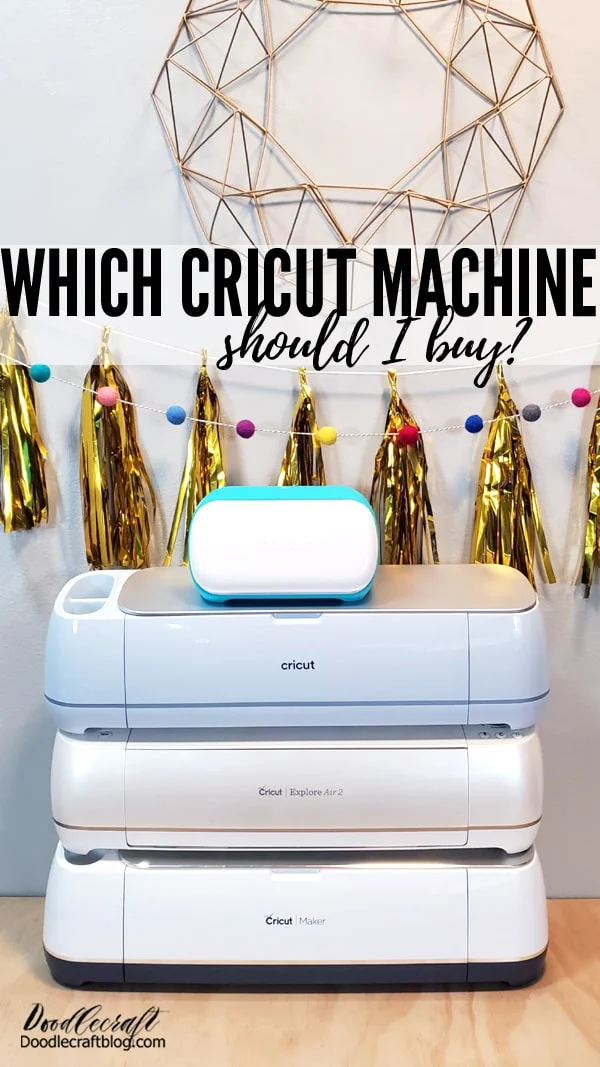
Are you thinking about getting a Cricut? Maybe you already have one. Here's everything you need to know about Cricut.
Cricut Maker 3 or Cricut Maker
Cricut Maker 3 Bundle with EasyPress too!
Getting started, what you can make, ideas of things to make, setting it up, deciding on which machine to buy, starting a Cricut business at home, things to sell, how to price your items and much more!
Any specific questions? Message me or leave a comment!

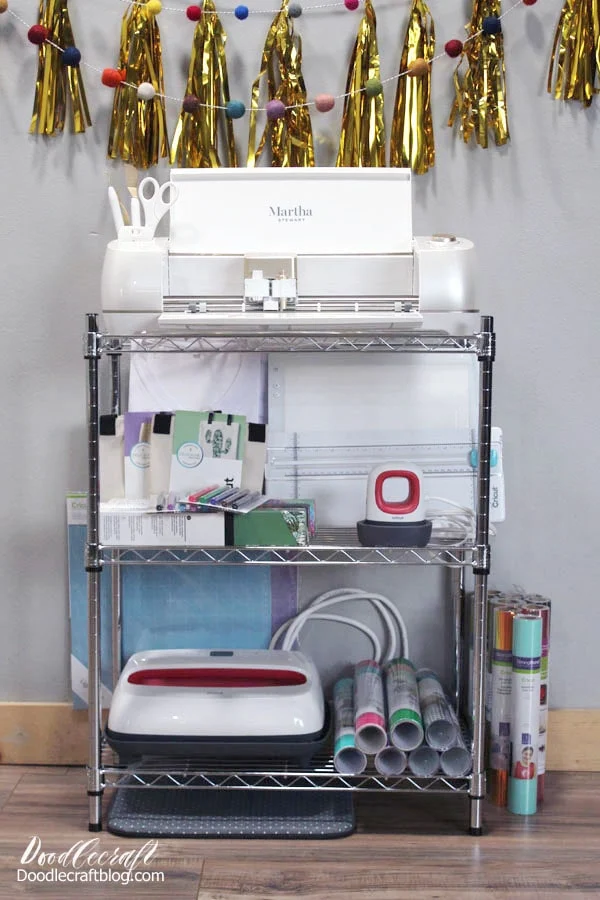
How to Use the Cricut Mug Press:

The Cricut Mug Press is a game changer. I've been making sublimation mugs since last year and love how they turn out...but I love not having to use my kitchen for sublimation. The Mug Press is the perfect size for a craft shelf. It heats up fast and takes about 5 minutes to infuse a mug.

What is the Cheapest Sublimation Printer?
Here's some great printer options:
- Epson Ecotank Printer Converted to Sublimation (8.5x11 paper, this is what I am using--and it's about the cheapest)
- Sawgrass SG500 Printer (8.5x11 sheets of paper)
- Sawgrass SG1000 Printer (11x17 sheets of paper)
-min.jpg)
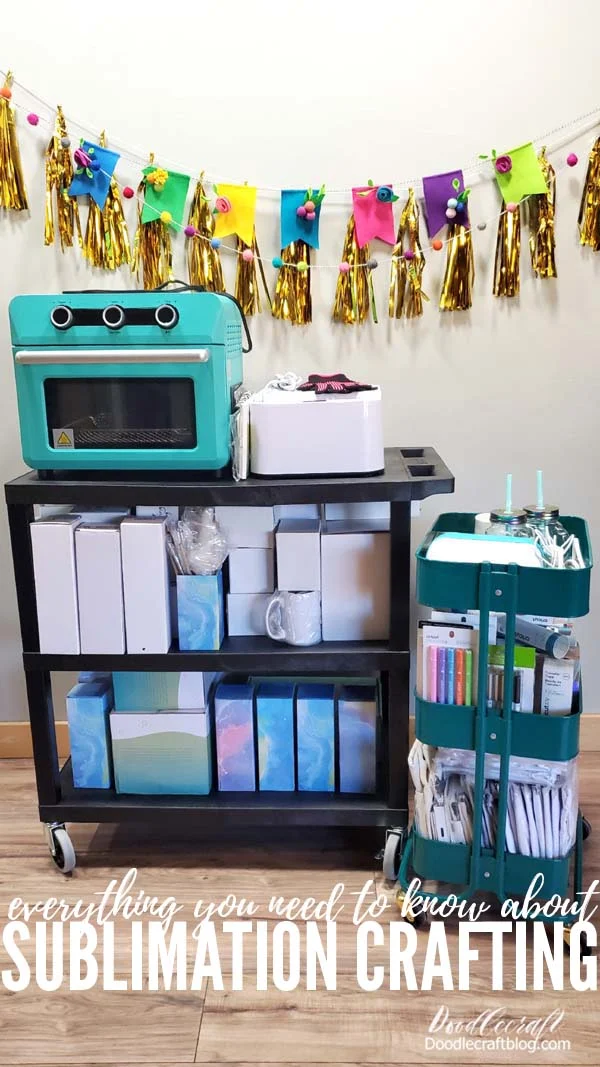
Everything you need to know about Sublimation here:


-min.jpg)


Comments