

How to Make Sublimation Mugs with Child's Art!
Turn a child's precious artwork into the perfect keepsake mugs!
Get a Sublimation Printer and get these fun mugs ready for Easter gifts, teacher appreciation presents, Mother's day, Father's day, birthdays and more!
I'm sure you have stacks of artwork that need to be immortalized into a mug!
Best part. This mug is dishwasher and microwave safe. Woohoo!
Such a great way to turn a picture stuck to the refrigerator into a useful treasure.
These custom sublimation mugs make great handmade gifts too!

This is the greatest project, I love it! Maybe I just love it so much because I made these mugs for my kids for Christmas. But really, I think I made them for myself.
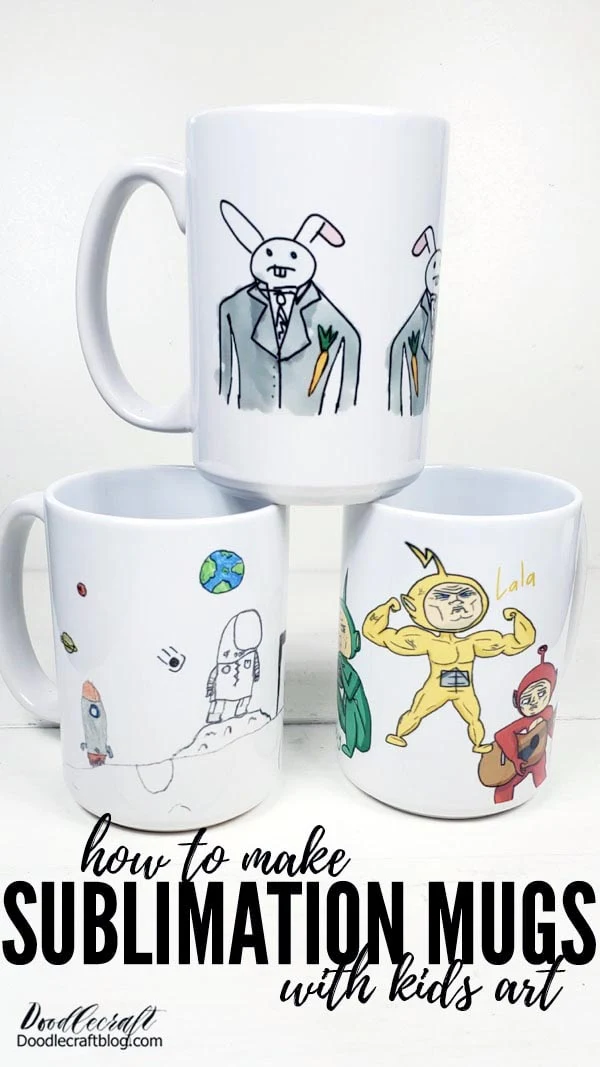
I found old artwork that each of my kids drew when they were little. I had my kids open their mugs as the first gift of Christmas. I started with my oldest son. He drew a character we like to refer to as "business bunny". He laughed when he opened it!
I repeated the image of business bunny 3 times on the mug to fill the space and make it more fun.

Next, I had my youngest son open his mug. His mug has a little astronaut, astronaut doggy and spaceship. I think this is the only picture my son ever drew and colored. I was so happy to find it in his stack of papers!
I love how you can tell he drew this with a pencil and colored it with colored pencils!

Finally, I had my daughter open her mug. She is a YouTube animator! She is making money on her youtube channel, Kazoo Does Art, and has well over 100K subscribers.
She had witnessed my boys opening their mugs and in her repertoire of art projects over the years, she wondered what could possibly be on her mug!?
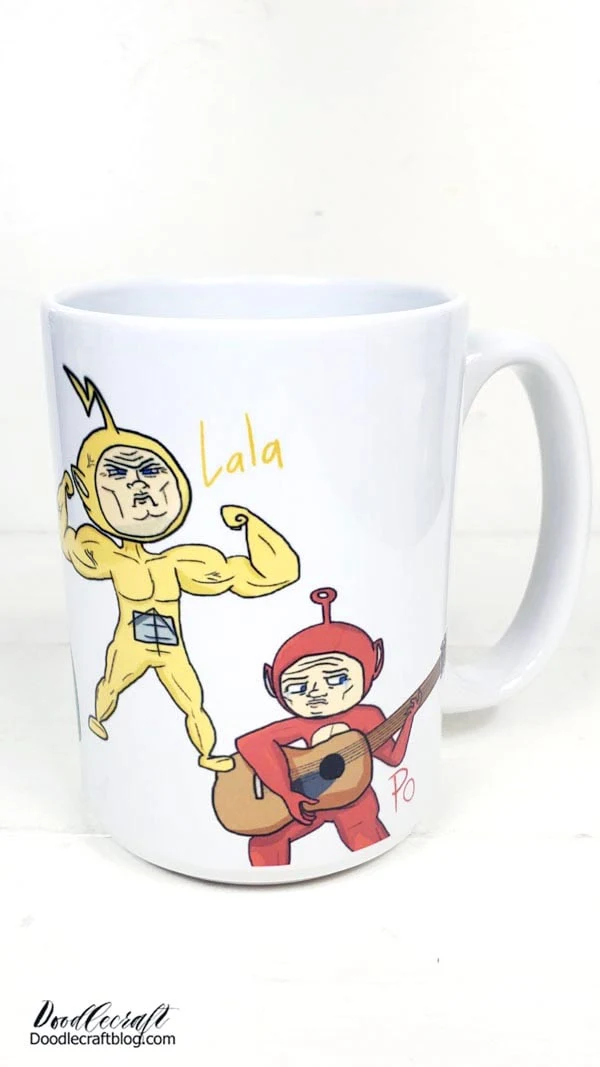
That's right! Her creepy/emo rendition of the Teletubbies! I absolutely love these guys! This looks like a mug you would pay $28 for at Hot Topic!
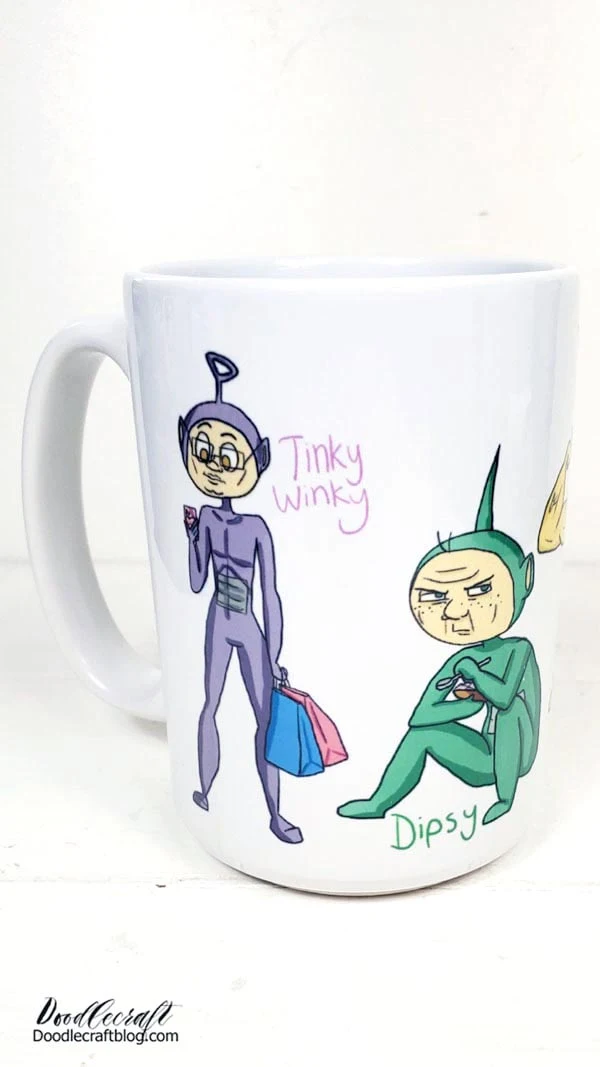
She drew each of them individually, but I scanned them all and combined them into one image for the sublimation.
Don't you just love this!?
Supplies Needed for Sublimation Mugs with Child's Art:
Epson EcoTank ET-2760 Wireless Color All-in-One Cartridge-Free Supertank Printer
Sublimation Paper
Hiipoo Sublimation Ink for EcoTank
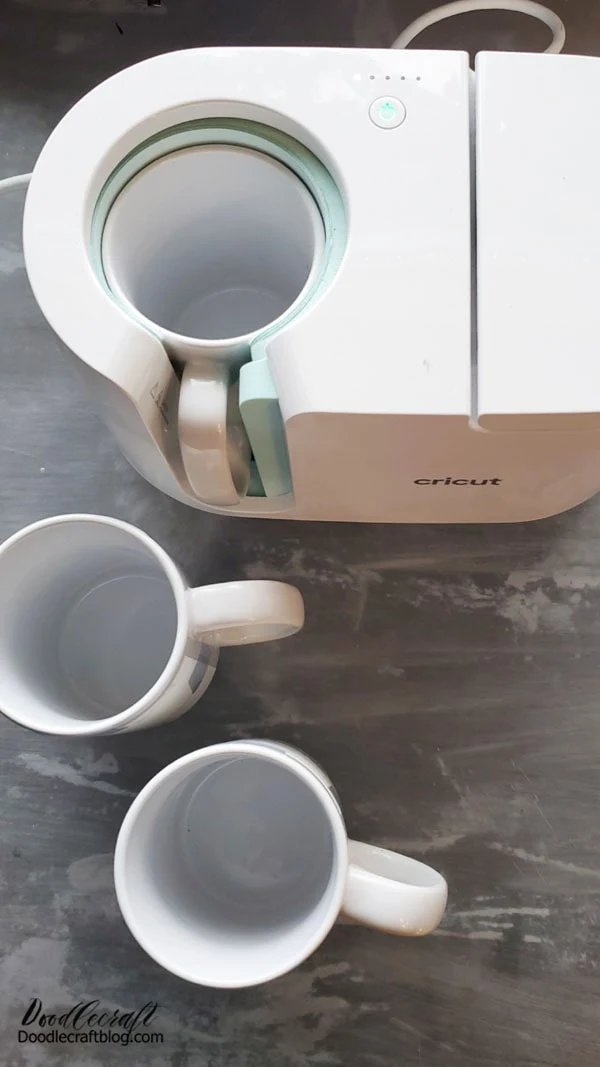
Cricut Mug Press
Cricut Heat Tape
Sublimation Mugs
Kid Artwork (digitized, scanned or copied and then printed with the Sublimation Printer)
Step 1: Set up the Sublimation Printer!
Begin by setting up your sublimation printer. It needs special ink and special paper for use. It sounds complicated, but it's actually very straight forward.
Here's the full tutorial on setting it up.

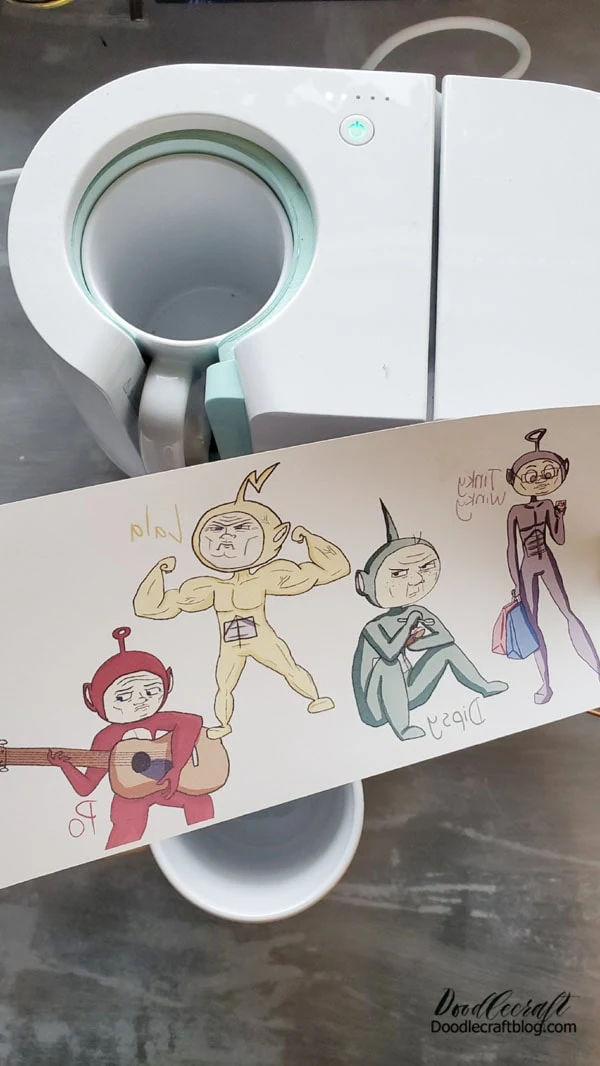
Step 2: Print the Images in Reverse!
After setting up the Sublimation Printer, use the sublimation paper and print out your images--after mirroring them!
That's right, flip the images horizontally so they print reversed. Then when you wrap the ink around the mug, the text and images will be in the right orientation.
*It's the same as using Cricut Infusible Ink for mugs, like on this post.
**The sublimation ink is special and heat activated, so the print out will look very DULL. Don't worry!

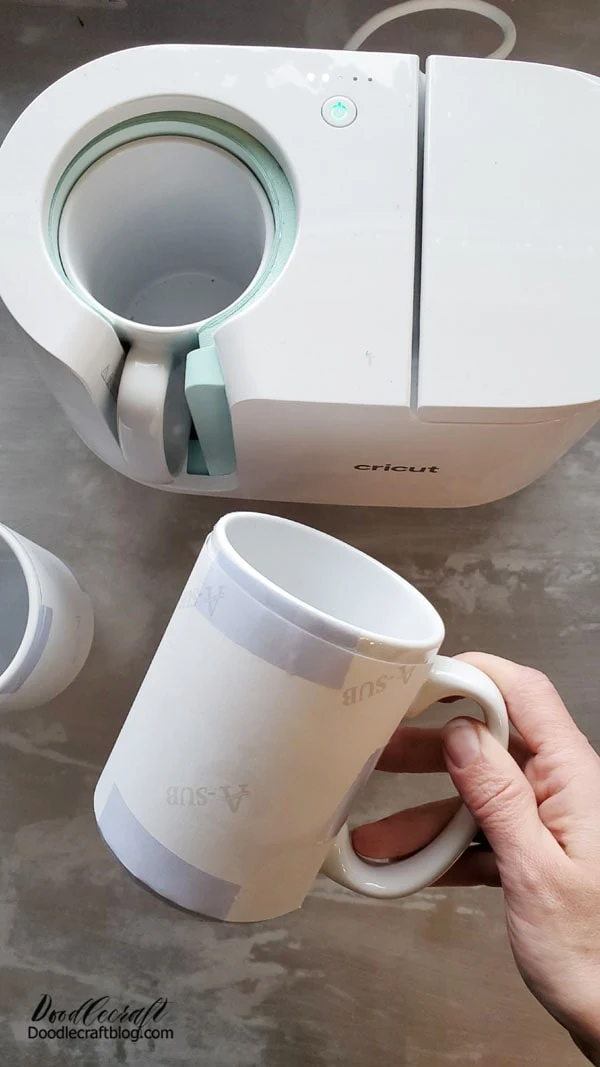
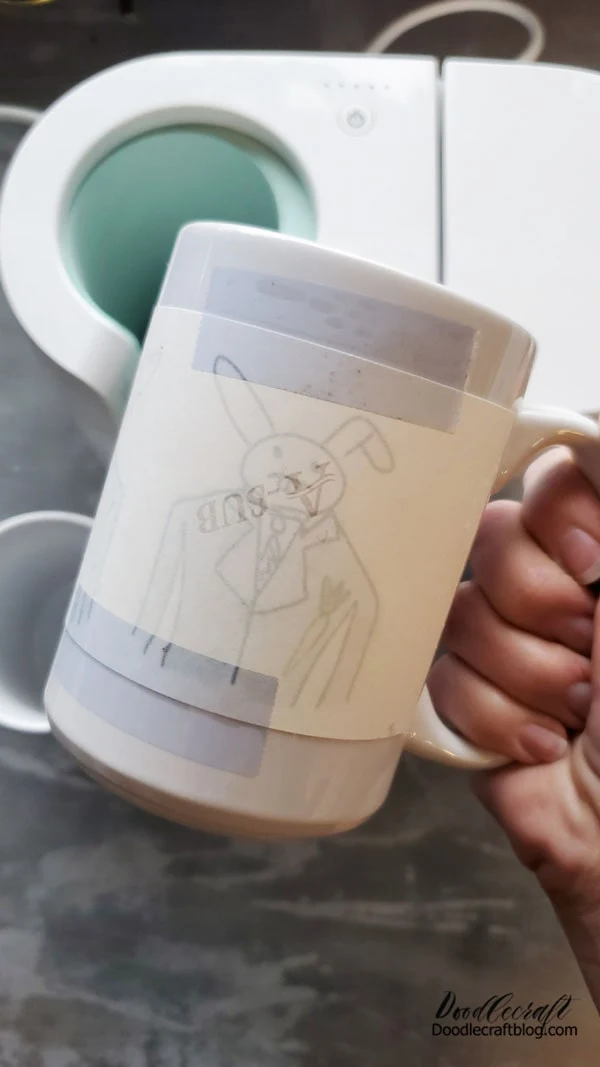
Step 3: Tape Sublimation Paper to Mug!
Trim the sublimation paper as needed to fit the mug. The images should measure 8.5 x 4 inches for these 15 oz. mugs.
Then wrap the image with the ink side touching the ceramic mug. Then use the heat resistance tape to secure it in place on the edges and around the top and bottom.
Step 4: Use the Cricut Mug Press!
Plug in the Cricut Mug Press and wait for it to heat up completely and give the green light that it's ready. If it doesn't begin heating up, plug it into your computer and download the updated driver.
Now insert the mug into the Cricut Mug Press and close the clamp. It takes about 5 minutes to completely heat the mug and sublimate the image. Wait until all 5 of the lights glow and the machine beeps. Then release the mug and carefully remove it from the press.
It's super hot! Set it aside to cool down naturally.
Repeat the heating process for as many mugs as you desire! This is actually a very fast project and can be done between unloading and loading the dishwasher.
But again, let the mugs cool down completely before removing the tape and paper. It's hard to wait, especially because you desperately want to make sure it worked!
I get it. Just do one, then go take a shower, clean up the house, take a cat nap, watch a show or go on a walk...then remove the paper and see how it turned out. Then do all the rest of your sublimation mugs!
Step 5: The Big Reveal!
This is honestly the best part in the whole world! Seeing that childlike art come to life on a mug is so satisfying. Peel off the heat resistant tape and pull off the sublimation paper.

Repeat the reveal process for all your sublimation mugs!
Have I inspired you to give it a try!? This technique is awesome--but there are so many other things you can do with your Sublimation Printer so don't be afraid to invest.
I'll have more fun crafts pop up throughout the year, with a big round up near Christmastime. This same technique will work on any sublimation blank, check out this post for lists of great sublimation blanks. Make sure they are labeled with "sublimation" because they have a special coating that makes them work. Other than that, the sky is the limit!
Shirts, pillows, tumblers, keychains, puzzles and much more! Make the holidays much more personal and "handmade" with photos, drawings and special memories from the past.

Is your head full of awesome sublimation ideas now?
Mine too.
I have so many fun ideas, a craft room literally spilling over with supplies...and limited time. Ugh.
But I'm so glad I made these keepsake mugs for my kids...or me.

Like, Pin, Share and Save off for later!


-min.jpg)


Comments