
How to Set Up a Sublimation Printer!
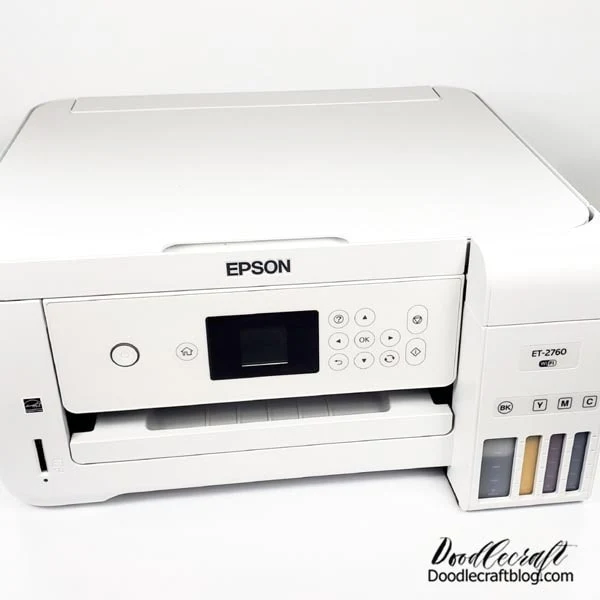
Learn how to set up a sublimation printer for all sorts of fun crafts. This Epson ET-2760 Printer is perfect to add sublimation ink to, so you can transfer seamlessly onto sublimation blanks.
It's easy to get your Ecotank printer set up for sublimation with these simple steps.
**IMPORTANT NOTE:
Sublimation printers are very finicky. They clog easily or fill with air if not in use. Sublimation converted printers need to be printed multiple times each week to keep them maintained.
Set an alarm on your phone and make sure you are printing out a sheet or two every other day or 2 times a week at least.
If you run into a clog issue, it's a bit frustrating (trust me, I know...I'm on my second sublimation printer now)
So keep those ink wells at least 1/3 full--or top them off every time you print...and print often.
Keep a folder with all your sublimation images and they will last forever. Print out patterns, backgrounds, or things to "get to", but be sure to print out much more than what you consider is "regularly".
You don't even need to be printing out sublimation images on sublimation paper...just do a print purge file on printer paper to keep things working great.

This printer is perfect for crafting. It prints out specific ink onto specific paper, so you can apply it to blank surfaces (made for sublimation) using a heat press. This fun technique can transform art into wearables...favorite mantras into drink tumblers...and photographs into keepsakes!
Once you get your sublimation printer set up, the sky is the limit! Let's get started setting up the eco-tank printer for sublimation.
Supplies Needed for Sublimation Printer Set-up:
Or this one:

Step 1: Fill Ink Tanks
Begin by opening up the Eco-tank printer and discarding the ink that is included with the printer. The printer needs special ink for sublimation.
And Hiipoo Sublimation Ink for EcoTank is by far the best and easiest to use!

The ink bottles are made to fit right into the ink ports, so you don't need to use a syringe to fill the tanks. I didn't get any ink on my fingers, but maybe wear gloves to be safe.
Open the sublimation ink bottle and turn it over and click it into the corresponding tank. Then gently squeeze the bottle to fill up the tank.
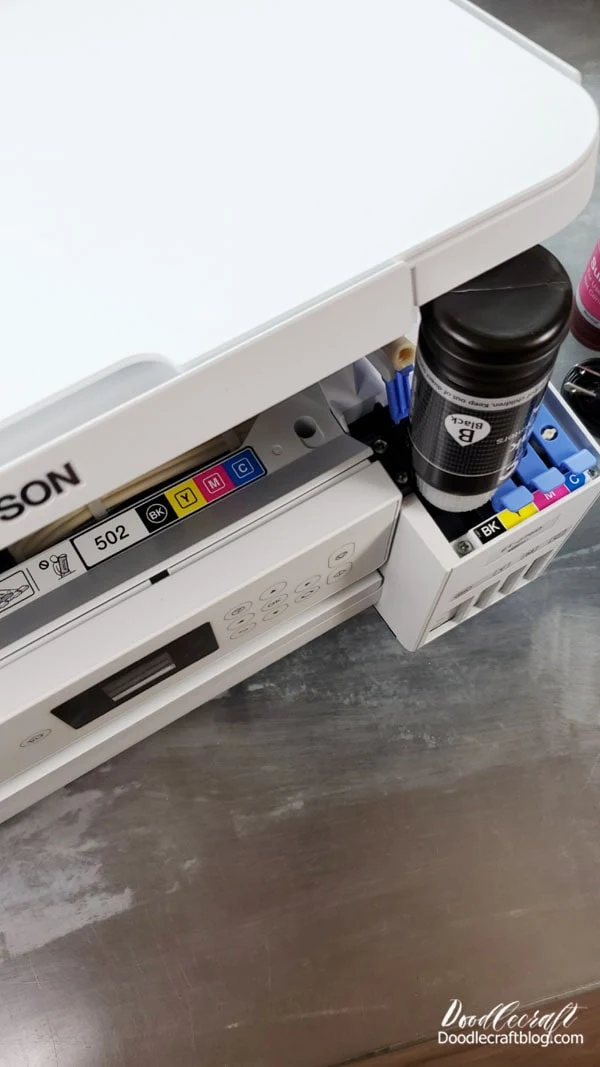
Repeat the ink filling process for each of the tank colors. The blank tank holds more ink than the colors. This process goes pretty quickly...but don't squeeze the bottles hard, let them drip out to fill up with gently squeeze here and there.

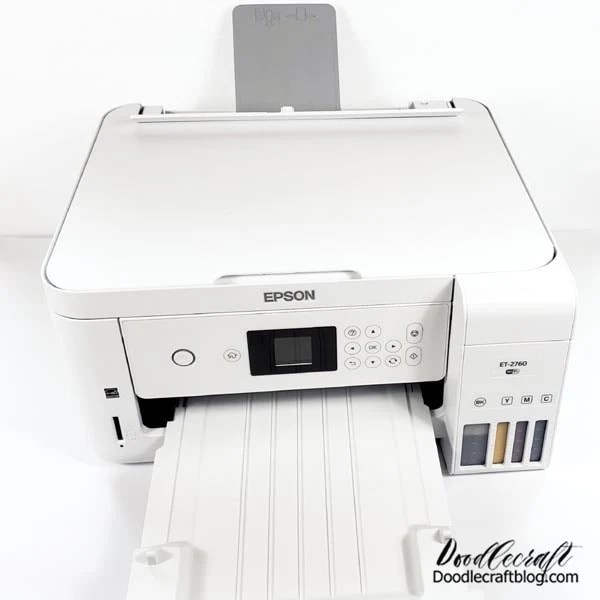
Step 2: Set up Printer
Once the ink tanks are filled, plug in the printer and follow the prompts. I promise, this process is very simple and the Epson printer walks you right through it.
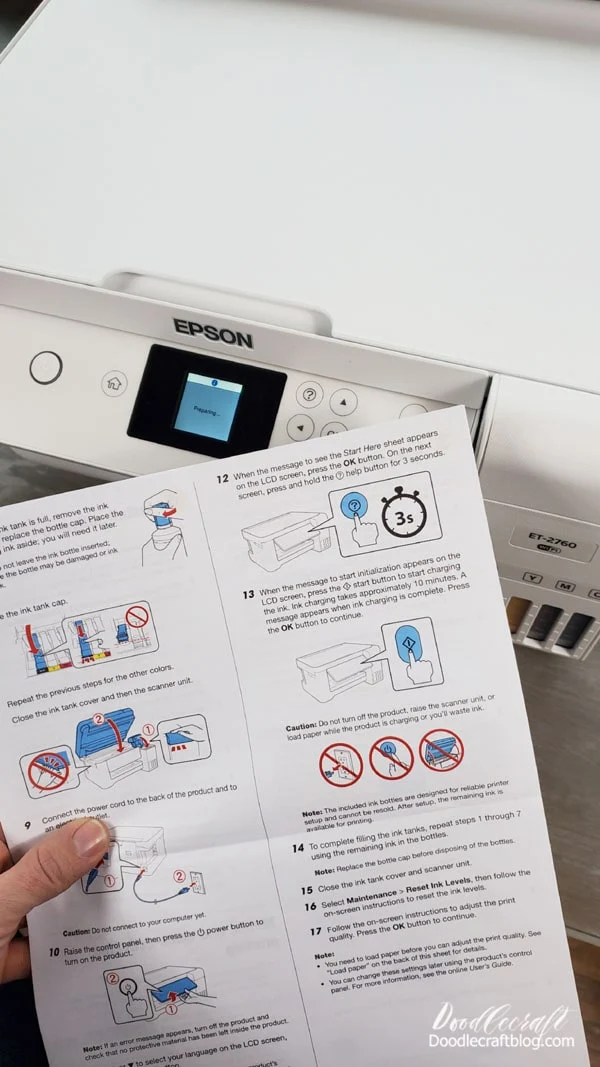
The initialization process really does take about 10 minutes...so stay close, but maybe fold some laundry or load the dishwasher...and wait patiently.

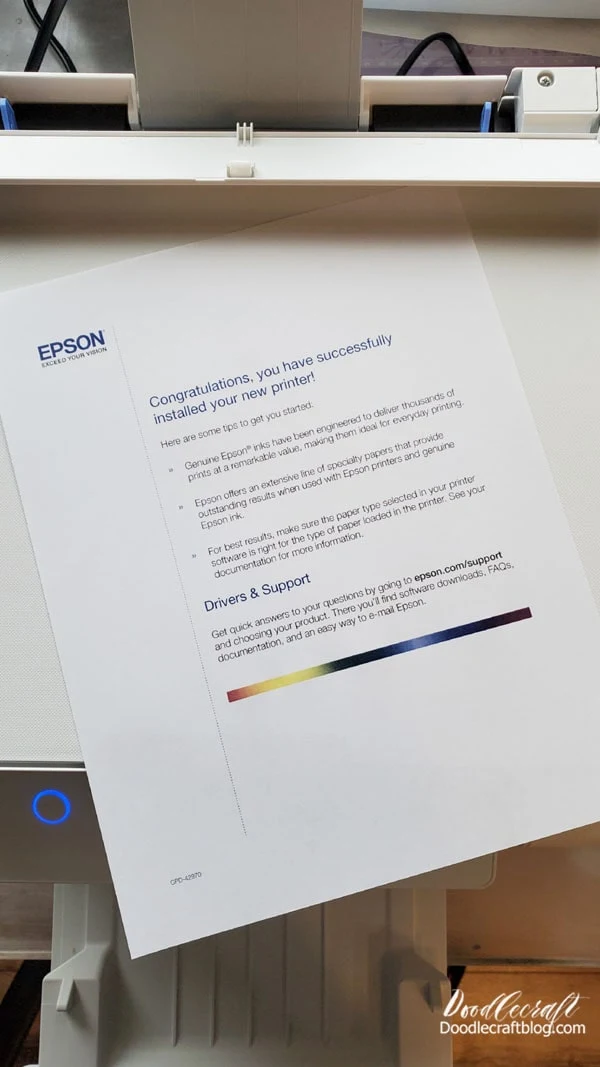
Once it has initialized, it will print a certificate...? So put in a regular piece of paper and let it print it out as a test print.
Now we are ready to hook up the wifi and print our own images, photographs, artwork, etc.
Step 3: Smart Panel
Install the Epson Smart Panel app and follow the instructions to get the wifi connected. Then the printer is ready to use. When working on a sublimation project, print it out on Sublimation paper.

That's it!
Come back Friday to see my first Sublimation Project! You'll love it!
Like, Pin and Share!


-min.jpg)


Comments