How to Make Patriotic Stripes Tie Dye Shirt!
Learn how to tie dye a cotton shirt into a patriotic striped shirt! Red, White and Blue are the colors of Summer--and Tie Dye is the craft of summertime!
This flag inspired shirt is great for Independence day--the fourth of July, family reunions, Summer camps, parades, backyard BBQ's and fireworks!
Summertime is the best time for all the white blue red and tie dye crafts!
Great for wearing to the local parade, sports event, family party or at a fun firework show--or wearing on a trip to Costa Rica or the Dominican Republic, or anywhere that you want to show off your Americana pride.
Make one for everyone in the family, invite over the neighbors, or friends for a fun tie dye party!
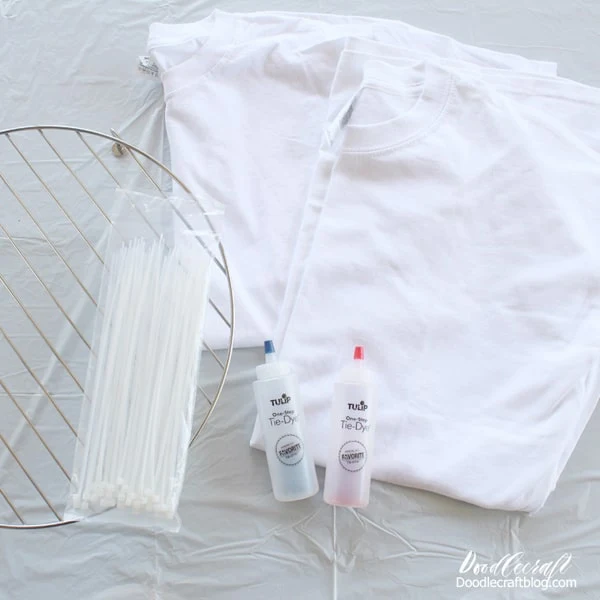
Supplies Needed for Patriotic Tie Dye Shirt:
- 100% cotton white T-Shirt, like Gildan
- Tulip One Step Tie Dye in Blue and Red (regular price isn't bad, but usually has a coupon)
- Zip ties
- Cookie Cooling Rack
- Plastic Table Cloth
- Bucket of Warm Water
- Grocery Bags
Tie Dye Kits sell out fast every Summer!
Here's my favorite dyes in various party sizes:
What is Tie Dye?
Tie-dye patriotic shirts fuse vibrant self-expression with national pride.
Rooted in ancient resist-dyeing techniques--tie dye is not a new product. Tie-dye's resurgence in the 1960s embraced by the counterculture and love collection, seamlessly integrates with American symbolism.
Evoking the spirit of freedom and unity, these shirts symbolize a dynamic intersection of tradition and modernity. Crafted with bold, striped patterns and the iconic colors of the American flag, tie-dye patriotic shirts offer lucky collection of personal style and patriotism.
This fusion of ancient artistry and contemporary aesthetics transforms a simple garment into a wearable celebration of individuality and national identity.
Tie dye is so much fun! It's fun to have a big group of friends get together to tie dye.
Check out this post for hosting a tie dye party and all my tips and tricks to get started--and a bunch of tie dye patterns.
SHIRTS:
If they are not 100% cotton, there can be bleeding (i.e. turning the white part of the shirt pink) or fading. I get emails about this all the time. I cannot guarantee results. My shirts turned out red and white.
Find any sizes s-xl of shirts, use crewneck sweatshirts or even an infant onesie for the unique look of tie dye...if you are hosting a party, I highly recommend unisex fit size shirts so it's easier for everyone to make a shirt...or have everyone bring their own cotton shirts.
Getting Started:
These 2 small bottles of Red and Blue did 2 shirts.
Wet the Shirts:
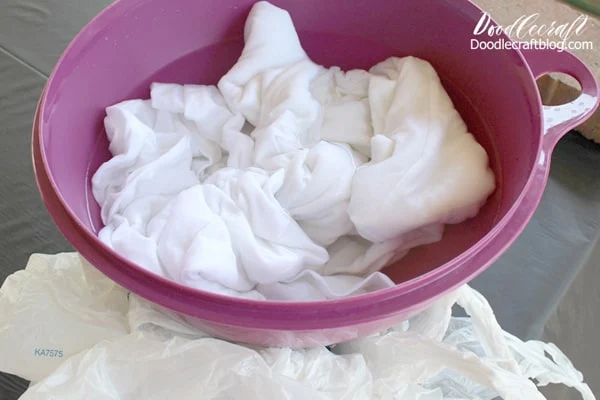
Begin by pre-washing the t-shirts, but don't dry them. Soak them in a big bowl or 5 gallon bucket of warm water until ready to start the dying. Then wring them out to get started.
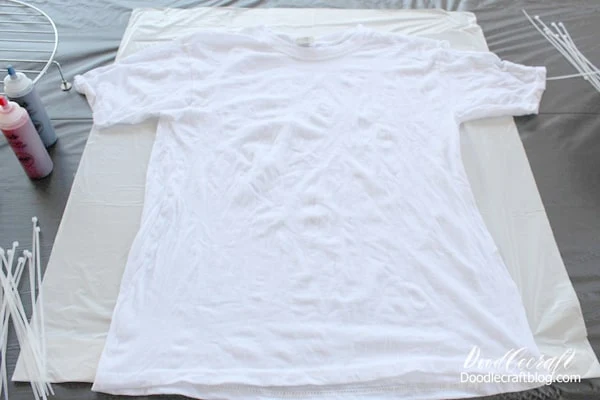
Lay the shirt out on your covered table. The Tie Dye Party box comes with a plastic surface and gloves, but I just used a plastic tablecloth and a garbage bag.
Step 1: Soak and Gather Shirt
Begin by soaking the shirt in some warm water (the dye will take better than with cold water).
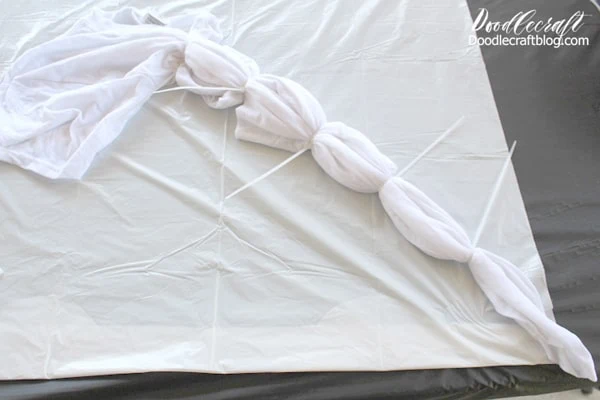
Then gather in a diagonal line from the edge you want to start on to get the unique look of the stars and stripes.
I recommend holding onto the bottom right corner and gathering the shirt in a line from there.
You can also hold at the shoulder and gather in a line.
Here I am starting at the shoulder...if you want to start at the bottom, just start at the bottom corner.
(differences posted at the end of this post)
Tie the Shirt:
Pull the bottom right corner of the shirt and the top left shoulder to begin the gathering process.
Scrunch the shirt along that line.
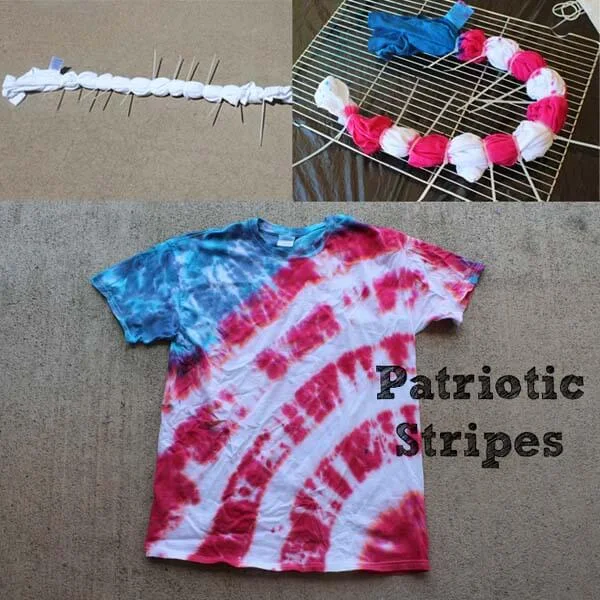
Then add zip ties. The first zip tie should be at the bottom corner and then work the way up to the shoulder...the last section (that will be dyed blue) should include the sleeve and the collar.
I did 2 shirts, one had 3 red stripes, the other had 5...but it should have an odd number of red stripes.
This way the stripe right under the blue is red and the very end of the shirt is red.
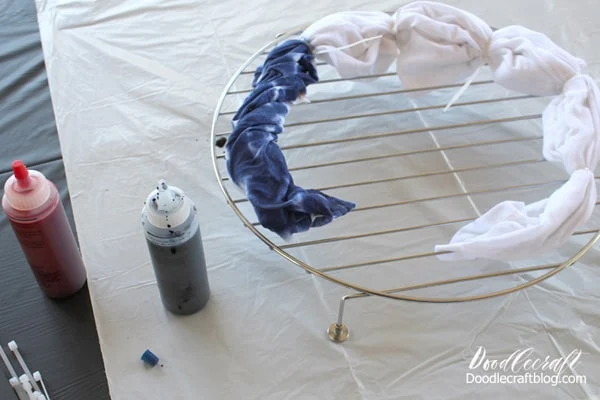
Then place the shirt on the baking rack.
This rack is critical because it keeps the shirt off the table, so the excess dye drips off and the shirt doesn't sit in puddles of dye and mess up the colors.
Step 2: Zip Ties
Zip tie the first tie about 4 inches or so from the shoulder edge, then every 2 inches until the end. You can use rubber bands for this, but I find zip ties are so much easier and tighter.
Or if starting from the bottom corner, zip tie every 2 inches until about 4 inches from the shoulder end.
Just like this. Now the big section with extra room by the shoulder/collar is blue.
Then alternate RED and leave the plain white shirt for the rest of the alternating sections to create this attention-grabbing tie-dye pattern.
Step 3: Tie Dye Time
Wear gloves, work over plastic on a drying rack.
Gently squeeze out the dye in each zip tied section of the shirt.
Dye the Shirt:
Fill the bottle to the line with warm water and shake until well mixed.
Follow the package directions.
Add blue dye to the big section of the shirt.
Add red to the stripe right next to the blue section and then skip the next section to leave it white. Continue this pattern until done.
Then turn the shirt over and fill the backside with the same colors.
Repeat for the larger shirt with additional stripes. These 2 shirts used all the dye in the bottles.
Best Tie Dye Set up:
I like to lay out a garbage bag and then use a baking rack...this will keep the dye from puddling and running together underneath.
Step 4: Wrap Up for Hours
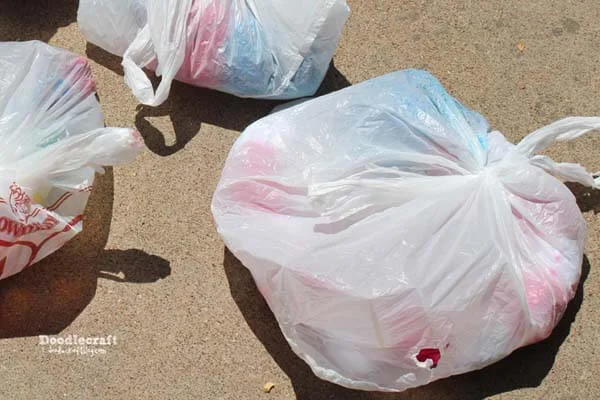
Wrap it in a grocery bag and place in warm area for 6-8 hours. I place them in individual bags and set them in a full sun spot in the yard...and leave them all day...and all night.
Set Aside for Hours:
Seriously, place the shirt in a plastic bag and wrap it carefully so the shirt doesn't touch other parts of the shirt in the bag. Wrapping the shirt in cling wrap is a good way to start too. Then set the plastic bag out in the sun for 6-8 hours.
This part is very critical for the dye to actually set in the fibers of the cotton.
If you rinse too early, the shirt will fade or bleed.
Wash the Shirt:
After the curing time is over, carefully remove the shirt from the bag and rinse in the sink. Use scissors to carefully clip the zip ties off the shirt and continue to rinse the shirt until the water runs clear.
If you are working outside, you can also lay the shirt out on the sidewalk and spray it with the hose to rinse out the excess dye.
Remember, the solution to pollution is dilution!
Then put it in the washing machine on a regular wash. This immediate washing will help the colors not to run into the white stripes or each other.
The dye will lighten slightly after drying. It's so easy and makes such a great shirt! Get a big group together and make a bunch with friends.
This Tulip Tie Dye Party Box has tons of colors that are perfect for loads of tie dye fun!
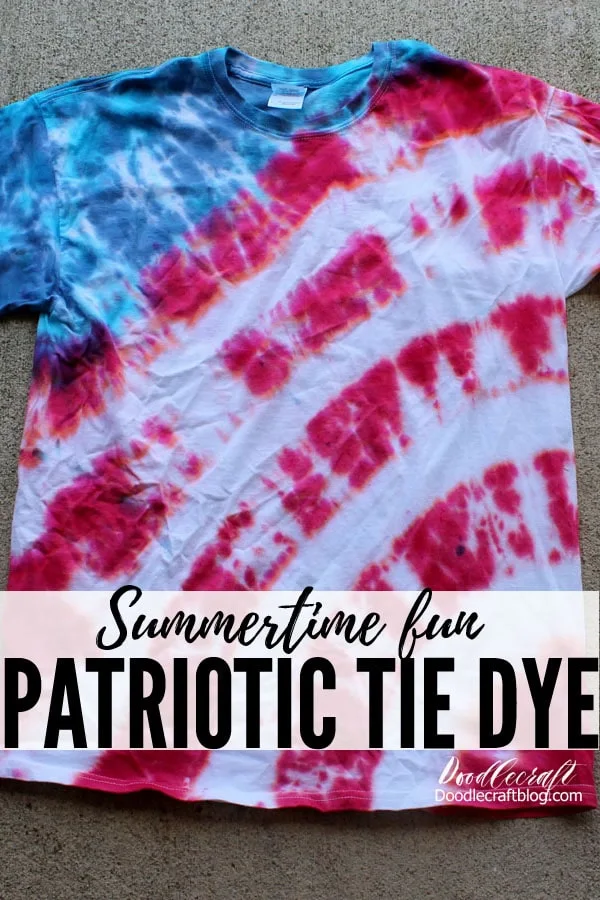
The results are absolutely stunning no matter how many stripes there are!
I love the bold look of just these 3 stripes with the solid blue shoulder taping.
I hope this full page of instructions helps you feel confident making your own patriotic striped tie dye shirts!
Great way to sport the stars and stripes with the general shape of the American flag!
Look close at the wrinkle lines on the shirts below and that
will give you a better idea of how to gather them--no worries though, pattern inconsistencies are part of tie dye!
Pinch off on the bottom right corner of the shirt and work
your way back to the left sleeve for this one:
Or start on the sleeve and work your way to the bottom right corner of the shirt.
Just that wrapping/tying difference will give your shirt the desired effect!
Your wrapping selection results in the curves of the stripes to shine out like sun rays from the top down...or from the bottom up.
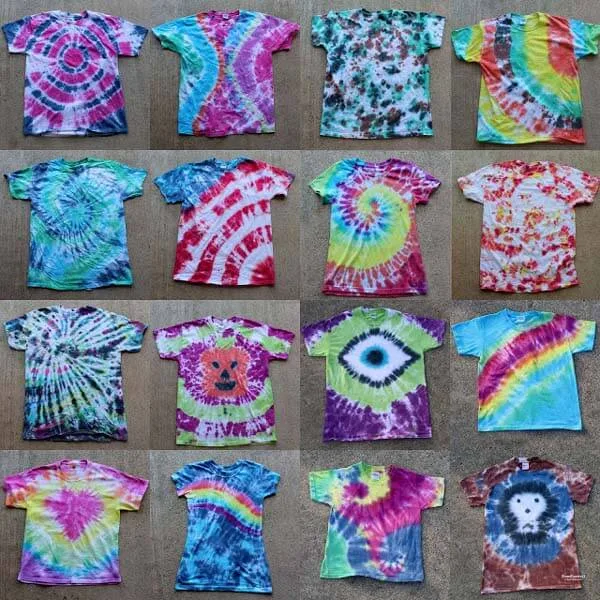
Which of these abstract pattern tie dye shirts is your favorite?
Let everyone make their own in the most unique way to give the shirt their own special character.
Feel free to paint some white stars on the top of the blue tie-dyed section for added stars and stripes vibes!
Summer time really is the best time for doing tie dye because it's so much easier to work outdoors and the heat from the sun makes the colors last better.
I made tie dye shirts in the hot and humid south as well as the dry and arid west, and didn't notice one being better than the other.

That's it!
Like, Pin and Share!
Check out my other Tie Dye posts for more Summer time inspiration too!
Captain America Tie Dye Shirt
Make a Captain America shield Tie Dye shirt using the target pattern tie dye technique in red, white and blue and then add a star with pattern vinyl or freezer paper and paint!
Tie Dye Party!
Here's where the patriotic tie dye (1) appeared for the first time!
Plus all the tips and tricks for hosting a tie dye party with lots of guests.
If you are working with a group, have everyone outdoors line up until it's their turn at the tie dye table, and only work 2 shirts at a time.
Everyone else in the yard rolls around, plays in sprinklers, or some other activity so they aren't dying of anticipation--or heat just waiting.
Halloween themed Tie Dye!
Make fun and spooky themed tie dye shirts with sugar skulls, pumpkins, eyeballs, skulls and bats!
If you can tie it, you can dye it!
Galaxy Scarf!
Use the reverse tie dye technique using black fabric and bleach!
Then add in all the colors of the galaxy and paint on the planets too!
Galaxy Dress!
Find an old dress in need of an upcycle...make sure it's black and mostly cotton!
Then use bleach to lighten it in places and then add tie dye to give it galactic colors!
Add planets with paint or heat transfer vinyl.
Bleach Resist Tie Dye Galaxy!
More bleaching tie dye, but this time with an image to resist and leave behind bold black!
Mermaid Scale Tie Dye Shirt
Using glue to draw the fish scales on a cotton shirt and then adding the tie dye colors worthy of a sea creature to make the perfect summertime shirt!
Tie Dye Tote Bag Party
Get 100% cotton tote bags and tie dye them!
This is perfect for a party because you don't have to know everyone's shirt size and have them ready for guests.
Just buy a stack of cotton bags and let everyone tie dye their own perfect party favor!
Tie Dye Galaxy Shoes
Get some white shoes and turn them into the best shoes in the galaxy with a little tie dye!
I heart heart The Doctor!
Make a double heart tie dye shirt, perfect for a sugar skull...or for Doctor Who's double heart.
This fun shirt is perfect!
Tie Dye Pajama Party
Host a fun party with friends and tie dye pajamas!
In this case, oversized shirts.
We started these early in the morning and washed them out right in time to have them dry for bed...hence the dark picture!















-min.jpg)


Comments