
-min.jpg)
How to Make a Back-to-School Sign with Cricut!
Get your classroom, teacher gifts or homeschool room ready for another year of school with a motivational sign made with Cricut!
Today's Readers are Tomorrow's Leaders!
Get your Cricut, vinyl, some colorful craft paint, a wood base, wood beads and ribbon and let's get started on this simple sign!
-min.jpg)
I love a motivational sign like this.
I was a big reader and loved reading the signs at school and especially in the dentist office. I still remember what one of the signs said, "You don't have to floss all your teeth--just the ones you want to keep!"
So these little signs can do a lot for the inquisitive little minds.
Perfect teacher gift for back-to-school!
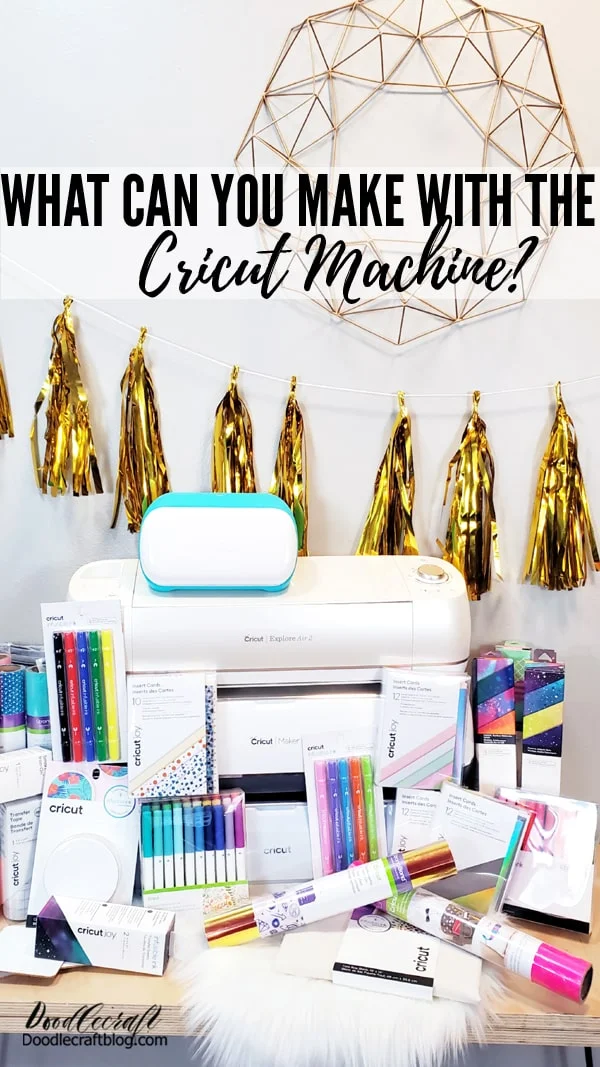
Do you have a Cricut Machine yet? They are amazing and can be used for so many things.
Cutting vinyl is the perfect beginner craft for a Cricut machine.
I love my Cricut Maker 3 because of all the different things it can do and cut.
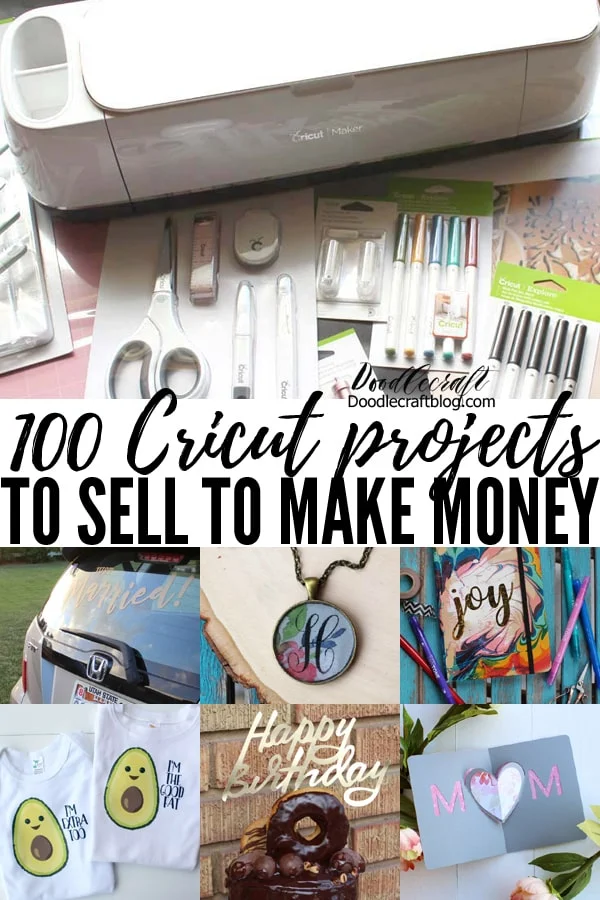
Check out this post on 100 things you can make with your Cricut!
-min.jpg)
Supplies Needed for Back-To-School Sign:
- Cricut Maker 3 or Cricut Maker
- Wood Tray Base
- Cricut Permanent Vinyl (Black)
- Transfer Paper/Tape
- Acrylic Craft Paint (Pink, Gray, Yellow, Beige and Black)
- Paintbrush
- Wood Beads
- Twine
- Colorful Ribbon (this school themed ribbon is so cute)
- Hot Glue/Gun
- This CRICUT DESIGN SPACE PROJECT
-min.jpg)
Step 1: Cut Vinyl
Load the black vinyl on the cutting mat and cut the text and pencil silhouette design.
Then cut the text apart from the pencil.
The pencil is used as a stencil.
Remove the positive space of the pencil, leaving the negative or the outline shape.
Cover the vinyl stencil with transfer tape.
-min.jpg)
Step 2: Place Vinyl
Place the vinyl on the wood base.
Check before placing how all the pieces will fit on your wood base.
The wood base I am using is the perfect size for the text and pencil, but you may need to alter the sizing in the program or cut the text out differently.
-min.jpg)
Press it down smoothly and remove the transfer tape by rolling it back over itself instead of pulling straight up.
Smooth down the vinyl as you go.
-min.jpg)
Step 3: Paint the Stencil
Now use a paintbrush and the craft paint to paint the pencil.
Paint the body of the pencil yellow.
Paint the eraser of the pencil pink.
Then paint the wood part of the pencil beige.
Next paint the metal ferrule gray.
-min.jpg)
Finally paint the pencil lead/graphite black.
-min.jpg)
Then, while the paint is still wet, remove the stencil and discard it.
-min.jpg)
Step 4: Text Vinyl
Now weed the text vinyl.
Discard the negative space vinyl, leaving the text.
Careful to keep all the dots and apostrophe's.
Remove the insides of loopy letters like a, d, r, and e's.
-min.jpg)
Step 5: Place Text Vinyl
Now cover the text vinyl with transfer tape, smoothing it down as you go.
Start on one side by sticking it to the table surface and then the vinyl sheet.
-min.jpg)
Then trim the vinyl and the transfer tape so it's a little easier to place inside the wood tray frame.
-min.jpg)
Line up the vinyl text inside the tray after the pencil paint is completely dry.
Then start at the top of the vinyl and smooth the text down as you go, removing any bubbles.
Rub gently with the scraper tool to adhere the vinyl to the wood board.
-min.jpg)
Then peel off the transfer tape by rolling it back on top of itself, rather than pulling straight up.
Smooth the vinyl text down as you go.
-min.jpg)
Step 6: Wooden Bead Hanger
Now thread a few wooden beads on some twine and hot glue it to the back of the sign for a hanger.
-min.jpg)
Cover the twine and hot glue with a little ribbon.
This will make it look better and help it hold tighter.
-min.jpg)
Step 7: Ribbon Bow
Now take the ribbon and make a bow to hang on the wood bead hanger.
Here's a tutorial on bow making.
-min.jpg)
Add a few pieces of brightly colored ribbon under the bow and secure them with another piece of ribbon or a wire.
-min.jpg)
Then tie the bow on the wooden bead hanger and hot glue it in place.
-min.jpg)
You could finish off the bow with a cute button or gem too!
-min.jpg)
That's it!
This cute motivational Back-to-School sign is ready to gift to a teacher or hang up in a classroom!
If you don't already have a Cricut Machine, this is a great time to get one!
They are so useful and can even be used to start a small business with Cricut!
If you've got one, now's a great time to stock up on Cricut Materials!
Hope you love this back-to-school sign.
I love this statement, Today's readers are tomorrow's leaders. It's so true!
Make this sign and give it to a school teacher that you love!
Like, Pin and Share!
-min.jpg "Hope you love this back-to-school sign. I love this statement, Today's readers are tomorrow's leaders. It's so true! Make this sign and give it to a school teacher that you love!")

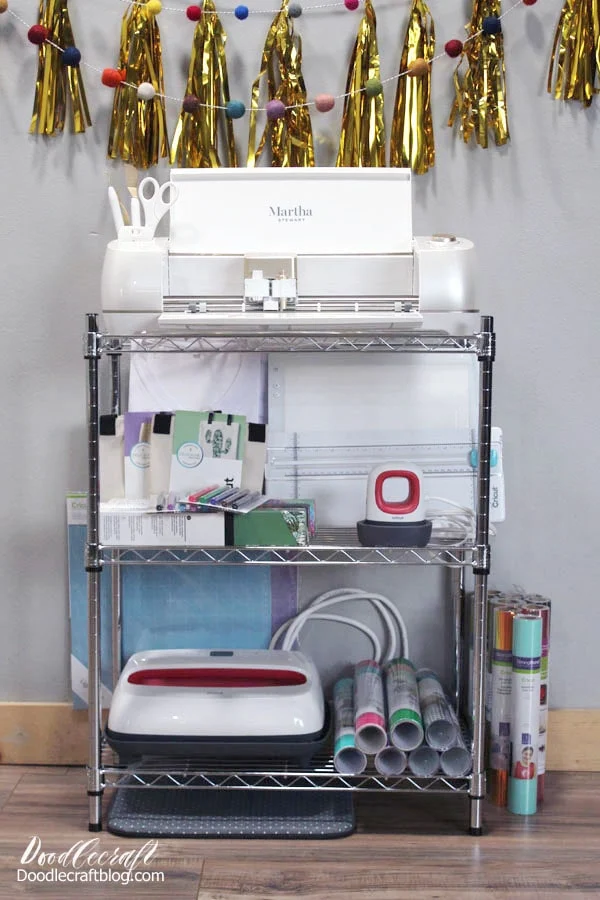
Everything You Need to Know About Cricut
Are you thinking about getting a Cricut? Maybe you already have one. Here's everything you need to know about Cricut.
Cricut Maker 3 or Cricut Maker
Cricut Maker 3 Bundle with EasyPress too!
Getting started, what you can make, ideas of things to make, setting it up, deciding on which machine to buy, starting a Cricut business at home, things to sell, how to price your items and much more!
Any specific questions? Message me or leave a comment!
I love my Cricut. I have been working with Cricut for a few years now and love them. They create products that can be used easily. The customer support is fabulous. The network of Cricut lovers is so vast, there are so many wonderful resources!
I've been able to use my Cricut to create an additional income for my family. I don't work as diligently as I know I could, because I don't need or care to...but I know it's a big money maker if you want to pursue that!
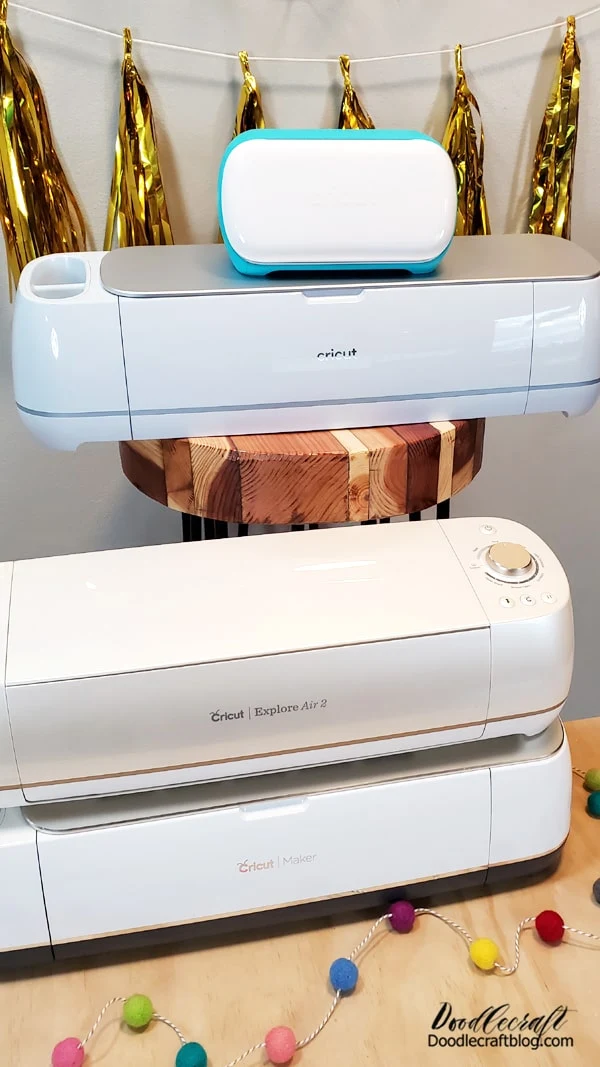
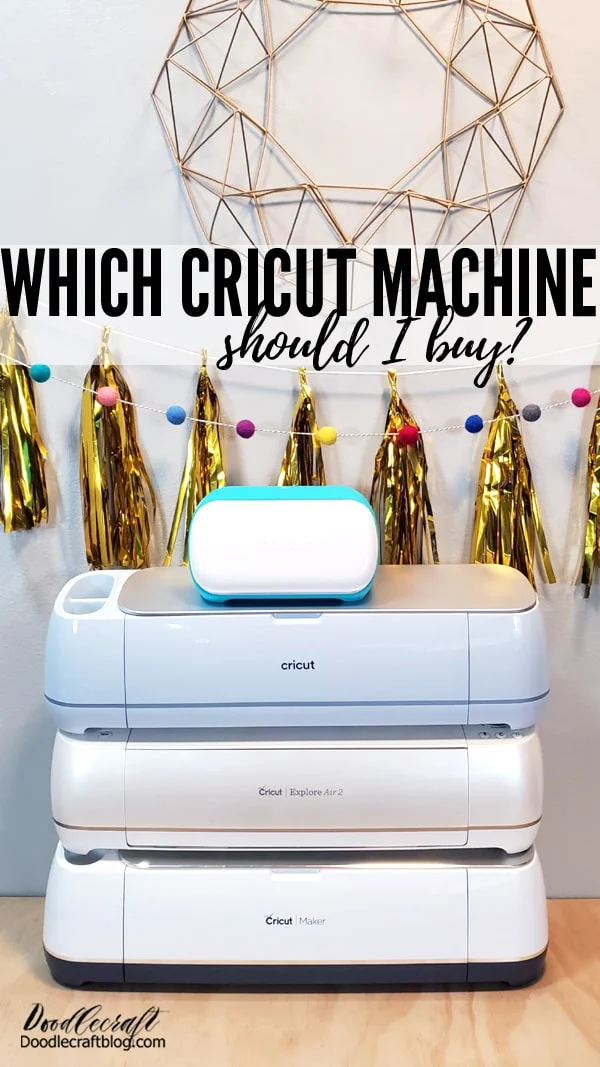
I started off with Cricut when the Explore Air 2 had been released for about a year. I loved my Air 2, and gifted it to my sister-in-law after I received the Cricut Maker.
I love the Maker and now love the Cricut Maker 3, which is sure to be my new favorite. I love the Joy too, it's budget and space friendly. All the machines are awesome and specialized for different things.
Cricut Maker 3 or Cricut Maker
Cricut Maker 3 Bundle with EasyPress too!
Which machine do you have or are you thinking of getting?

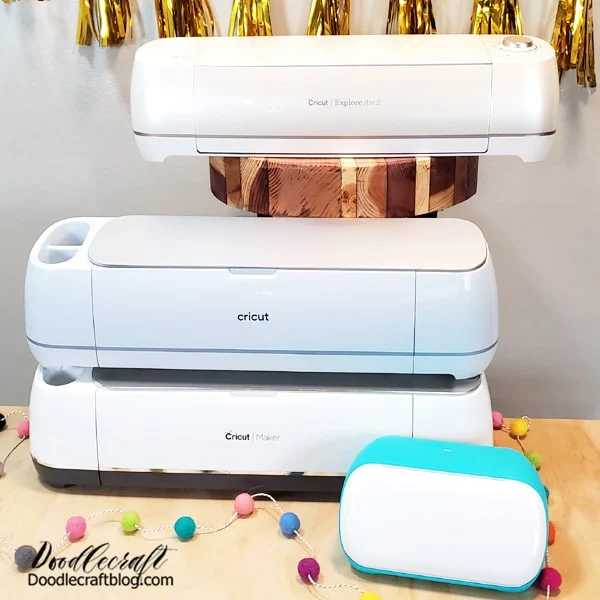
Here's the Cricut Machines:
The Cricut Joy (Cricut or Amazon) is the smallest machine that is great for a space and budget saving device with loads of possibilities and the card making mat--only available for Cricut Joy. Check out more on Cricut Joy on this post.
The Cricut Explore Air (Cricut or Amazon) is a very economical choice for a cutting machine with lots of applications. The Explore Air family is terrific for school classrooms, craft rooms and starting a Cricut business. The latest machine, the Cricut Explore Air 3 has Smart material capabilities, cuts faster and is not limited by mat size...plus more options than the 2.
The Cricut Maker (Cricut or Amazon) is the most versatile of the Cricut Machines and can do a wide range of things. The Cricut Maker and the Cricut Maker 3 both are phenomenal, with the newest, Cricut Maker 3 having Smart capabilities. The Cricut Maker has the Adaptive Tool feature, which allows for a variety of tools to be used and a huge variety of materials.
The Maker 3 (there is no Maker 2) is an upgraded version of the Maker, the tools are same for both machines. The Maker 3 is able to cut Smart materials without a mat! Plus, it can cut up to 12 feet in length, you are not limited by mat size! Yay!
Cricut Maker 3 Bundle with EasyPress too!
Everything You Need to Know About Cricut:
To help you along your Cricut journey, here's a bunch of posts all about Cricut. What you can make, comparisons and how to make money. All the details...basically everything you need to know about Cricut.
Shop Cricut Here!


-min.jpg)


Comments