
-min.jpg "How to Use LOKLiK iPAINT Review (AI Drawing Machine)")
How to Use LOKLiK iPAINT Review (AI Drawing Machine)
Ever wished you could turn your own photos or favorite digital designs into beautiful, hand-painted keepsakes—without tracing every single line by hand?
The LOKLiK iPAINT was designed to do exactly that.
Use the discount code IP90 to get $90 off!
-min.jpg "How to Use LOKLiK iPAINT Review (AI Drawing Machine)")
After a successful Kickstarter campaign, this clever little machine earned a design award as the world’s first AI-powered painting machine.
It promises to bridge digital creativity and hands-on artistry—part plotter, part drawing tool, and part automated art buddy.
After using the LOKLiK iPAINT repeatedly over the past few weeks, I’ve discovered its strengths, quirks, and where it shines best for makers and crafters.
-min.jpg "How to Use LOKLiK iPAINT Review (AI Drawing Machine)")
First Impressions
The LOKLiK iPAINT arrives neatly packaged with a compact base unit, gel pen, heat erasable pens, clamps, and even a 48 color small acrylic paint set.
It feels sleek, sturdy, and ready to inspire.
-min.jpg "How to Use LOKLiK iPAINT Review (AI Drawing Machine)")
LOKLiK iPaint Set Up
Setup is simple—just connect the drawing head to the base, tighten the center screw, and plug it in.
The instructions are straightforward and beginner-friendly.
Once powered on, it connects to your computer or tablet through LOKLiK IdeaStudio, also known as the LOKLiK iPAINT software.
-min.jpg "How to Use LOKLiK iPAINT Review (AI Drawing Machine)")
Easy set up and the LOKLiK iPAINT has everything needed to set up, it's easy and simple!
Connect the base and the top piece together by connecting the wire plug and then setting the drawing head together.
-min.jpg "How to Use LOKLiK iPAINT Review (AI Drawing Machine)")
Then screw in the machine screw that is included in the kit with the included screwdriver.
-min.jpg "How to Use LOKLiK iPAINT Review (AI Drawing Machine)")
Then cover the screw head with the little included piece of silicone.
Super sleek and ready to connect.
Plug in the USB cord to the LOKLiK iPAINT and the computer, and the Power Cord into the electrical outlet.
-min.jpg "How to Use LOKLiK iPAINT Review (AI Drawing Machine)")
The Software & Setup Process
This software is where the magic begins—it can take your own photos, convert them into outlines or numbered paint maps, and send them directly to the iPAINT for drawing.
The LOKLiK iPAINT software is intuitive and fun to experiment with.
You can import photos, choose a “line art” or “paint-by-number” mode, and resize or crop your image to fit your material.
-min.jpg "How to Use LOKLiK iPAINT Review (AI Drawing Machine)")
That said, this is where I started noticing a few hiccups.
The machine’s AI line detection doesn’t always translate perfectly—especially on images with a lot of shadows or fine details.
Sometimes, it simplifies too much or, in the case of silhouettes or clean graphics, the pen goes over the same line multiple times--but not exactly, leaving messier marks than expected.
I did not try a paint-by-number image but I've heard that they are even messier.
It’s not a dealbreaker, but it does mean some projects need extra patience or a steadier hand with the Heat Erasable pen.
-min.jpg "How to Use LOKLiK iPAINT Review (AI Drawing Machine)")
If you’re used to the crisp precision of a Cricut or laser cutter, the iPAINT feels more like a learning curve than a plug-and-play tool.
I played around with stock images in IdeaStudio and ultimately imported my own silhouette image in the hopes it would just trace it on some smooth marker paper for me.
-min.jpg "How to Use LOKLiK iPAINT Review (AI Drawing Machine)")
Setting Up Your Canvas or Surface
You can use the LOKLiK iPAINT on various paper craft projects, canvas panels, thin wood pieces, or any type of paper.
Make sure to secure your material well—any slight bump or shift can throw off your design alignment.
Set the tip of the pen at the top left corner of your canvas or paper, this will align it with the software.
The software runs a test and shows you the area it will be drawing in before you start so you can make sure it's in the right placement.
A great tip: test small projects first to get a feel for spacing and stability. Once you’ve got the right setup, it’s easier to scale up for larger art pieces or custom gifts.
-min.jpg "How to Use LOKLiK iPAINT Review (AI Drawing Machine)")
The Drawing Process
- Heat Erasable Pen – draws faint, fine lines that can be erased later with gentle heat (a hairdryer or heat gun on low).
- Gel Pen – for permanent lines that stay under your paint.
Once you select your design and hit “Start,” the iPAINT begins drawing—slowly and carefully.
Watching it is mesmerizing, almost like a mini robot artist at work.
However, one consistent issue I ran into was that the drawing tool retraces the same lines multiple times, even on simple shapes like silhouettes.
This can leave darker, overworked lines or thicker marks than necessary.
It’s not a precision flaw so much as a software quirk—the AI pathing isn’t quite optimized yet.
-min.jpg "How to Use LOKLiK iPAINT Review (AI Drawing Machine)")
Painting & Finishing Touches
Once your lines are drawn, it’s time for the fun part—painting!
Use the included acrylic paint set or your own paints to fill in the design.
The paint-by-number mode makes it easy to create charming, professional-looking art, while the outline mode gives more freedom to blend and shade.
The acrylic paint comes in 48 colors, giving a great range of shades, and has good coverage when painting over the lines.
-min.jpg "How to Use LOKLiK iPAINT Review (AI Drawing Machine)")
For the best results, I recommend working on smaller pieces (like 5x7" or 8x10") before jumping into large canvases.
It’s easier to manage alignment, and the iPAINT performs more consistently on smaller surfaces.
-min.jpg "How to Use LOKLiK iPAINT Review (AI Drawing Machine)")
What Works Well
-min.jpg "How to Use LOKLiK iPAINT Review (AI Drawing Machine)")
What Could Be Better
-min.jpg "How to Use LOKLiK iPAINT Review (AI Drawing Machine)")
Should You Buy the LOKLiK iPAINT?
If you love experimenting with new tech tools and you’re patient with early-generation machines, yes—it’s a fun and inspiring addition to your studio.
The LOKLiK iPAINT isn’t flawless. It’s innovative and exciting, but not yet as refined as a Cricut Maker or traditional plotter. The AI drawing tool retracing issue can be frustrating, but it’s something that future updates could easily fix.
That said, the Heat Erasable pen and AI-powered design translation truly make this machine stand out. It’s a fantastic concept that pushes the boundaries of what home crafters and artists can do.
For now, think of it as a creative companion for paper craft projects, paint-by-number art, or simple line art experiments—not a replacement for freehand drawing, but an enhancement.
And when it works just right, the results are genuinely beautiful.
That's it!
The LOKLiK iPAINT represents a bold step into AI-assisted creativity. It’s inspiring, visually mesmerizing, and brimming with potential—even if it’s still finding its rhythm.
If you’re a DIY artist, teacher, or hobbyist who enjoys testing new creative tools, this machine can add a unique edge to your projects. It’s not perfect, but it’s promising—and for many, that’s the best kind of craft adventure.
Join the LOKLiK community, share your experiments, and keep an open mind as this technology evolves. Because while it may not replace your paintbrush, it might just inspire you to pick it up more often.
Like, Pin and Save!
%20pin-min.jpg "How to Use LOKLiK iPAINT Review (AI Drawing Machine)")
Check out these other GREAT Posts about LOKLiK and HTVRONT next level heat presses--plus lots of tutorial crafts!
How to use HTVRONT Manual Hat Heat Press Review
Learn all about the HTVRONT Manual Hat Heat Press and let's do a darling layered bow hat together.
This easy to use heat press is perfect for adding leather patches, heat transfer vinyl, sublimation prints, DTF transfers, puff HTV and much more to hats!
If you are looking for a solid workhorse with all the pressure needed to make hats a success, look no further, this is it!
-min.jpg "How to use HTVRONT Manual Hat Heat Press Review")
How to Engrave Wood Spoons with LOKLiK iEngrave Laser
Learn how to easily engrave wooden spoons using the new LOKLiK iEngrave laser cutting machine.
LOKLiK has done it again, giving us an affordable entry level laser machine, that gives enough diode laser power to customize, cut and create wonderful pieces.
I'm super excited to get a chance to review the LOKLiK iEngrave and love how these wooden spoons turned out, perfect for a personal touch on a gift!
-min.jpg "How to Engrave Wood Spoons with LOKLiK iEngrave Laser")
HOW TO USE THE NEW LOKLiK iCRAFT CUTTING MACHINE
Learn how to use the newest LOKLiK iCraft electronic cutting machine.
It's easy to set up and really just plug and play but we'll go through the features and what to expect when you are using it, plus a couple projects.
If you are looking for a great electronic crafting machine, look no further.
-min.jpg "How to use the New LOKLiK iCraft Cutting Machine")
HTVRONT Manual Heat Press Review for Sublimation Tote
Learn how to make a sublimation and iron-on tote bag using the new HTVRONT Manual Heat Press, perfect for all kinds of heat needing crafts.
This manual heat press is my favorite for shirts, totes, flat sublimation blanks and much more--use with HTVRONT sublimation paper a sure way to succeed!
It's compact, easy to use, versatile heat temperature and time dial and comes in a variety of colors!
-min.jpg "HTVRONT Manual Heat Press Review for Sublimation Tote")
Learn how to make a sublimation and iron-on tote bag using the new HTVRONT Manual Heat Press, perfect for all kinds of heat needing crafts.
This manual heat press is my favorite for shirts, totes, flat sublimation blanks and much more--use with HTVRONT sublimation paper a sure way to succeed!
It's compact, easy to use, versatile heat temperature and time dial and comes in a variety of colors!
HTVRONT Auto Heat Press 2 Review and Sublimation Sequin Pillow
Sublimate a handsome Squidward reversible sequin pillow for the perfect White Elephant gift idea, funny gift for a friend who has everything, or just to make your visitors laugh!
This sublimation pillow craft is easy and so much fun even if you aren't a big fan of Spongebob, you can make it of whatever you like!
I love giving handmade gifts and sublimation makes it a breeze--add a personalized photograph, a child's drawing or anything you can print off onto something amazing!
Plus, I'm reviewing the new HTVRONT Auto2 Digit Heat Press, and I'll tell you all about it in this post--be sure to watch the video tutorial too!
New HTVRONT auto heat press
-min.jpg "HTVRONT Auto Heat Press 2 Review")
Sublimate a handsome Squidward reversible sequin pillow for the perfect White Elephant gift idea, funny gift for a friend who has everything, or just to make your visitors laugh!
This sublimation pillow craft is easy and so much fun even if you aren't a big fan of Spongebob, you can make it of whatever you like!
I love giving handmade gifts and sublimation makes it a breeze--add a personalized photograph, a child's drawing or anything you can print off onto something amazing!
Plus, I'm reviewing the new HTVRONT Auto2 Digit Heat Press, and I'll tell you all about it in this post--be sure to watch the video tutorial too!
New HTVRONT auto heat press
HTVRONT Hat Heat Press
Meet the New HTVRONT Hat Heat Press!
The HTVRont Hat Heat Press is arguably the best compact hat heat press on the market!

HTVRONT Mini3 Heat Press Review (Small Project)
Learn how to make an rose gold metallic iron-on tote using the new heat press mini.
The HTVRONT Mini3 Heat Press is the perfect small project heat press for iron-on, HTV, heat transfer projects, DTF Transfers and even gets hot enough for sublimation!
This post is a review on the mini heat press machine and a quick heat transfer vinyl tote project to showcase it's awesome abilities!
-min.jpg)
Learn how to make an rose gold metallic iron-on tote using the new heat press mini.
The HTVRONT Mini3 Heat Press is the perfect small project heat press for iron-on, HTV, heat transfer projects, DTF Transfers and even gets hot enough for sublimation!
This post is a review on the mini heat press machine and a quick heat transfer vinyl tote project to showcase it's awesome abilities!
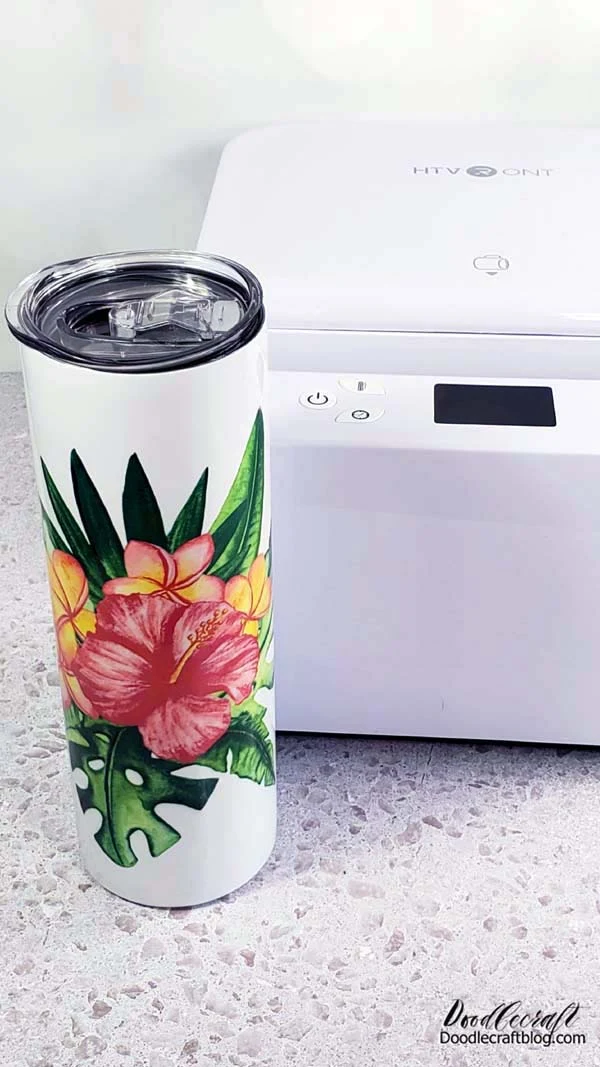
HTVRONT Auto Tumbler Heat Press
Making sublimation tumblers is so much fun with this tumbler press!
There really is something so amazing about designing something or printing something off and then having it sublimated like magic onto a surface blank.
I love making sublimation things for custom gifts; perfect for teachers, birthday's, holiday gifts and more! Tumbler blanks available at HTVRONT as well.
Learn how easy it is to use the HTVRont Auto Tumbler Heat Press to make custom tumblers with ambitious designs and mugs for every occasion!
Better than the Cricut mug press because it can do glass cans and tumblers too!
-min.jpg)
There are so many awesome machine bundle packages at HTVRONT, so you can build up your collection fast and at the best deal!
Making sublimation tumblers is so much fun with this tumbler press!
There really is something so amazing about designing something or printing something off and then having it sublimated like magic onto a surface blank.
I love making sublimation things for custom gifts; perfect for teachers, birthday's, holiday gifts and more! Tumbler blanks available at HTVRONT as well.
Learn how easy it is to use the HTVRont Auto Tumbler Heat Press to make custom tumblers with ambitious designs and mugs for every occasion!
Better than the Cricut mug press because it can do glass cans and tumblers too!


-min.jpg)


Comments