How to Make Wizard Cape DIY (Cricut Moon Phase Vinyl)


This post may contain affiliate links, sponsored content and products received at no cost.
4:00 AM
How to Make Wizard Cape DIY (Cricut Moon Phase Vinyl)   There’s nothing quite as magical as creating your own costume piece, and this DIY wizard cape is a project that’s simple, quick, and full of sparkle!    Perfect for dressing up, cosplay, or adding a little whimsy to everyday play, this cape is knee length, lightweight, and decorated with shimmering gold vinyl.    The best part? You only need one piece of fabric, vinyl and some creativity.

How to Make Wizard Cape DIY (Cricut Moon Phase Vinyl)


There’s nothing quite as magical as creating your own costume piece, and this DIY wizard cape is a project that’s simple, quick, and full of sparkle! 


Perfect for dressing up, cosplay, or adding a little whimsy to everyday play, this cape is knee length, lightweight, and decorated with shimmering gold vinyl. 


The best part? You only need one piece of fabric, vinyl and some creativity. 

Let’s get started with these step instructions!


How to Make Wizard Cape DIY (Cricut Moon Phase Vinyl)   There’s nothing quite as magical as creating your own costume piece, and this DIY wizard cape is a project that’s simple, quick, and full of sparkle!    Perfect for dressing up, cosplay, or adding a little whimsy to everyday play, this cape is knee length, lightweight, and decorated with shimmering gold vinyl.    The best part? You only need one piece of fabric, vinyl and some creativity.

I love a light cape, capelet, robe or hooded robe!


They add so much more to any cosplay, costume or Halloween costume.


They are easy to DIY and use for multiple costumes, these are the pieces you'll want to hold onto for years to come.


I love a light cape, capelet, robe or hooded robe!   They add so much more to any cosplay, costume or Halloween costume.   They are easy to DIY and use for multiple costumes, these are the pieces you'll want to hold onto for years to come.


Supplies Needed for Wizard Moon Phases Cape:  1–3 yards of lightweight fabric (something that doesn't fray is the best) Gold heat transfer vinyl (HTV)  Cricut Maker Cutting machine  Cricut EasyPress Scissors Pins or clips Sewing thread Sewing machine Bodkin Safety pin 10 feet of Paracord or other cord

Step 1: Gold Heat Transfer Vinyl Stars and Moons


Cut out your moon phase sequence and stars design from gold HTV.


I used sportflex iron-on vinyl so it would have some stretch with my stretchy fabric.


Step 1: Gold Heat Transfer Vinyl Stars and Moons  Cut out your moon phase sequence and stars design from gold HTV.   I used sportflex iron-on vinyl so it would have some stretch with my stretchy fabric.

Have your Cricut Maker cut as many stars as can fit on the 24" mat.


Or spend more time making stars for your cape, using a lot more iron-on!


Have your Cricut Maker cut as many stars as can fit on the 24" mat.   Or spend more time making stars for your cape, using a lot more iron-on!

After cutting the vinyl, take the time to weed the shapes and cut them into individual sections of vinyl.


After cutting the vinyl, take the time to weed the shapes and cut them into individual sections of vinyl.

Sportflex vinyl is so easy to weed because it stretches when you pull!


Sportflex vinyl is so easy to weed because it stretches when you pull!

Place the vinyl pieces on the cape, scattered across the back and bottom edges. 


Place the vinyl pieces on the cape, scattered across the back and bottom edges.

Use your Cricut EasyPress to adhere them firmly to the fabric of the wizard cape, right along the bottom edge and fading up the cloak.


The result is a golden night-sky shimmer that catches the light.


Use your Cricut EasyPress to adhere them firmly to the fabric of the wizard cape, right along the bottom edge and fading up the cloak.   The result is a golden night-sky shimmer that catches the light.

Let the vinyl cool down completely before peeling off the carrier sheet.


Let the vinyl cool down completely before peeling off the carrier sheet.

Then add the stars scattered around the cape.


Then add the stars scattered around the cape.

I pressed mine at 300*F for 30 seconds, check the settings for your fabric and iron-on vinyl.


I pressed mine at 300*F for 30 seconds, check the settings for your fabric and iron-on vinyl.

Step 2: Cutting the Cape


Lay your fabric flat with the right sides facing each other. Decide how long you want the cape—mine is knee length.


I am using a remnant piece from Hobby Lobby, it's 45x36 inches and cost $4.


I used the 36" for the length of the cape and the 45" is for the neck line gathering.


Not much cutting of the cape needed. 


I did cut a half circle arch around the bottom ends of the cape so they curl beautifully at my hands.


Step 2: Cutting the Cape  Lay your fabric flat with the right sides facing each other. Decide how long you want the cape—mine is knee length.   I am using a remnant piece from Hobby Lobby, it's 45x36 inches and cost $4.   I used the 36" for the length of the cape and the 45" is for the neck line gathering.   Not much cutting of the cape needed.    I did cut a half circle arch around the bottom ends of the cape so they curl beautifully at my hands.

Then I added a swash of vinyl stars on the curve of the cape.


Then I added a swash of vinyl stars on the curve of the cape.

Step 3: Sewing the Casing


Fold over the entire edge length 4 inches down one side of the fabric, (mine is the 45" length) so that right sides are touching. 


I did a full blog post on this cape making process on this post here.


Sew the entire length of the casing about 1/2 inch from the edge of the fabric.


Then sew down the center line of that casing, so there's about 1.75" on each side of the line.


This will house the double drawstring. 


Stitch along the folded edge with your sewing machine, leaving both ends open so you can thread the string through later.


Step 3: Sewing the Casing  Fold over the entire edge length 4 inches down one side of the fabric, (mine is the 45" length) so that right sides are touching.    I did a full blog post on this cape making process on this post here.   Sew the entire length of the casing about 1/2 inch from the edge of the fabric.   Then sew down the center line of that casing, so there's about 1.75" on each side of the line.   This will house the double drawstring.    Stitch along the folded edge with your sewing machine, leaving both ends open so you can thread the string through later.

Step 4: Cinching the Neck


Attach a bodkin or safety pin to 5 feet of paracord and feed it through the casing. 


Feed it down one side of the casing, and then back through the other side and tie the ends in a knot.


Step 4: Cinching the Neck  Attach a bodkin or safety pin to 5 feet of paracord and feed it through the casing.    Feed it down one side of the casing, and then back through the other side and tie the ends in a knot.

Repeat with the second 5 foot section of paracord, thread it through on the opposite side down one casing, flip it back through the other casing and tie the ends in a knot.


Repeat with the second 5 foot section of paracord, thread it through on the opposite side down one casing, flip it back through the other casing and tie the ends in a knot.

You’ll end up with pull strings that cinch tight from both ends. 


This lets the cape gather beautifully at the shoulder seams and creates the perfect drape around the base of the neck and shoulders.


You’ll end up with pull strings that cinch tight from both ends.    This lets the cape gather beautifully at the shoulder seams and creates the perfect drape around the base of the neck and shoulders.

Step 5: Finishing Touches


Check the side seams and raw edge of the bottom edges—if your fabric frays, fold them under and stitch with standard seam allowances. 


Otherwise, leave them raw for a lighter, flowy effect.


Step 5: Finishing Touches  Check the side seams and raw edge of the bottom edges—if your fabric frays, fold them under and stitch with standard seam allowances.    Otherwise, leave them raw for a flowy effect.

Fun Ways to Customize


  • Make a matching wizard hat with extra fabric for a complete look.
  • Add sleeves and an arm hole to transform your cape into a full wizard robe...a little tricky with this pattern because there isn't a set neck hole, but check out this robe post.
  • Use house colors for the fabric to make it perfect for Harry Potter fans. Try adapting a Harry Potter robe pattern or a hood pattern to give it extra flair, especially for Harry Potter robes. You can mark cutting lines with a red line chalk pencil for accuracy.
  • The shoulder joint and back piece are easy to adapt if you want this to become a fuller garment. Just add front pieces, sew up the side seams, and you’ve got the base for a full wizarding world costume.

Fun Ways to Customize  Make a matching wizard hat with extra fabric for a complete look. Add sleeves and an arm hole to transform your cape into a full wizard robe...a little tricky with this pattern because there isn't a set neck hole, but check out this robe post. Use house colors for the fabric to make it perfect for Harry Potter fans. Try adapting a Harry Potter robe pattern or a hood pattern to give it extra flair, especially for Harry Potter robes. You can mark cutting lines with a red line chalk pencil for accuracy. The shoulder joint and back piece are easy to adapt if you want this to become a fuller garment. Just add front pieces, sew up the side seams, and you’ve got the base for a full wizarding world costume.

I used a safety pin to attach the 2 drawstring cords together at my neck, but you could use a brooch or a cape clasp.


This fun cape is a super easy DIY costume for any occasion and amps up anything you are wearing!


I used a safety pin to attach the 2 drawstring cords together at my neck, but you could use a brooch or a cape clasp.   This fun cape is a super easy DIY costume for any occasion and amps up anything you are wearing!

All sorts of cosmic creatures will follow you around when you are wearing the wizard, warlock, witch or sorcerer cape!


This cape would look great with something formal and a hat...or even jeans and a tee shirt!


All sorts of cosmic creatures will follow you around when you are wearing the wizard, warlock, witch or sorcerer cape!   This cape would look great with something formal and a hat...or even jeans and a tee shirt!

That's it!


This magical DIY cape is simple, elegant, and versatile.


Whether you’re making it as a celestial cape with stars and moons, or adapting it into a Harry Potter robe pattern for cosplay, it’s a project that works for beginners and seasoned sewists alike.


With just a bit of fabric, some gold vinyl, and a few stitches, you’ll have a cape ready for holiday festivities, cosplay events, or everyday play in the magical world of imagination!


Like, Pin and Save!


This magical DIY cape is simple, elegant, and versatile.   Whether you’re making it as a celestial cape with stars and moons, or adapting it into a Harry Potter robe pattern for cosplay, it’s a project that works for beginners and seasoned sewists alike.   With just a bit of fabric, some gold vinyl, and a few stitches, you’ll have a cape ready for holiday festivities, cosplay events, or everyday play in the magical world of imagination!


CHECK OUT THESE OTHER AMAZING CAPE TUTORIALS!


20 Minute Cape Tutorial!

How to sew a cape! 


This is the perfect gathered cape, easy to make with just a couple straight seams! 


Even if you are not a confident seamstress, this cape is really easy to sew. 


It's a great beginner sewing project!

I love how this shimmery cape turned out! Best part--it only took me 10 minutes to make.  Full diagram and instructions at the end of the post!


Princess Anna Cape


Capes are such a good part of every costume!


This is a capelet and a long cape together with a neck band!


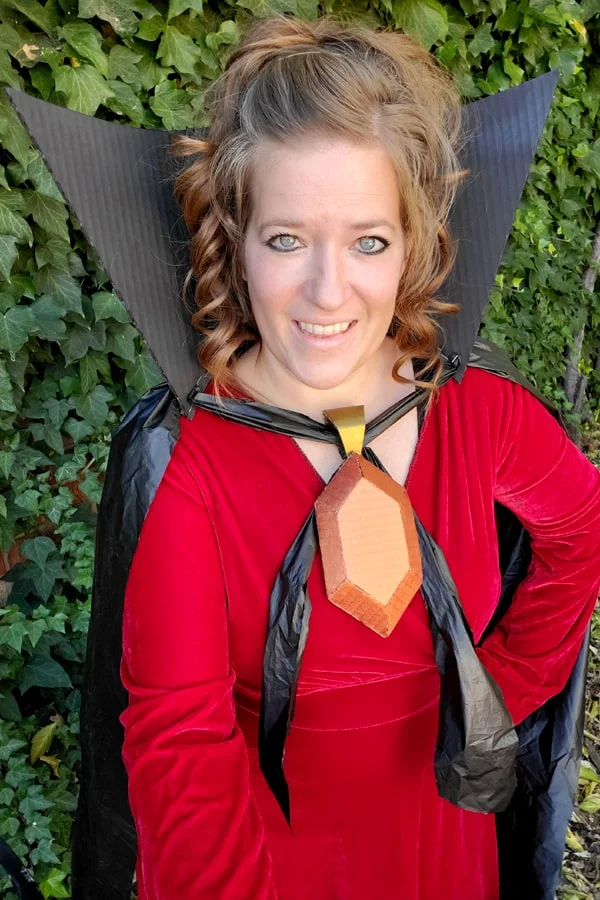
Vampire Costume made with Cardboard!


Make a costume out of boxes and plastic table cloth--this is a great way to see the structure of a cape and how to create it out of any material.


Pre-packaged store bought costumes are cheaply made and can be super pricey.     It's much more rewarding to make a costume in a couple hours out of things that are on the way to the recycle bin.     I don't have little kids to dress up for Halloween anymore, so I made this to fit me!     This costume is simple enough to make any size and it just takes a few supplies found easily around the house.


Once Upon a Time's Belle Cosplay


Even though Once Upon a Time was so 2011, this Belle cape is dynamite!


Capes add so much to a costume, no matter the theme. Easy cape with hood pattern!


Great for renaissance cosplay and much more!


Once upon a time tv television series Belle cape traveling robe just like the movie diy


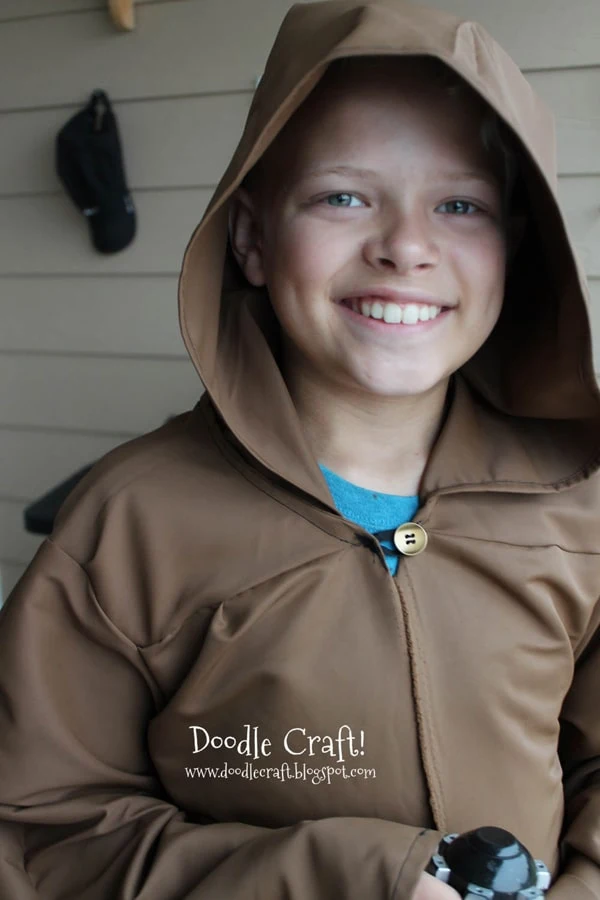
Jedi or Wizard Robes


Jedi robes double as wizard robes, renaissance, medieval, Kingly, Biblical and much more! 


Robes are a staple in our costume wardrobe!


Jedi robe pattern perfect for Star Wars themed halloween costumes or comic convention cosplays


Again, a great cape makes the costume. 


This one is hooded and no sleeves.


Morgana from Merlin Halloween costume or cosplay with red robe pattern and sewing instructions.


Harry Potter Cosplay: Harry Potter 


Here's a great last minute Halloween Costume! 


Harry Potter is iconic for his round glasses and lightning bolt shaped scar. 


It's easy to create this costume for super cheap and rock this awesome cosplay! 


Follow me on Instagram and TikTok - make craft tutorials daily!


postscript

Comments