
-min.jpg "How to Engrave Fingerprint Dog Tag Necklace xTool DIY")
How to Engrave Fingerprint Dog Tag Necklace xTool DIY
Personalized jewelry is one of the most meaningful gifts you can create, and nothing feels more unique than engraving a fingerprint onto a keepsake piece.
With the xTool S1 2W IR laser cutting machine, you can transform a simple stainless steel dog tag necklace into a lasting treasure—perfect for memorial pieces, anniversaries, or gifts for loved ones.
In this post, I’ll walk you through the process of engraving a fingerprint onto stainless steel, showing just how precise and professional results the xTool S1 can achieve.
Let's get started!
-min.jpg "How to Engrave Fingerprint Dog Tag Necklace xTool DIY")
WHAT'S A DOG TAG NECKLACE?
Military dog tags are typical of enlistment in any of the US Armed Forces, they typically have the Full Name or at least first initials and the service number of the soldier.
This engraved stainless steel pendant style blank is perfect for a best friend necklace, a lifetime promise or a memorial fingerprint necklace from someone that has passed away.
For further customizing the back options, you could also engrave digital photos for more personalized memento.
Simple pendants are my favorite!
I've only engraved on stainless steel, not sure if sterling silver or another metal choice will work the same.
-min.jpg "How to Engrave Fingerprint Dog Tag Necklace xTool DIY")
Supplies Needed for Laser Engraved Dog Tag Necklace:
- xTool S1 2W IR laser cutting/engraving machine
- Stainless Steel Dog Tag (comes with chain and jump ring)
- High-contrast fingerprint image (scanned or photographed)
- Computer with xTool Creative Space (XCS) software installed
- Rubbing alcohol and microfiber cloth for cleaning
Simply follow these step by step instructions
-min.jpg "How to Engrave Fingerprint Dog Tag Necklace xTool DIY")
Step 1: Prepare the Fingerprint
Have the person press their finger on an ink pad and then onto plain white paper.
Scan or take a clear photo of the fingerprint.
Adjust the image in editing software—brighten the whites, darken the lines, and crop close to the print.
Save the image as a high-resolution .PNG or .JPG file.
This is my husbands thumb print, he had to be finger printed for a thing years ago and I knew after seeing it, I wanted an engraving!
(Funeral homes typically offer fingerprint services of deceased loved ones)
-min.jpg "How to Engrave Fingerprint Dog Tag Necklace xTool DIY")
Step 2: Set Up the Dog Tag
Clean the surface of the stainless steel with rubbing alcohol to remove oils and dust.
Place the dog tag in the laser bed, chain and all.
You may want to secure it with heat-resistant tape or use a jig so it doesn’t shift during engraving, but mine was just set in place and didn't move at all.
-min.jpg "How to Engrave Fingerprint Dog Tag Necklace xTool DIY")
Step 3: Engrave the Dog Tag
Open xTool Creative Space on your computer.
Upload the fingerprint image.
Scale and position the fingerprint so it fits neatly on the dog tag.
For stainless steel with the 2W infrared laser:
Power: 90%
Speed: 220
Passes: 1
Air Assist: ON if available, to reduce residue
Frame the design using the preview function to ensure placement is correct.
Start the engraving process and allow the machine to work.
Once finished, let the dog tag cool before handling.
-min.jpg "How to Engrave Fingerprint Dog Tag Necklace xTool DIY")
When completed, wipe the engraved area with a microfiber cloth to remove residue.
I absolutely love how the dog tag engraves in solid yellow gold etching!
It looks amazing and I love that I have my husband's fingerprint long before he passes away.
-min.jpg "How to Engrave Fingerprint Dog Tag Necklace xTool DIY")
Engraving on stainless steel is easy and makes such a meaningful and personalized gift.
Engrave a photo, name and any information on the back of the dog tag too.
I love how this turned out and definitely think it's worth buying the dog tag blanks direct from xTool.
-min.jpg "How to Engrave Fingerprint Dog Tag Necklace xTool DIY")
That’s it!
You now have a professional-quality fingerprint dog tag necklace, created right at home with your xTool S1 2W IR.
It’s a timeless keepsake that carries deep personal meaning and can make a great hand crafted gift for birthdays or the holidays.
Who's fingerprint do you want on a dog tag pendant?
Like, Pin and Save!
PIN-min.jpg "How to Engrave Fingerprint Dog Tag Necklace xTool DIY")
Check out these other awesome engraving posts!
How to Engrave Stainless Steel with 2W IR Laser DIY
Turn a love letter signature into a heirloom keepsake!
Learn how to engrave stainless steel pendants with the xTool S1 2W infrared laser.
Think of all the handmade and personalized gifts you can make with this amazing technique!
These are gorgeously engraved permanent marks and will not wipe off...turn your handwriting into a treasure.
-min.jpg)
How to Laser Engrave Journals DIY with xTool S1
Learn how easy it is to make a laser engraved journal or notebook with xTool laser cutting machine.
Every time I do a laser cutting project it becomes my absolute favorite--and this is no exception, I totally love these faux leather engraved journals!
Engraving on journals is so fast, just minutes, and makes a gorgeous handmade gift, branded business merchandise or custom swag.
-min.jpg "Supplies Needed for Laser Engrave Journals: affiliate links: OtterBlotter Hardcover Lined Journal Notebook xTool S1 diode laser (or other laser engraving machine) xTool Creative Space Image to engrave")
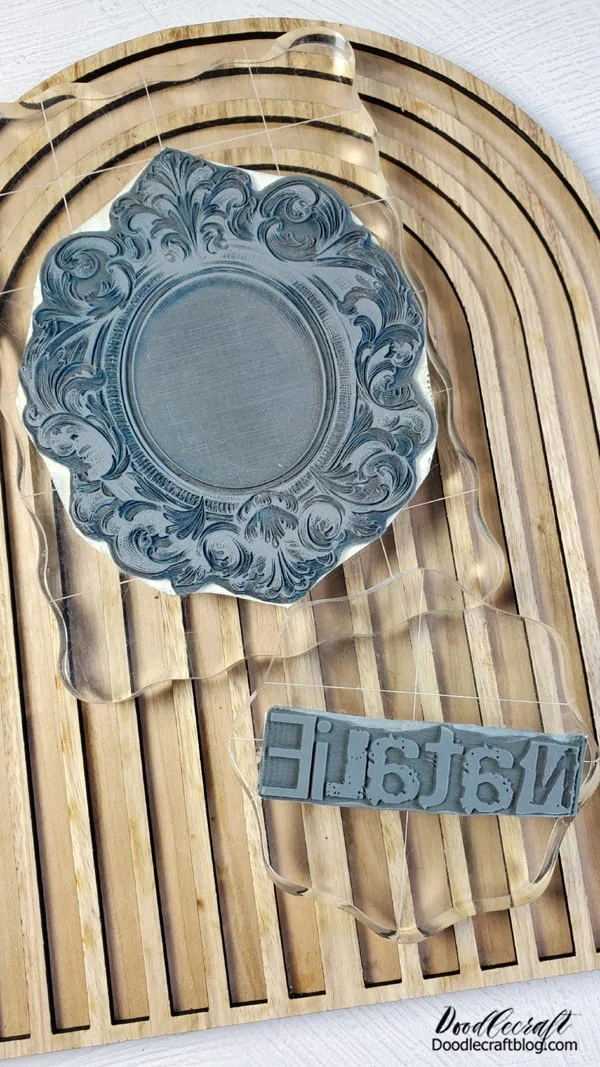
How to Make Rubber Stamps with xTool S1 Laser Cutter
Learn how to make your own custom rubber stamps with the xTool S1 Laser cutting and laser engraving machine!
I am absolutely addicted to making rubber stamps now and you will be too--they are super intricate and detailed, I'm in love!
-min.jpg)
Learn how to make stunning leather bracelets with the xTool Laser Cutting machine.
It's easy to make laser cut leather bracelet and makes a meaningful gift for a special occasion!
These wrap-around wrist bracelets are easy to make and secure with a stud rivet...they are adjustable in size, can be customized and only take 3 supplies!
-min.jpg "Learn how to make stunning leather bracelets with the xTool Laser Cutting machine. It's easy to make laser cut leather bracelet and makes a meaningful gift for a special occasion! These wrap-around wrist bracelets are easy to make and secure with a stud rivet...they are adjustable in size, can be customized and only take 3 supplies!")
DIY Laser Engraving a Mirror with xTool S1 20W Diode
Engrave a mirror with the xTool S1 Laser Cutting machine for a gorgeous statement piece of home decor.
Add an inspirational message or family motto on a mirror with glass laser engraving!
The possibilities with the xTool electronic products are endless!
-min.jpg "Add an inspirational message or family motto on a mirror with glass laser engraving!")


-min.jpg)


Comments