
-min.jpg "Engrave a mirror with the xTool S1 Laser Cutting machine for a gorgeous statement piece of home decor.")
DIY Laser Engraving a Mirror with xTool S1 20W Diode
Engrave a mirror with the xTool S1 Laser Cutting machine for a gorgeous statement piece of home decor.
Add an inspirational message or family motto on a mirror with glass laser engraving!
The possibilities with the xTool electronic products are endless!
-min.jpg "Add an inspirational message or family motto on a mirror with glass laser engraving!")
The world of home laser cutters is expanding!
Owning your own laser cutting machine is not only possible, it's pretty commonplace!
The xTool S1 20W laser cutting machine stands at the forefront allowing crafters and creators to engrave intricate designs with unparalleled precision.
This advanced laser cutting machine is equipped with a powerful 20W laser that can etch designs onto various materials, including glass. Its precision and efficiency make it an ideal tool for crafting intricate patterns on mirrors, transforming them into personalized works of art.
It doesn't take years of experience to operate the best laser engraving machine--it just takes a little leisure time to get started.
If you don't have a home laser cutter yet, here's some to consider:
xTool Machines:
- CO2 Laser xTool P 2 Machine (CO2 is the only laser beam that cuts all colors of ACRYLIC)
- xTool F 1 Portable Laser Cutter
- xTool S 1 20W or 40W ( I have the 20W--see this post)
- xTool M 1 10W Deluxe RA2 Pro (this is the one I have--see this post)
Diode laser machines are very capable as a laser engraver on wine glasses or a glass surface.
They are great for adding a personal touch to so many surfaces, giving intricate designs or any customized design of your choice.
Great for laser enthusiasts and small businesses too!
The latest version, xTool S1 has built in fire detection which helps keep you safe and give xTool it's outstanding track record of current safety standards.
-min.jpg "Diode laser machines are very capable as a laser engraver on wine glasses or a glass surface. They are great for adding a personal touch to so many surfaces, giving intricate designs or any customized design of your choice. Great for laser enthusiasts and small businesses too! The latest version, xTool S1 has built in fire detection which helps keep you safe and give xTool it's outstanding track record of current safety standards.")
Supplies Needed for Laser Etching Mirror:
- xTool Laser Engraver
- Honeycomb Panel
- Mirror (mines' from the dollar store)
- Floral Pattern or other design (easier if it's black and white)
- Gold Leaf and Gold Leaf Adhesive (optional)
- Fire safety set
- Automatic conveyor feeder
- Riser base
- xTool desktop smoke purifier
-min.jpg "Supplies Needed for Laser Etching Mirror: xTool Laser Engraver Honeycomb Panel Mirror (mines' from the dollar store) Floral Pattern or other design (easier if it's black and white) Gold Leaf and Gold Leaf Adhesive (optional) Optional Additions for the xTool are nice to have but not immediately necessary: Fire safety set Automatic conveyor feeder Riser base xTool desktop smoke purifier")
Step 1: Design Your Floral Pattern
First step: start by creating or obtaining a floral pattern that resonates with your vision for the mirror.
The image needs to be reversed since we are glass etching the backside of the mirror.
Open it in xTool Creative Space and select it as "engrave".
It will optimize the image for engraving.
Then scale it the size of your mirror.
-min.jpg)
Step 2: Prepare the Mirror
Clean the surface of the mirror thoroughly to remove any dust or debris for ensuring the best etching results.
Clean off the foam pads as best as you can, I scraped mine off with my finger and that seemed to be an efficient method.
Ensure that the mirror is securely placed on the xTool S1's cutting bed.
I did not use any tempera paint or marking spray, but I believe you do that when etching a plain glass sheet or any type of glass.
-min.jpg "Step 2: Prepare the Mirror")
Step 3: Configure Laser Settings
Place the mirror with the back side facing up on the xTool S1 honeycomb bed.
Use the magnetic clamps to hold the mirror in place.
Select the workable area on the xTool Creative Space software and position the floral pattern in that space.
Configure the laser settings based on the type of mirror and the desired depth of engraving.
It's a good idea to buy a few of these from the dollar store and use one as a test grid so you know the perfect settings for the mirror.
-min.jpg "Step 3: Configure Laser Settings")
Step 4: Laser Engraving
Initiate the laser engraving process.
The xTool S1 will follow the precise path defined by your floral design, etching the pattern onto the mirror's backing with accuracy.
Stay with the xTool while it works, although the risk of fire is lower when engraving on a mirror, it's important to be near in case something goes wrong.
After the etching if complete, clean off the surface of the glass and the backing one more time.
-min.jpg "Step 4: Laser Engraving")
Step 5: Gold Leafing
Now if you want to add some fun metallic sparkle to the mirror, use some gold leaf adhesive and paint it over the back of the etched glass mirror.
-min.jpg "Step 5: Gold Leafing")
For best results, allow the adhesive to dry completely.
It will still be tacky, but not shiny.
-min.jpg "For best results, allow the adhesive to dry completely. It will still be tacky, but not shiny.")
I'm a huge fan of gold leaf, it gets all the 5-star reviews around here...but you can use any colored leafing or even modpodge with tissue paper, patterned napkins or some fabric for the coolest etched mirror effect!
Check out this Acid Etched Mirror I did a decade ago!
-min.jpg "I'm a huge fan of gold leaf, it gets all the 5-star reviews around here...but you can use any colored leafing or even modpodge with tissue paper, patterned napkins or some fabric for the coolest etched mirror effect!")
After the adhesive is dry, place a sheet of gold leafing or equivalent over the top of it and smooth it with a dry paintbrush or a dry cloth.
The gold leaf will only adhere where there is adhesive...or it will brush off.
That could be a cool aged mirror effect too, so get creative with your gilding.
-min.jpg "After the adhesive is dry, place a sheet of gold leafing or equivalent over the top of it and smooth it with a dry paintbrush or a dry cloth. The gold leaf will only adhere where there is adhesive...or it will brush off. That could be a cool aged mirror effect too, so get creative with your gilding.")
The first thing I noticed was how much of the mirror backing my floral design and the focused beam of light removed.
I would try it again with a less "black" image and leave more of the mirror backing.
But for my first try, it's a glorious candle holder!
These would make gorgeous handmade gifts or centerpieces for an event, wedding or party!
-min.jpg "The first thing I noticed was how much of the mirror backing my floral design and the focused beam of light removed. I would try it again with a less \"black\" image and leave more of the mirror backing. But for my first try, it's a glorious candle holder! These would make gorgeous handmade gifts or centerpieces for an event, wedding or party!")
The best part is how the gold metallic leaf shines through, almost mirror-like itself!
The paint on the backside of the mirror is gently removed.
I noticed a couple places where the honeycomb panel etched through slightly...so I would place it on a piece of black paper in the future and see how that goes.
Again, getting dollar store mirrors is the way to go and work out those little details.
Mirrors are typically made by coating one side of a sheet of glass with a thin layer of metal, usually silver or aluminum, to create a reflective surface. The process involves several steps:
- Cleaning: The glass is thoroughly cleaned to remove any dirt, dust, or impurities that could affect the quality of the mirror.
- Coating: A thin layer of metal is deposited onto one side of the glass using a process called "silvering" or "aluminizing." In the silvering process, a solution of silver nitrate is applied to the glass, followed by a reducing agent that causes the silver ions to deposit onto the glass surface as metallic silver. In the aluminizing process, aluminum is vaporized in a vacuum chamber and allowed to condense onto the glass surface.
- Protecting: Once the metal coating is applied, a protective layer, often made of paint or varnish, is added to the back of the mirror to prevent the metal from tarnishing or corroding.
- Drying and curing: The mirror is allowed to dry and cure thoroughly to ensure that the metal coating adheres properly to the glass and that the protective layer is fully set.
This process results in a smooth, highly reflective surface that allows mirrors to be used for various purposes, including personal grooming, interior decoration, and scientific applications.
-min.jpg "floral engraved mirror with gold leaf backing for a gorgeous two-tone effect sitting on a wood slice and a 2 wick candle in a brass bowl sitting on the mirror.")
That's it!
These beautiful laser engraved etched mirrors gilded with gold leaf are the perfect handmade gift, table centerpiece for a wedding, event or just for home decor.
They are easy to make using the xTool S1 diode laser cutting machine and would even be a great item to sell.
Using dollar store mirrors makes them super economical, try engraving yourself a beautiful mirror today!
Like, Pin and Save!
%20pin-min.jpg "These beautiful laser engraved etched mirrors gilded with gold leaf are the perfect handmade gift, table centerpiece for a wedding, event or just for home decor. They are easy to make using the xTool S1 diode laser cutting machine and would even be a great item to sell. Using dollar store mirrors makes them super economical, try engraving yourself a beautiful mirror today!")
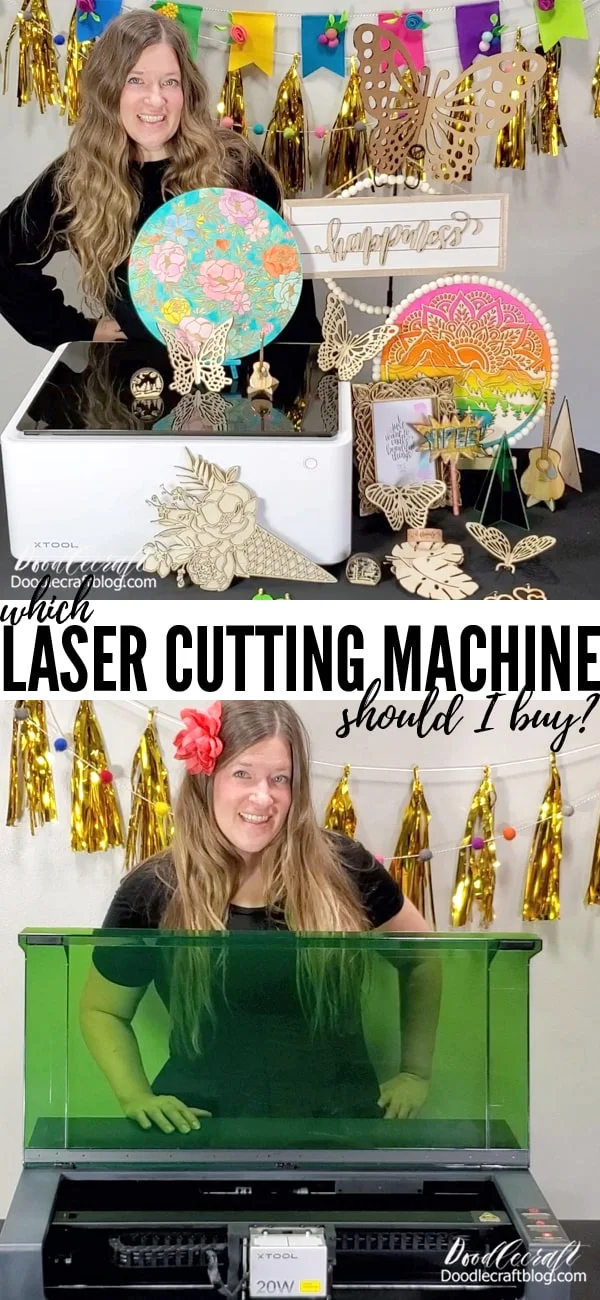
Here's more on Laser Cutters, Which one is right for you and Projects you can make!


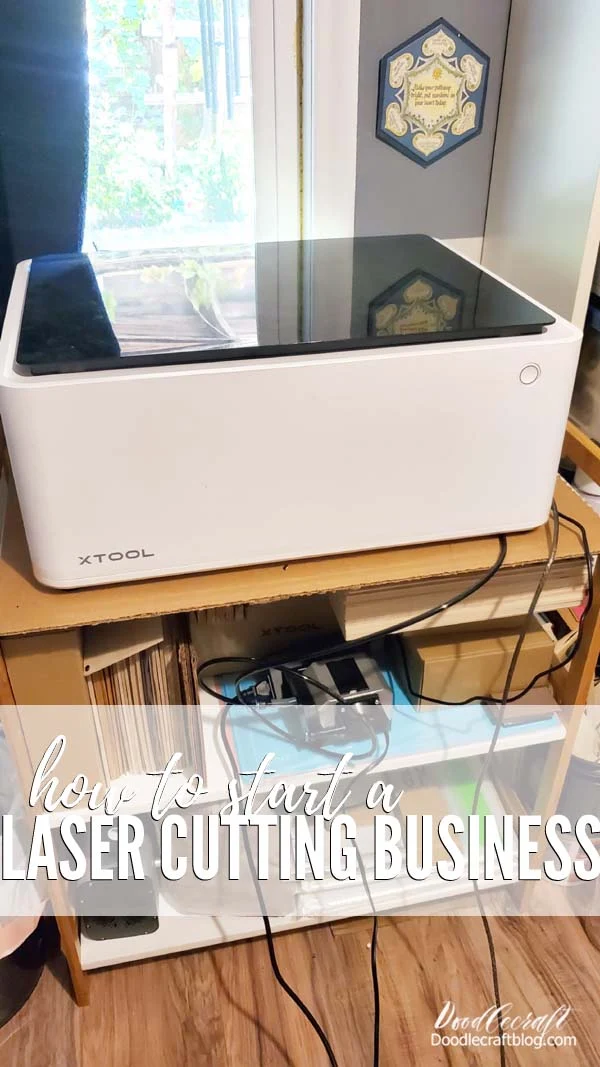
EVERYTHING YOU NEED TO KNOW ABOUT STARTING A LASER CUTTING BUSINESS HERE:
-min.jpg)
-min.jpg)
.jpg)


-min.jpg)


Comments