

How to Make an Epoxy Resin Glitter Lucky Keychain!
This cute and glittery resin keychain is the perfect pinch-proof accessory for St. Patrick's day, or year round to make those keys unique.
Make a lucky glitter resin keychain quickly using EasyCast resin, sparkly glitter and some keychain hardware. This fun project comes together in a couple days--so start now!
This beautiful keychain is the perfect spin off the friendship bracelets and uses the same letter beads--makes a great gift too!

St. Patrick's Day, celebrated on March 17th, is an Irish cultural and religious holiday commemorating St. Patrick, the patron saint of Ireland.
One prominent tradition associated with the day is the widespread custom of wearing green clothing, often including accessories like hats and pins, as green is a symbol of luck and the lush landscape of Ireland.
The practice is rooted in the belief that wearing green makes one invisible to mischievous leprechauns who would otherwise pinch those not donning the color.
Additionally, the three-leafed clover, or shamrock, is closely tied to St. Patrick, who is said to have used it to explain the Holy Trinity.
Consequently, the presence of clovers or shamrocks in St. Patrick's Day celebrations signifies both Irish heritage and the joyous spirit of the holiday.
Do you do anything fun for St. Patrick’s day? Sometimes I make green food for my kids…and we wear green, but I don’t usually do a lot.
I love this cute lucky keychain and it can be used year round, not just for the holiday.

SUPPLIES NEEDED FOR LUCKY RESIN KEYCHAIN:
- EasyCast Clear Casting Epoxy
- Resin Keychain Molds (or other silicone molds)
- Green Chunky Glitter
- LUCKY Alphabet Beads (or make your own with an alphabet mold)
- Tassel
- Keychain Rings
- E6000 Glue
- Pendant Bail
- Jump Ring
- Jewelry Pliers
- Heat Gun
- Stir Stick, Mixing Cups, Disposable Gloves
- Gold Leaf or Alcohol Inks (optional)

STEP 1: CASTING THE RESIN
First thing, and the most important parts of this diy resin keychain is thorough mixing.
Begin by reading the EasyCast directions to be sure mixing is done properly--if it's not mixed properly it will not cure properly.
Pour equal parts, one part resin and one part hardener in the mixing cup and mix epoxy resin for 2 full minutes.
Then pour into a second cup and use a second stick and stir again for 1 full minute.
Work in a well-ventilated area, wear gloves, safety glasses and other personal protective gear.

Next step, pour the mixed resin into the mold, but only to fill up half of the mold for the first layer.

Let the resin gel for about one hour. Arrange the beads in the order they need to go into the resin…in this case, backwards and upside down.

Then place them in the gelled resin, needle nose pliers are helpful!
Carefully lift up the mold and check the beads from the other side to make sure they read LUCKY in the correct way.
Add a little extra personality if you want the letters to be bouncy instead of straight across--make it your own resin keychain!

Then fill the top of the resin with sparkly green chunky glitter--you could use pressed dried flowers or dried clovers too! (A floral resin keychain is made the same way).
Now mix up a small amount of resin and fill the mold with clear resin.
Then set it aside and let it dry a long time--resin cure times vary, but I find overnight to 24 hours is the average.
Wait just 20 minutes and then use a heat gun to pop any air bubbles that have come to the surface.
**TIP** It's a good idea to cover the resin mold during the curing time to prevent dust and debris from landing on the wet resin.

The next day, pop the resin out of the mold-- this is the best part! It looks sparkly and lucky!
If it has rough edges, use a nail file to smooth them down a little bit.
If the top is not shiny enough, you can always add a thin layer of uv resin and set it with a uv lamp for extra shine.

STEP 2: KEYCHAIN ASSEMBLY
Now it’s time to assemble the keychain--either is a great way--which option will you pick?
Use the E6000 glue to adhere the pendant bail on the backside of the resin and let it cure, again work in a well ventilated area.
OR
Use a small drill bit to drill a small hole through the resin. Then use the jewelry kit pliers to loop a jump ring and attach to the key ring.

Then use the jewelry pliers to open the jump ring and slide the tassel (or other keychain charm), resin and keychain hardware on, then close the jump ring.
Get Creative!
This resin project can be done with different colors and different designs, like adding a custom resin letter!
The perfect way to make key chains is to have fun--make one for family members and friends!
Resin keychain making is such a versatile craft.
If you make resin crafts for a side hustle or small business, keychains are a number one seller.
Everyone loves custom items, so adding fun little words in a keychain, like trending words, is a great way to please the right person.
Letter initial keychains are awesome too, add some alcohol ink for color and a little gold leaf then attach to a keychain in the same way!

That’s it!
Now you have a LUCKY, gorgeous and sparkly keychain to keep you free of pinches on St. Paddy’s day…or hook on a bag as a zipper pull--makes a great handmade gift too!
Maybe even add a Four leaf Clover to this resin piece keychain!
A four-leaf clover is considered lucky because it is relatively rare compared to the more common three-leaf clover, or shamrock.
The rarity of finding a clover with four leaves contributes to its perceived specialness and uniqueness.
Traditionally, each leaf of the four-leaf clover is believed to represent a different attribute: hope, faith, love, and luck.
The idea of finding a four-leaf clover and possessing something so uncommon has led to the belief that it brings good fortune to the person who discovers it.
In various cultures, people have associated the four-leaf clover with positive energies, making it a symbol of luck and a popular emblem during occasions like St. Patrick's Day.
Make this lucky keychain out of resin and glitter to enjoy during March and all year long!
Like, Pin and Save for later!

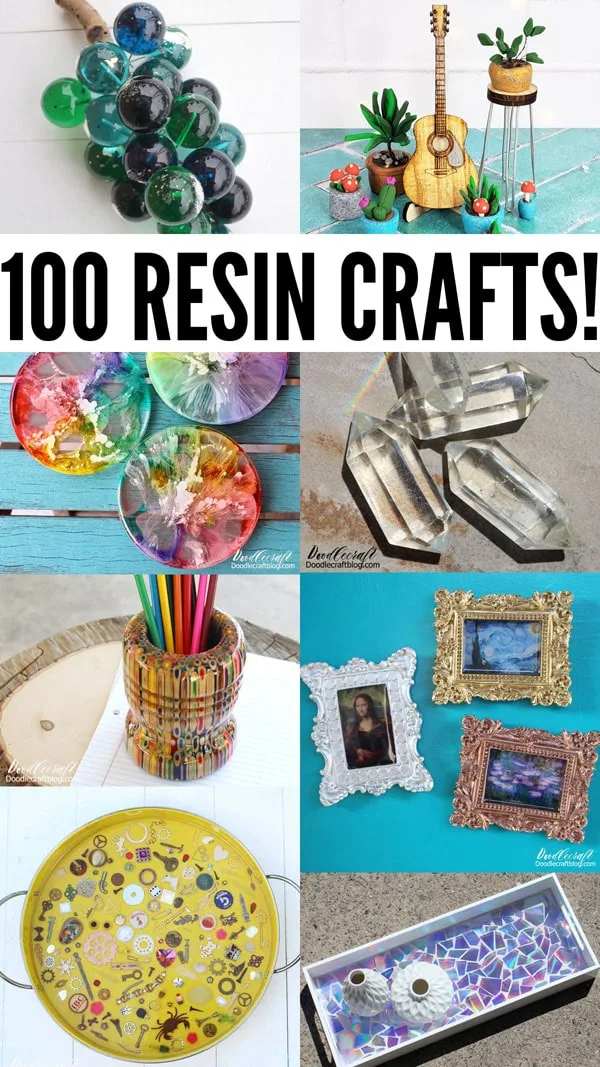
Need more Resin Crafts in your life?
Check out this post on Doodlecraft with 100 Resin Crafts!
I've been doing resin projects for years and if you google search "resin crafts" you'll find tons of my stuff--I love resin crafting!
I'm pretty sure you will love it too!
Resin comes in a variety of forms and gives a plethora of projects to create!
I love using the high gloss resin as a shiny finish on a painting...and I love the deep pour resin for big castings!


-min.jpg)


Comments