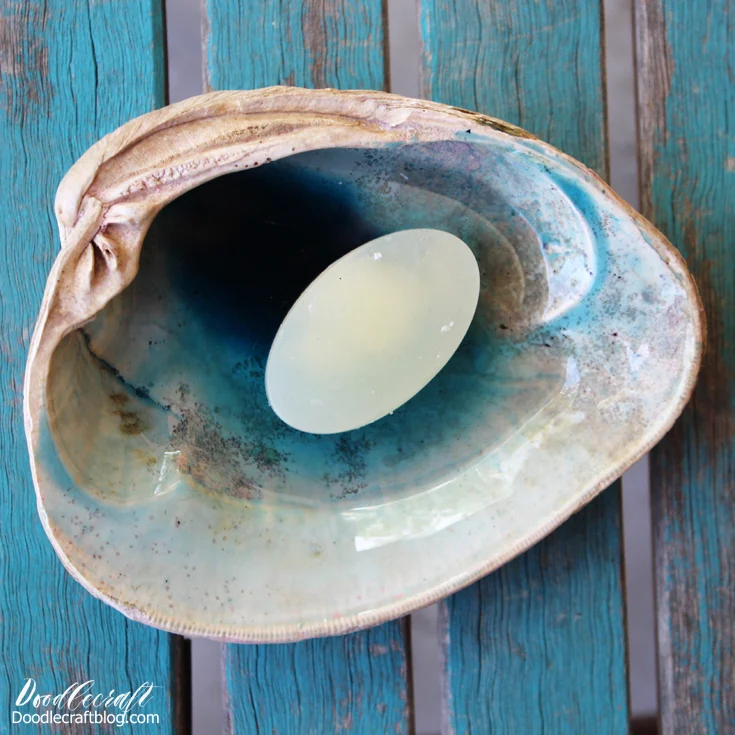
Resin Craft: Seashell Soap Dish DIY
Make an amazing soap dish using a seashell and colored resin. This is a fun way to bring the beach indoors! Have you collected any seashells? I found this one in Florida.
You will need:
1 large Seashell (big enough to hold a bar of soap)
EasyCast Resin
Blue and Green Translucent Dye
Stirring Sticks, mixing cups, gloves, disposable work surface
EasyCast is clear casting epoxy. It dries very strong and will actually add strength to the seashell.
I love this project because it looks like a stunning geyser pool in Yellowstone!
(image source)
Set up your workstation in a well ventilated area. Read the directions and follow the mixing instructions. Mix up just an ounce of resin.
Add about 3 drops of blue and 3 drops of green dyes so the color is very deep. Pour it in the center of the shell. Support the shell first if it does not sit sturdy by itself.
Lift and move the shell around to spread the resin around the inside surface of the shell.
Then let it sit and the resin will pool.
Use a heat gun or mini torch to pop any bubbles that form.
Let it cure overnight. Then repeat the process by mixing up another ounce of resin.
This time, add 2 drops of blue and 2 drops of green.
Mix the resin according to instructions, then add in the color.
Repeat the process as before and pour the resin on the shell.
Mix it around and let it sit overnight.
Now it's ready to hold soap and look amazing at the same time. Perfect for a beach themed bathroom!
Like, Save, Pin and Share!


This post published on Doodlecraft first


-min.jpg)


Comments