

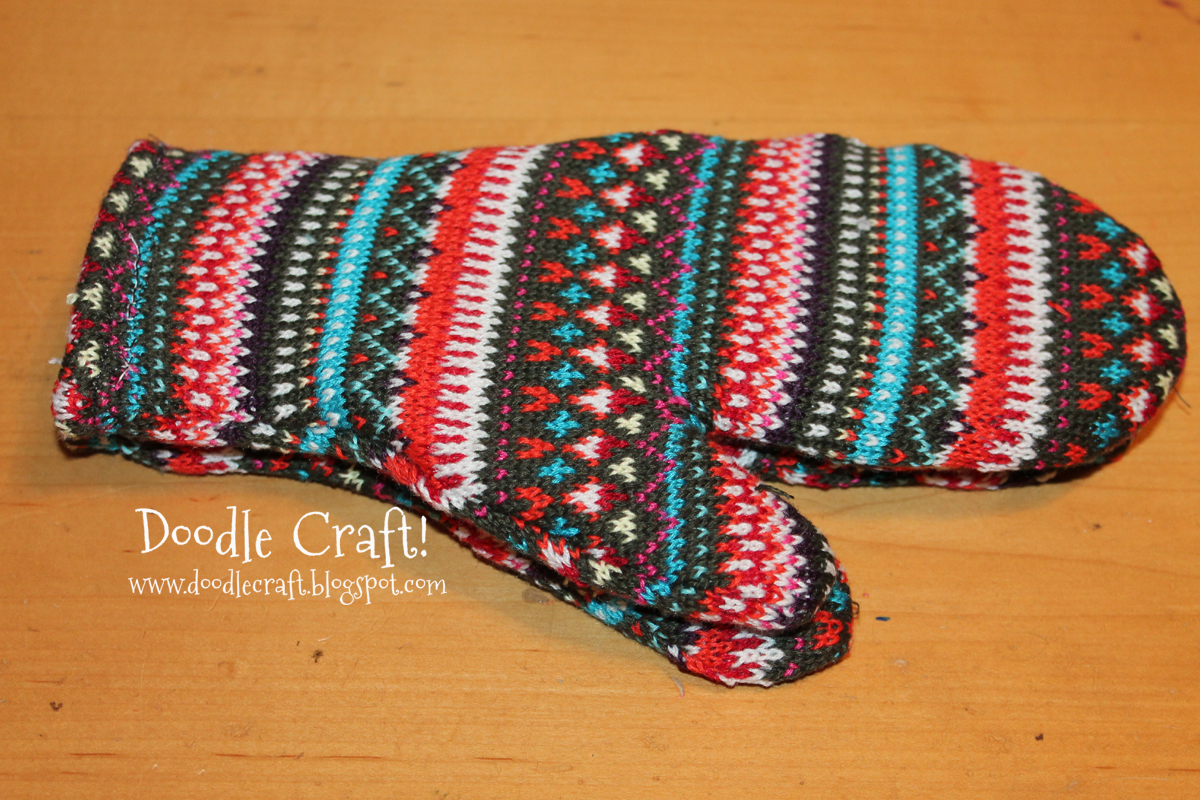
Warm Woolen Mittens! Maybe wrapped in brown paper packages and string?
They even match my Roxy slippers...best slippers ever!
But let's make some mittens.
But let's make some mittens.

I found a supplier that had fantastic wool fabric...but they have since gone out of business.
They sell lots of everything crafty...check out their stuff!
They even offer a free sample per customer!
I was thrilled when they asked if I could do some projects with their stuff!

Wholeport sent me this GORGEOUS and colorful woolen fabric.
It's awesome...and it matches my ROXY Hot Cocoa slippers!
(Although, apart from the soles, I think I could make some slippers too!)

If you were checking this blog last year, you'd know
that I seriously have a glove fetish. As in, I love them!
But I especially love mittens! But mitten selection at stores are pretty scarce.
I decided the best solution was to make my own!
Here's how to make mittens.
It's kindergarten stuff.
Trace hand on paper with thumb sticking out relaxed.
See, kindergarten!

Draw around your hand shape about a half to 3/4's inch or so
around entire thing.

Cut out of fleece lining.
I used fleece to add warmth and give structure to the woolen/woven fabric.
Note: fleece stretches in 1 direction. So make sure you put the stretch
direction to stretch around your wrist and hand,
rather than stretch long off your fingers. (ask me how I know)
Cut 2 sets of 2.

I began by making mine super long...then changed up plan mid-mango.

Sew the lining. about 1/4" from the edge.
Sorry, no pic!
You don't have to worry because the fleece wont fray.
Then use the fleece mitten as a pattern to cut the patterned fabric.

This is where I would recommend using a few pins...which I rarely do.
Cut about 1/4" bigger than the lining.

Maybe I didn't think this would work out...so I didn't take pictures here either!
Sew 1/2" in all around the woolen material...right sides together on the inside...
stitch with the wrong sides showing.
Because this material had the potential to fray, I then did a zig zag
stitch right on the edge like a serger stitch to keep it all together.
Now, don't be scared...okay, I was at first!
The back of this fabric looks like a woven tapestry...like the entire thing could unravel in 3 seconds!
But I cut it and sewed it without any problems!
It was EASY to work with!

Then turn right side out...like this!

Now,
Put on your fleece mitten so the sewn edges are showing.
like this:

Slip your little hand into the patterned mitten...

Like this!

Carefully remove both layers.
Fold the patterned material inside the mitten and
zig zag stitch it inside.


Thanks to Wholeport for their beautiful fabric!
I have tons left! Wait until you see what I make next!
They have lots of other woolen fabrics too...it makes me
want to make new Christmas stockings!


Linking up to THESE parties this week!


-min.jpg)


Comments