How to Engrave Acrylic Keychains with Cricut Maker


This post may contain affiliate links, sponsored content and products received at no cost.
6:00 AM
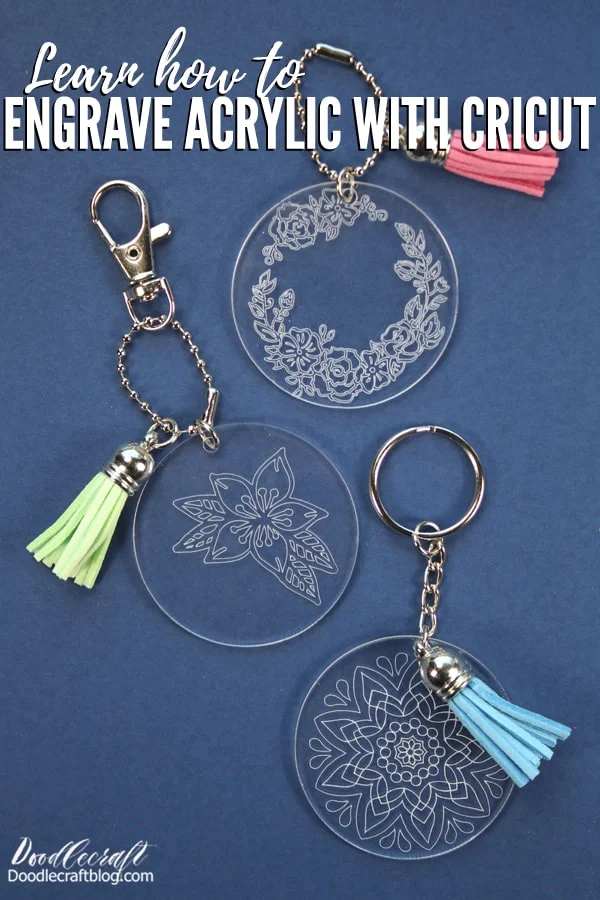
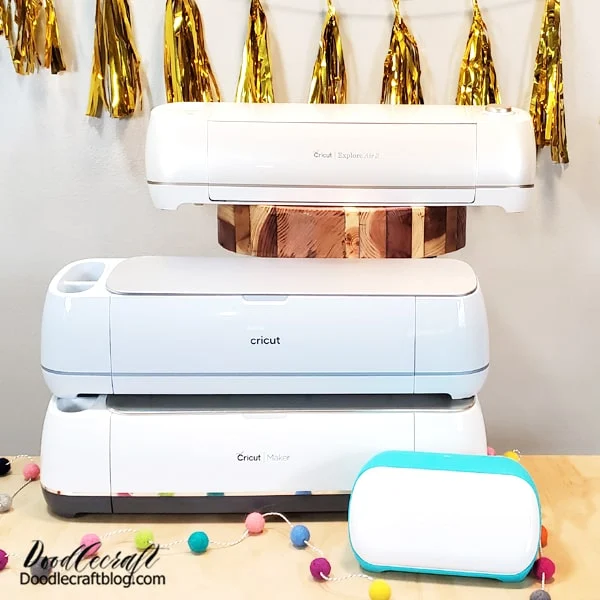
Did you know the Cricut Maker can engrave acrylic? It's true, you need the Maker in your life. It does so many things, you'll never run out of projects to make.  Learn how to engrave acrylic with the Cricut Maker to make custom keychains perfect for a handmade gift!

How to Engrave Acrylic Keychains with Cricut Maker

Did you know the Cricut Maker can engrave acrylic? It's true, you need the Maker in your life. It does so many things, you'll never run out of projects to make.

Learn how to engrave acrylic with the Cricut Maker to make custom keychains perfect for a handmade gift! This is the best time to get a Cricut Maker, best price you'll find!

Affiliate links included. Thank you for supporting me!
Here's the engraving process:


Learn how to engrave acrylic with the Cricut Maker!

Learn how to engrave acrylic with the Cricut Maker!

Use these cute keychains as gift tags, customize them for your favorite teacher, or personalize them for stylish luggage tags.

Use these cute keychains as gift tags, customize them for your favorite teacher, or personalize them for stylish luggage tags.

Supplies Needed for Acrylic Keychains:

Cricut Design Space
Jewelry Pliers

Supplies Needed for Acrylic Keychains: Acrylic Blanks and Keychain Hardware (comes together in a 30 pack!) Cricut Maker Engraving Tip (Buy it today, it's 50% off now!) Cricut Design Space Jewelry Pliers Painters Tape

Step 1: Design Image


Begin by designing the image in Cricut Design Space. Images that are made for "draw" are the best ones for engraving, but even cut out images looks great. 


This is the difference between the mandala with the blue tassel was the draw image, the other 2 are cut out images.


Change the linetype of the canvas to engrave, and it will show you where the engrave lines will be. If you are using a font, pick a draw option for the best engraving.


Step 1: Design Image Begin by designing the image in Cricut Design Space. Images that are made for "draw" are the best ones for engraving, but even cut out images looks great. This is the difference between the mandala with the blue tassel was the draw image, the other 2 are cut out images.  Change the linetype of the canvas to engrave, and it will show you where the engrave lines will be. If you are using a font, pick a draw option for the best engraving.

Then click the make-it button. It will take you to the mat layout page. Center the image on the 3x3 intersection.


Then click the make-it button. It will take you to the mat layout page. Center the image on the 3x3 intersection.

Select the Acrylic engraving option in the materials menu. I am doing the 1mm acrylic blank.


Select the Acrylic engraving option in the materials menu. I am doing the 1mm acrylic blank.

Then it will be ready to insert the mat and get engraving.


Then it will be ready to insert the mat and get engraving.

This kit comes with everything needed to make acrylic keychains. Just acrylic blanks are available too.


This kit comes with everything needed to make acrylic keychains. Just acrylic blanks are available too.

Step 2: Prepare Cricut Mat


The acrylic blanks arrive with a clear protective coating on both surfaces. Remove one of the covers.


Step 2: Prepare Cricut Mat The acrylic blanks arrive with a clear protective coating on both surfaces. Remove one of the covers.

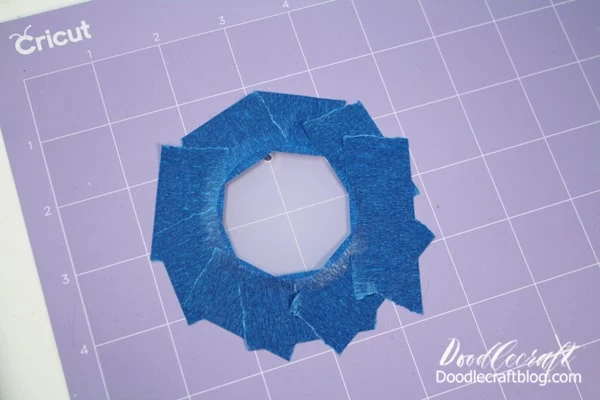
Then place the acrylic blank with the sticker removed surface up. Position it right on the 3x3 intersection and tape down all the edges just slightly.


Then place the acrylic blank with the sticker removed surface up. Position it right on the 3x3 intersection and tape down all the edges just slightly.

Then put the engraving tool in the machine. It goes into slot B, where the cutting tool typically goes.


Then put the engraving tool in the machine. It goes into slot B, where the cutting tool typically goes.

Slide the little star guides to the sides, so they don't roll over the acrylic.


Slide the little star guides to the sides, so they don't roll over the acrylic.

Step 3: Engrave


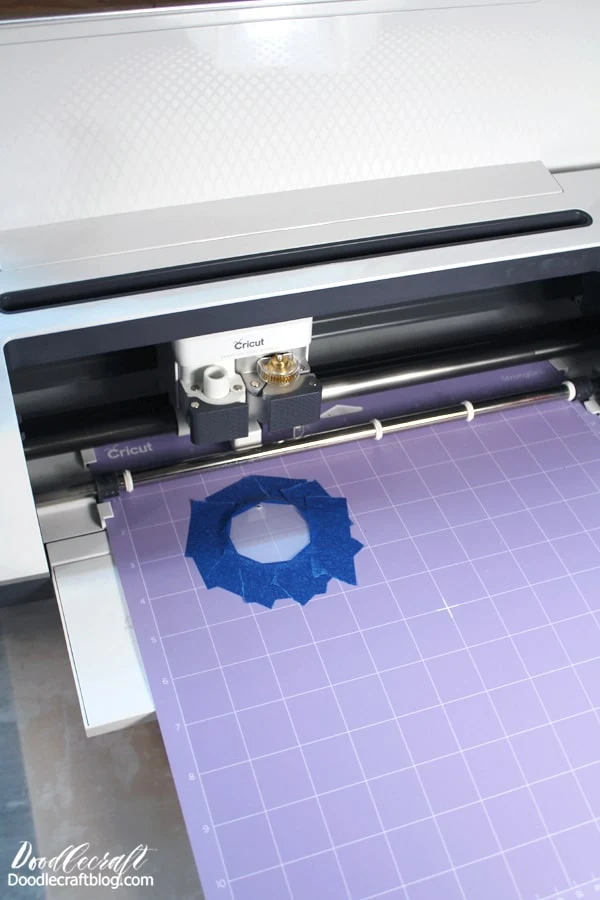
Simply insert the mat and click the Cricut Go button!


Step 3: Engrave Simply insert the mat and click the Cricut Go button!

The engraving tool is awesome! It engraves smoothly and wonderfully.


The engraving tool is awesome! It engraves smoothly and wonderfully.

Then remove the tape and use the tape to clean off the dust particles from the surface of the acrylic.


Then remove the tape and use the tape to clean off the dust particles from the surface of the acrylic.

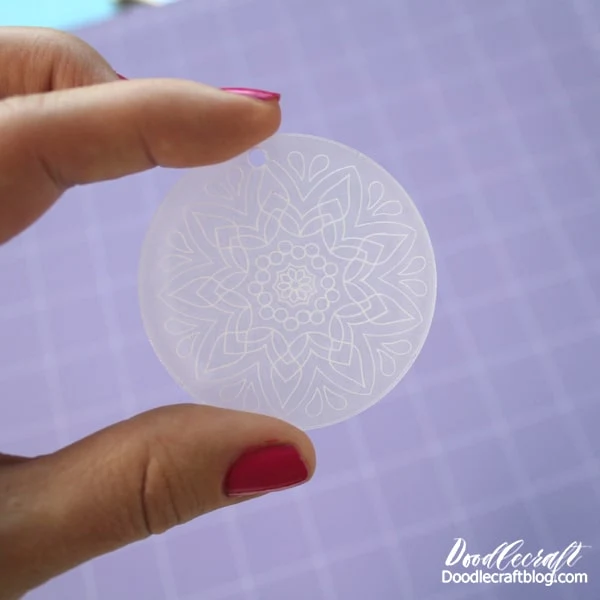
Then peel the backing sticker off the acrylic. Don't you love it!? 


Then peel the backing sticker off the acrylic. Don't you love it!?

Repeat a million times! Trust me, you'll love creating these and think of so many wonderful options for engraving!


Repeat a million times! Trust me, you'll love creating these and think of so many wonderful options for engraving!

Step 4: Keychain Hardware


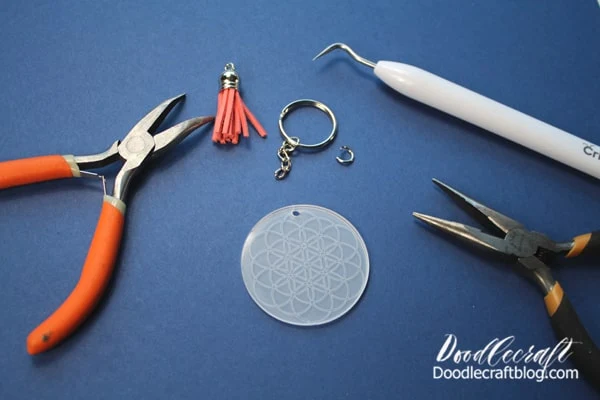
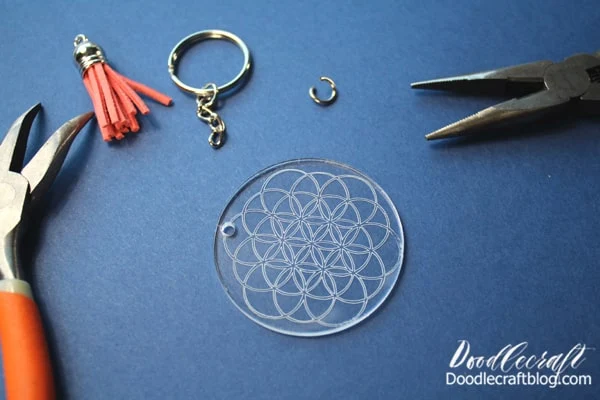
Now use some jewelry pliers to attach the keychain hardware. You'll need a jump ring, keychain and tassel.


Step 4: Keychain Hardware Now use some jewelry pliers to attach the keychain hardware. You'll need a jump ring, keychain and tassel.

Begin by hooking the jump ring through the hole on the acrylic circle.


Begin by hooking the jump ring through the hole on the acrylic circle.

Hook the tassel on the front part of the jump ring, and hook the keychain on the back part of the jump ring. Then use the pliers to slide the jump ring closed. 


Hook the tassel on the front part of the jump ring, and hook the keychain on the back part of the jump ring. Then use the pliers to slide the jump ring closed.

That's it!


Like, Pin and Share!


Everything You Need to Know About Cricut Are you thinking about getting a Cricut? Maybe you already have one. Here's everything you need to know about Cricut.   Getting started, what you can make, ideas of things to make, setting it up, deciding on which machine to buy, starting a Cricut business at home, things to sell, how to price your items and much more!


facebook Follow Me on Pinterest Youtube Instagram twitter 
postscript

Comments