Resin Glitter Light Switch Plate Cover


This post may contain affiliate links, sponsored content and products received at no cost.
6:00 AM
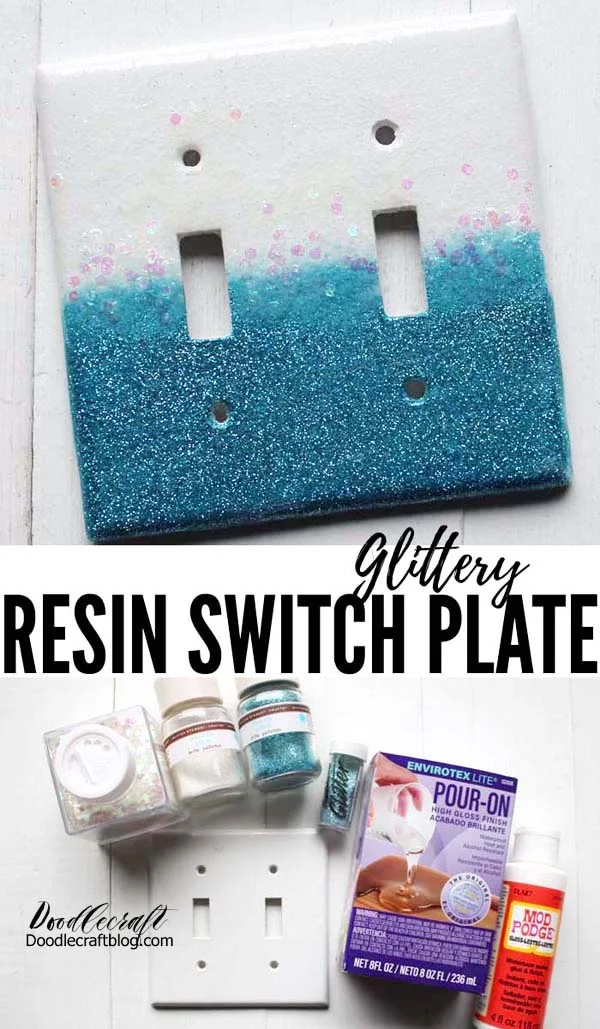
How to make a glittery light switch plate cover using glitter and resin!  Customize the color of glitter and top it off with High Gloss Resin for a smooth and shiny finish.  It’s a simple DIY craft that just takes a few minutes of work time and overnight drying.

Resin Glitter Light Switch Plate Cover!

How to make a glittery light switch plate cover using glitter and resin!  Customize the color of glitter and top it off with High Gloss Resin for a smooth and shiny finish.  It’s a simple DIY craft that just takes a few minutes of work time and overnight drying.  

How to make a glittery light switch plate cover using glitter and resin!  Customize the color of glitter and top it off with High Gloss Resin for a smooth and shiny finish.  It’s a simple DIY craft that just takes a few minutes of work time and overnight drying.

SUPPLIES NEEDED:

Rubbing Alcohol
Paintbrush
2 Mixing Cups, 2 Stirring Sticks, Disposable gloves and disposable work surface

SUPPLIES NEEDED: Switch Cover or Electrical Cover Envirotex Lite High Gloss Resin Glitter in variety of colors/sizes Rubbing Alcohol Mod Podge Paintbrush 2 Mixing Cups, 2 Stirring Sticks, Disposable gloves and disposable work surface

GET STARTED:

If you look around the house, you are likely to find a few switch plates that could use a facelift.  Mine is dirty and scuffed, so a glittery update is just what it needed.  Simply clean the plate with rubbing alcohol to remove dirt and oil build up.

GET STARTED: If you look around the house, you are likely to find a few switch plates that could use a facelift.  Mine is dirty and scuffed, so a glittery update is just what it needed.  Simply clean the plate with rubbing alcohol to remove dirt and oil build up.

Use the Mod Podge or Ultra Seal with the paintbrush and coat the entire plate surface.  Work over the disposable surface for easy clean up.

Use the Mod Podge or Ultra Seal with the paintbrush and coat the entire plate surface.  Work over the disposable surface for easy clean up.

ADD GLITTER:

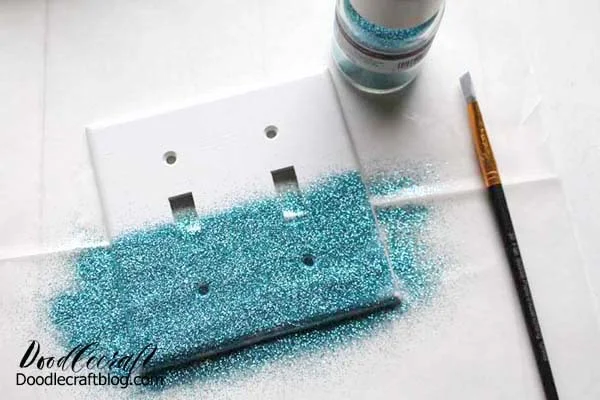
To make the ombre glitter effect, pour out a hefty amount of glitter on the lower half of the switch plate.  

ADD GLITTER: To make the ombre glitter effect, pour out a hefty amount of glitter on the lower half of the switch plate.

I used aqua glitter, my favorite color.  Then gently lift up the switch plate to dump all the excess glitter off onto the work surface.   Lift the paper and pour the glitter back into the jar.

I used aqua glitter, my favorite color.  Then gently lift up the switch plate to dump all the excess glitter off onto the work surface.   Lift the paper and pour the glitter back into the jar.

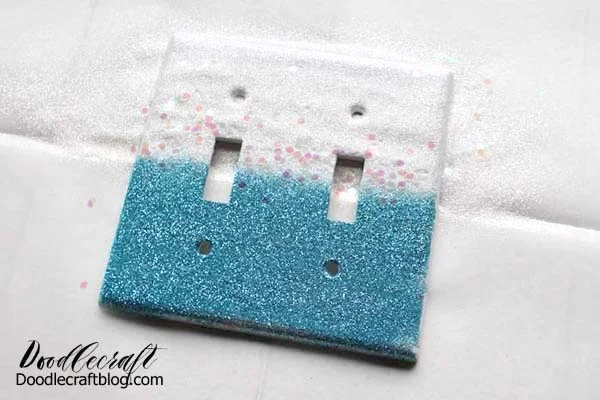
Next pour out the white glitter on the top half of the light switch cover. 

Next pour out the white glitter on the top half of the light switch cover.

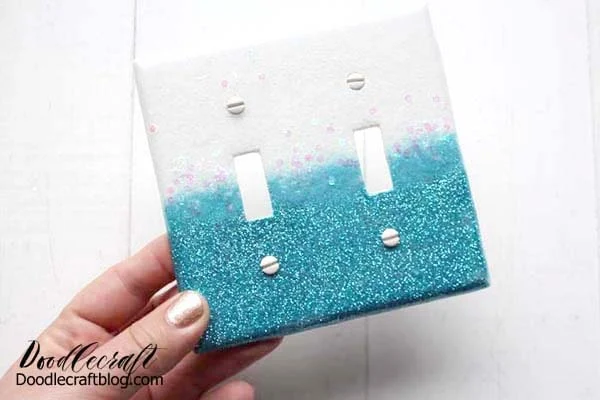
Repeat the process as before by returning the excess glitter back into the jar.  Add some  chunky glitter across the center of the plate…just across the middle.

Repeat the process as before by returning the excess glitter back into the jar.  Add some  chunky glitter across the center of the plate…just across the middle.

POUR ON RESIN:

Now set the switch plate on top of some small cups as risers.  Then mix up about 1 ounce of high gloss resin.  I mixed a giant cup full to use with another project, so disregard the quantity pictured.  Just an ounce is plenty for the top of the switch plate.

POUR ON RESIN: Now set the switch plate on top of some small cups as risers.  Then mix up about 1 ounce of high gloss resin.  I mixed a giant cup full to use with another project, so disregard the quantity pictured.  Just an ounce is plenty for the top of the switch plate.

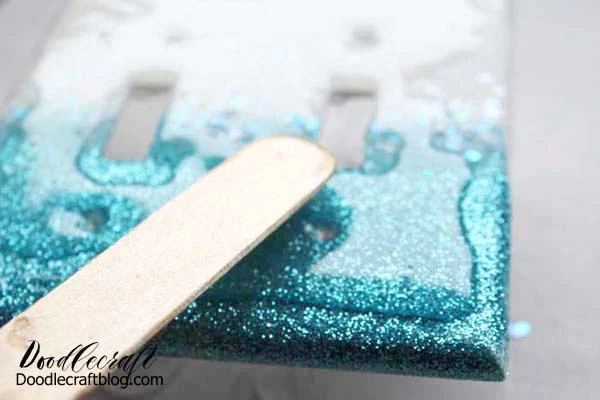
Set the light plate up on small cups as risers, so the resin can cover the entire surface and the excess drip off the edges.

Set the light plate up on small cups as risers, so the resin can cover the entire surface and the excess drip off the edges.

Use the stirring stick to pour out some of the high gloss resin all over the glitter.  Allow it some time to soak in around the glitter.  The resin is self leveling and will work it’s way around the plate.  Encourage it with the stirring stick to cover the entire top of the switch plate.  Then let the resin dry and cure overnight.

Use the stirring stick to pour out some of the high gloss resin all over the glitter.  Allow it some time to soak in around the glitter.  The resin is self leveling and will work it’s way around the plate.  Encourage it with the stirring stick to cover the entire top of the switch plate.  Then let the resin dry and cure overnight.

CLEAN UP:

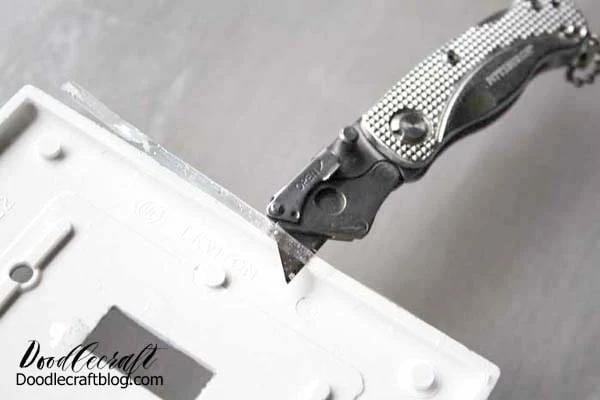
The next day pull the face plate off the risers and use a small hobby knife to clean up the drips and drops on the backside of the plate.

CLEAN UP: The next day pull the face plate off the risers and use a small hobby knife to clean up the drips and drops on the backside of the plate.

The clean up was super easy to get the little drips removed.

The clean up was super easy to get the little drips removed.

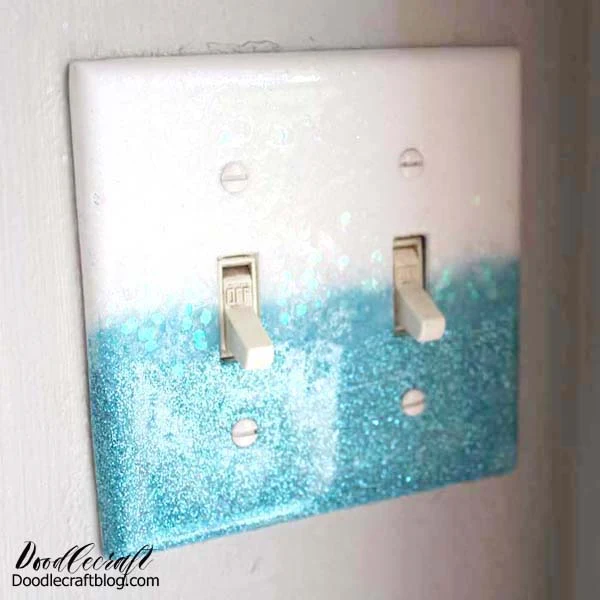
Now the switch plate is ready to hang on the wall.

Now the switch plate is ready to hang on the wall.

THAT’S IT!

Doesn’t it look fabulous!?  I love the thick chunky glitter in the center and the sparkly blue shine on the bottom.

Doesn’t it look fabulous!?  I love the thick chunky glitter in the center and the sparkly blue shine on the bottom.

Like, Pin and Share!


How to make a glittery light switch plate cover using glitter and resin!  Customize the color of glitter and top it off with High Gloss Resin for a smooth and shiny finish.  It’s a simple DIY craft that just takes a few minutes of work time and overnight drying.


But that's not all!
I've got a bunch of Resin Crafts here too:
Resin Craft ideas: 45 cool things to make with resin. Create high gloss resin art, sculpture, pendants and jewelry, resin pours and other creative resin crafts.


facebook Follow Me on Pinterest Youtube Instagram twitter
postscript

Comments