

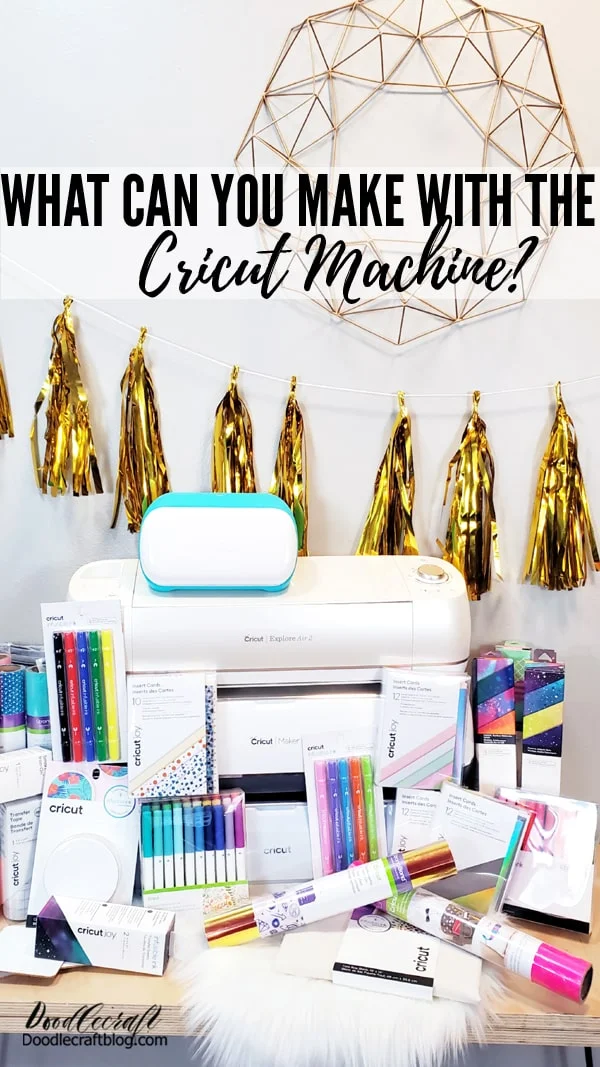
How to Make Personalized Vinyl Tumblers with Cricut Maker
Learn how to personalize skinny tumblers using a Cricut machine and permanent vinyl.
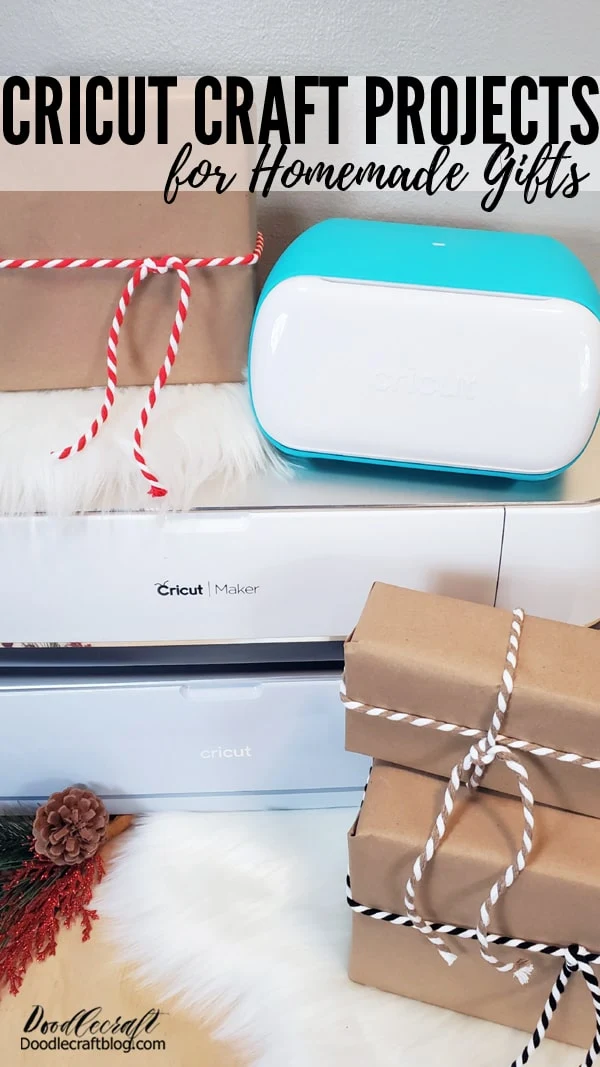
These stunning tumblers make a great last-minute solutions as a handmade gift for teachers, bridesmaids or holidays.
Stainless steel tumblers are so customizable and the perfect crafting medium!

I love personalized products. I love finding my name on keychains at the trading post.
When I was little I would eagerly search for my name spelled out on things and then of course feel disappointed if I couldn't find it.
I don't think I ever even purchased any personalized items, but I loved looking for them.
I think everyone loves their name on a personalized tumbler.
I know we should be careful putting names on children's items, so strangers can't call them by name...but I think I'm pretty safe with my name plastered on everything!
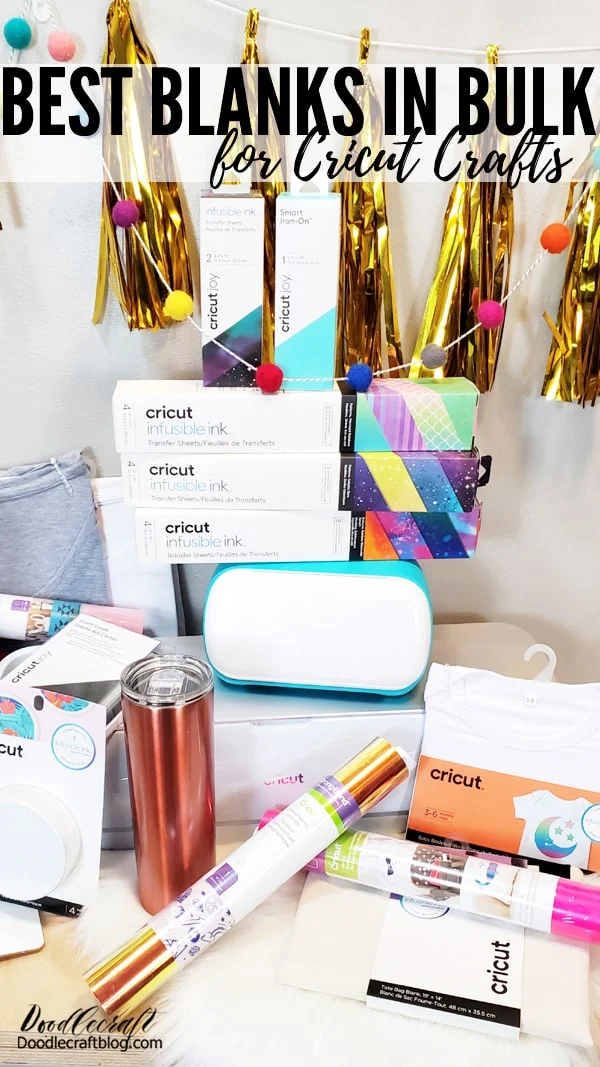
Take it a step further and make tumblers to sell as a side hustle as a small business or in an Etsy shop.
I love this gorgeous script font, and I've got a list of 10 FREE Signature Fonts at the end of this post!

Supplies Needed to Personalize Tumblers with Cricut:
- Skinny 20 oz. Tumblers (the exact ones I got are unavailable)
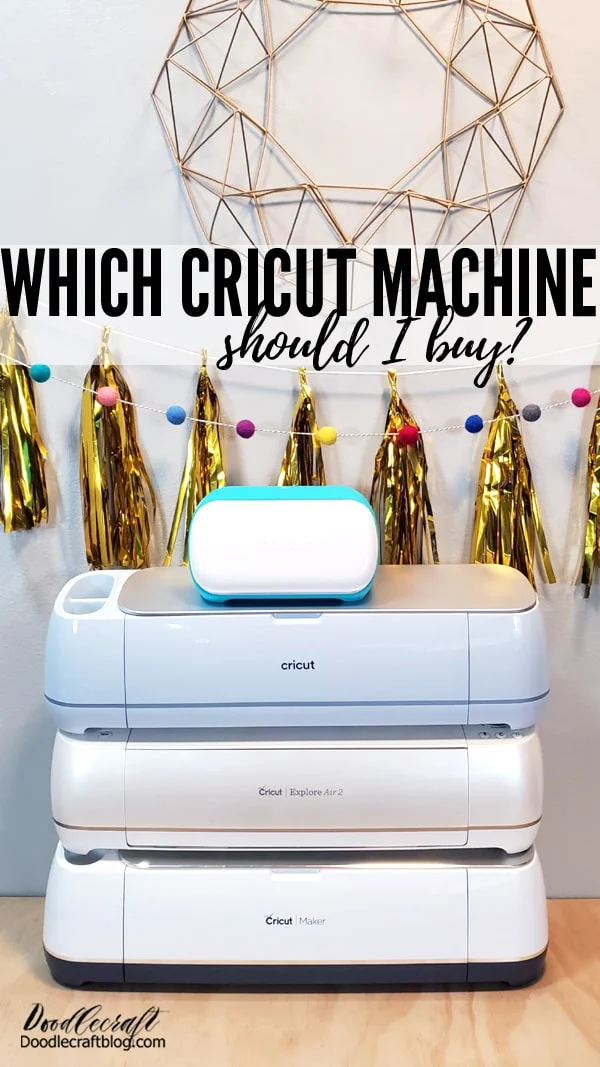
- Cricut Machine (or other electronic cutting machine)
- Cricut Vinyl (I love white or black vinyl --but you can use any color--This tumbler would look amazing with holographic vinyl!)
- Transfer Tape
- Cricut Weeding and Scraper Tool
- Lint Roller
- Signature Script Font (I've got 10 FREE ones at the end of this post!)

Step 1: Cricut Design Space
Begin with an open design space canvas...and then style your names in Cricut Design Space--you may find a Cricut font that you like and can type it right into CDS.
The very first step is picking the perfect scripted font--I've got a list of freebies at the end of this post.
Now, sometimes the spacing is weird in CDS, and doesn't work out evenly.
In cases like that, split up the name into parts and then slide them together.
Weld the letters together before cutting--otherwise Cricut will cut out each individual letter instead of making it one long continuous piece.
You can add a text box around the name for easier weeding if desired.
My names are 7 inches tall to fit the tumbler.

Step 2: Cricut Cutting
Next, have the Cricut Maker cut out the names.
Place the vinyl on the Cricut mat face up and adhesive side touching the mat.
No need to mirror the image, just line it up on the mat and send it for cutting.
Yes, I am using my fabric mat, which is not the norm, but it's what I had.

Step 3: Weeding Vinyl
Then cut the names apart and use the weeding tool to remove the excess vinyl away from the script.
These script fonts are really thin lettering, so take your time. Make sure the Cricut cuts it deep enough that it's not stressful to weed the extra vinyl away.
Before removing the vinyl from the Cricut feed, I use my hook tool and see how easily I can remove a center of a loop letter...if it comes out cleanly, I remove the mat.
If not, press the "C" button again and the machine will cut it out one more time on the exact path as before...making it much easier to weed.
Remove the little bits from the inside of the loopy letters too!

Step 4: Transfer Tape
Then cut a piece of transfer tape large enough to fit the full piece of vinyl.
This one piece of transfer tape can be reused for every name tumbler, so no need to add any additional cost by cutting transfer tape for each piece of cut vinyl.

Carefully place the transfer tape on the vinyl, then peel the backing off the vinyl.
The scraper tool is handy for this part, smooth over the vinyl before removing the backing to keep the vinyl adhered to the transfer tape.

Step 5: Applying Vinyl to the Tumbler
Use a lint roller to remove any dust or debris from the tumbler and then apply the vinyl.
Place the name on the cup with the capital letter at the bottom of the tumbler.
Rub the vinyl with your fingers firmly and smooth over it with the scraper tool.
I love the 20 ounce skinny tumblers because of their size and proportions.
They are so tall and elegant--and metallic is the only way to go!

Then peel back the transfer tape by rolling it over itself, rather than lifting it up and pulling the vinyl up along with it.
Go slow enough to be sure the vinyl stays stuck firmly behind...if not, press it down with your fingers.

Place the rubber stopper on the bottom of the cup if the tumblers came with them...and they are ready to wrap up and give away!
No need to seal them if you use the permanent vinyl--Cricut permanent vinyl works great for tumblers but they are still a "Hand Wash Only" item.
They are metal tumblers, so they should be hand washed anyway.
Repeat for all the custom tumblers you need!
Perfect for teacher gifts, bridal parties, birthday party favors, gift baskets, and other easy creative ideas!

Free Signature Fonts:
Here's 10 Free Signature Fonts and the project link for downloading them.
Which of these FREE fonts is your favorite?
I love free fonts, I have thousands of fonts on my computer and love finding the perfect font for the job. The cursive script of these fonts looks elegant for a formal event or a fancy gift for a holiday.
I used Adelia and love how they turned out!

That's it!
Hope you loved this post on creating unique personalized skinny tumblers.
They are simple, elegant and beautiful--they make the perfect gift, gift basket or party favor.
Personalized gifts are always the best! I love making gift baskets filled with goodies and items that have been personalized somehow.
If you don't want to add a name to the tumbler, you could add a power word or mantra!
Like, Pin and Share--Save for Later!

Sublimation Tumblers:
If you have a Sublimation Printer, sublimation blanks or anything with a sublimation coating you can do so many more personalized tumblers and crafts!
Check out this post on everything you need to know about getting started with Sublimation crafts.
Here's a full tutorial on making 3D Sublimation Tumblers
-min.jpg)
Here's a post on how to use the Cricut Mug Press and Cricut Infusible Ink!

Working on a side hustle or small business or just on a creative journey?
Here's many more helpful Cricut posts--filled with my years of experience!
100 Cricut Projects to Make to Sell:

Here's some more helpful Cricut posts:
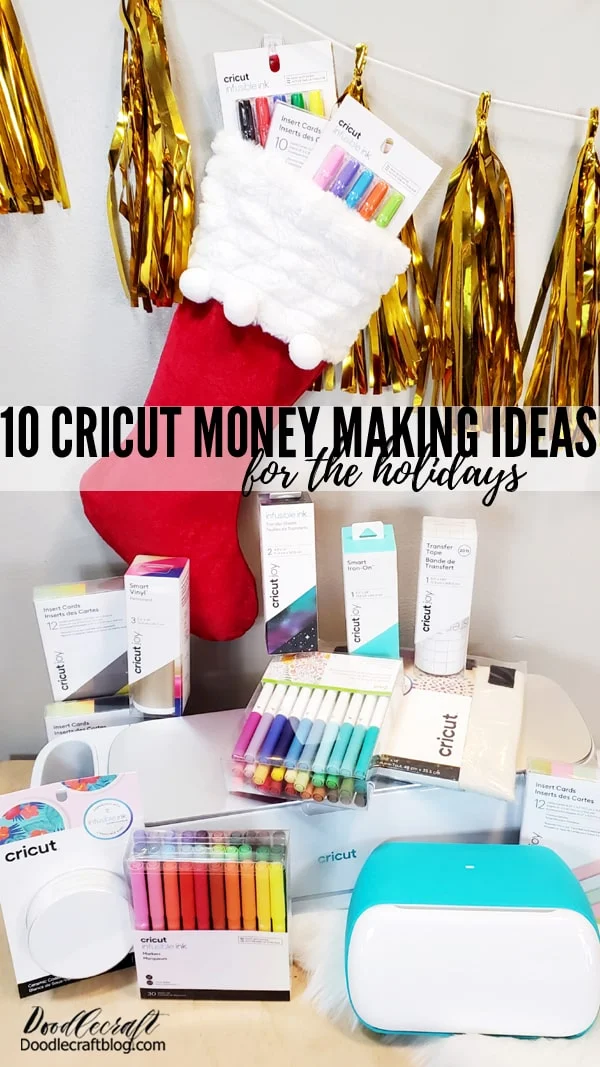
Holidays or not, everyone could use a little extra cash these days.
Here's 10 Cricut money making ideas!
Start a business.
Everything I know, everything I wish I knew when I started my business and all my tips and tricks!
Check out this post on 5 ways to make money with the Cricut Explore Air 2
Which has key tips that can be applied to any of the Cricut electronic cutting machines.


I love my Cricut Machine!
What should I make with it next?


-min.jpg)


Comments