

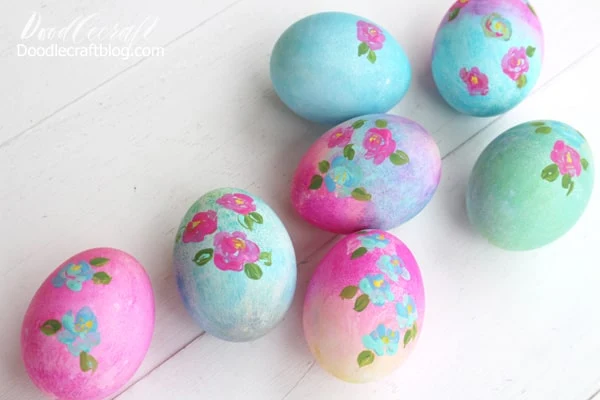
Floral Painted Easter Eggs!
Painting eggs was never my favorite craft. I did not like painting or dying eggs as a child...but I'm kind of hooked now! Just a simple project too--dying eggs with markers and then just adding a touch of paint to make loose florals.

These are stunning and would look amazing on the Easter brunch table...perfect shades of brights and pastel colors.
Step 1: Cook the Eggs
Cook the eggs according to the directions for the Hamilton Beach Egg Cooker. It just takes about 18 minutes for the perfectly cooked egg. No brown/blue discoloration around the yolks, perfection every time!

Supplies Needed for Floral Painted Easter Eggs:
Step 2: Color the Cooked Eggs

Begin by coloring with the markers directly on the plastic bag.

It will be faint, but not to worry.

Then mist the plastic bag with a spray bottle.

Place the egg in the center of the bag.

Wrap the bag around the egg and watch the colors blend and mix.

Open up the bag to see the brilliance of color!

Use a napkin to gently pat off the excess ink.

Repeat with all shades and colors. Let them dry completely.

Step 3: Paint Florals on Eggs
Now get a few acrylic craft paints and a small round paint brush.

Don't be intimidated by these florals...they take seconds and are super sloppy!

Hold the egg in the non dominate hand.

Use the small paintbrush to add a couple globs in a circle shape.

Then add U shaped globs around the center.

Again, add a few more glob shapes around the petals.

Add a few little yellow splotches in the center.

Add leaves and other flowers!

Check out this video for loose florals--it will help you feel confident in doing your own.
That's it!
These egg flowers are even simpler because I wanted them to show the marker dye through the little spaces...they look more watercolor.

Like Pin and Share!


-min.jpg)


Comments