
I received this product from Plaid Crafts.
I love their products and received these at no cost. All opinions and ideas are my own.
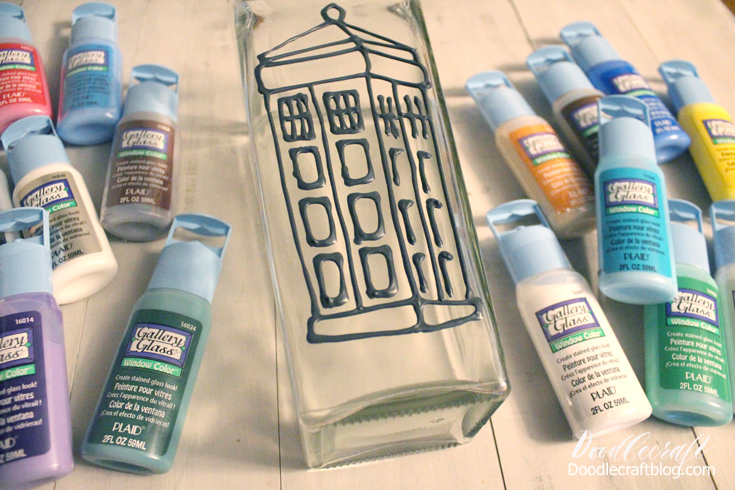
Doctor Who TARDIS Stained Glass Vase!
Isn't this the coolest vase in all of time and space? Yes, I think it is!
It's a simple diy and will impress anyone you give flowers to.

Tall square-ish vase (You know these square ones...they are like a dime a dozen at thrift stores because they are the default vase for flower bouquets.)
Gallery Glass and Liquid Leading from Plaid
So I measured it and stretched out this line drawn Tardis to fit. You may right click and save off the image to use on your own if you want, personal use only, please.


It comes in a huge variety of colors...but this Tardis just used royal blue, white pearl and clear glitter.


Fill in all the parts and let it dry again, overnight.


Or use it as fabulous home decor!
Make these Crepe Paper flowers easily with this tutorial.

Like, Save, Follow, Comment, Share and Pin!


This post published on Doodlecraft first

-min.jpg)


Comments