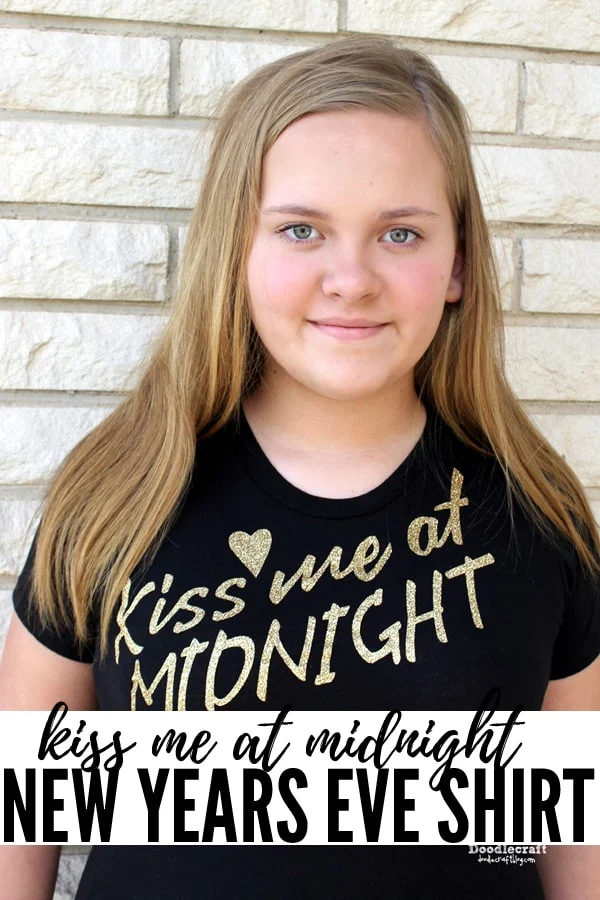
Kiss Me at Midnight Glitter Shirt DIY!
This "Kiss me at Midnight" Shirt is the perfect New Year's Eve Shirt! Expect lots of attention wearing this...and maybe even a line!
Or make this cute shirt for a cute chubby baby bodysuit or shirt...the perfect object for lots of kisses. Not sure it's the best choice for my teen daughter, haha!
**This is an updated post from 2015, it's worth a little more attention!**
Quite by chance, I found a bunch of fitted women's t-shirts at a clearance store for 50 cents each!
I bought 10 of them--because why not?! :) They are perfect for crafting and last minute gifts! Shirts are one of my favorite crafting mediums. They are so fast and fun!
Because this is an updated post, the pictures are old...but I'm adding more tips since I'm much better at shirt making now.
Supplies Needed:
- T-shirt
- Cricut Glitter Iron-On
- Cricut Maker 3
- Cricut EasyPress 2 12x10 Raspberry
- or
- Cricut EasyPress 2 9x9 Raspberry
- Cricut EasyPress Mat
- Cricut Weeding Tools
Begin by designing the text in Design Space. Mirror the image and then cut it out with the Cricut Maker or Explore Air 2.
Then weed out the excess vinyl with the hook tool. (Yes, I was using my old Silhouette machine and tools, but I've upgraded to Cricut)
NO WORRIES! I got the rest of the "G" out before I ironed! Place the shirt on the EasyPress mat and set warm up the shirt with the EasyPress 2.
Then place the iron on vinyl on the shirt in the desired spot. I went with a slight angle for some visual detail.
Cover with a tea towel or protective sheet if using an iron. If you are using the Cricut EasyPress 2, just press the carrier sheet without another layer, no problem.
Then iron on med/high for a few minutes...then remove the towel and iron right on the plastic for just a few. Use caution so you don't melt the plastic!
Okay, yes, you can use a regular household iron to press the iron-on. BUT!!!
Irons don't heat up evenly, so it's not a great option. I wasted so many shirts and iron-on using an iron. One trip through the washing machine and the iron-on was already peeling off.
It's worth the money to do it right the first time. Get an Cricut EasyPress 2 and the mat and make shirts the right way. Use this chart for the recommended iron-on pressing times and temps.
Then press the other side of the shirt for half the recommended time.
Let the iron-on cool completely, then peel back the plastic carrier sheet. It works best to roll it back over the top of itself, rather than lifting straight up like this picture!
This would be DARLING on a baby onesie--or a squishy little toddler shirt! It's perfect for a New Years Eve party! Ring in the new year with a bunch of kisses!
It's funny because I never new about the kissing at midnight tradition until I was married. It's probably a good thing anyway, since I got married pretty young and didn't need to be kissing any more than I was. Haha.
Go ahead, Kiss me at Midnight!
Like, Pin and Share!


-min.jpg)


Comments