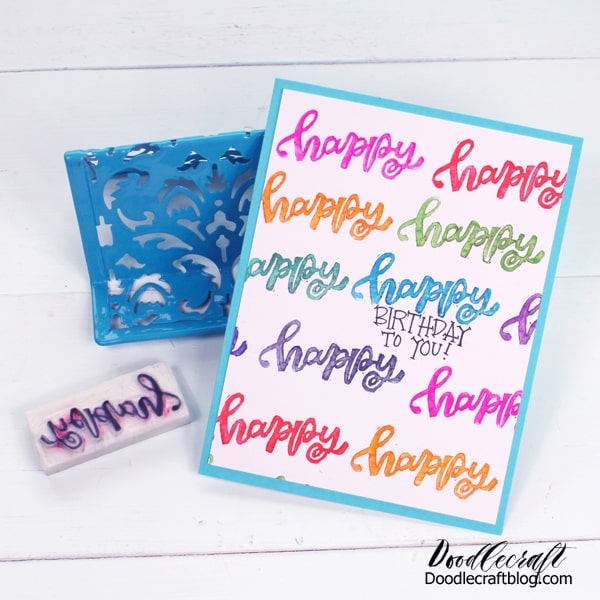
How to Make a Rubber Stamp from an Eraser DIY What are you doing to fill your Summertime days? If you need a fun craft, carving your own rubber stamps is super fun! Make a stamp and use it on mail, in your journal or let your kids stamp all over paper. This craft is a tricky one, but older kids/teenagers would love it! I used supplies from Tombow as part of their Design Team. Carving rubber stamps is really fun. It takes a few supplies but is super rewarding with a reusable stamp of your own making. Turn this eraser into a rubber stamp! Supplies needed: Tombow MONO Eraser Tombow MONO Twin Speedball carving knife set Tombow Fudenosuke Brush Pen Hobby knife Tombow MONO Drawing Pencil Tombow Power Mini Glue Tape Clear stamping block Tombow Dual Brush Pens White cardstock Colored cardstock Step 1: Stamp Image Begin by cutting a piece of scrap paper the size of the MONO Eraser. Then, use the Fudenosuke Brush Pen to write “happy” i...

How to Make Boondoggle Lanyard Keychains DIY Tutorial


-min.jpg)