
-min.jpg "How to Display Diamond Art Painting (5 DIY Ideas)")
How to Display Diamond Art Painting (5 DIY Ideas)
Have you done Diamond Art before?
It's basically a "paint by number" canvas that you stick shiny rhinestones to instead of paint...blinging canvas!
Diamond art comes in all kinds of patterns and sizes.
The process of making them is fun and relaxing...but what to do with them when they are finished?
Here's 5 creative ways for a beautiful display of diamond art paintings.
-min.jpg "How to Display Diamond Art Painting (5 DIY Ideas)")
My friend did these 4 diamond art pieces for me and they are spectacular amounts of precision and so much time.
I thought I'd showcase a few ways to finish off a piece to show it to the world!
Here's some fun diamond art kits:
Modern Color blocked Mountains
I'm going to show you 5 ways to finish off and display your Diamond Art!
- Roll
- Scroll
- Frame
- Journal
- Tray
Diamond Art Display Number 1: Roll
Okay, this isn't really a great way to "display" diamond art, but it is a good way to store it.
Just loosely roll up the diamond art painting, with the diamonds facing inside the roll.
-min.jpg "How to Display Diamond Art Painting (5 DIY Ideas)")
You can slide it back into it's box packaging like this for storing...or if you have already tossed the box or it came packaged differently...here's my hack.
-min.jpg "How to Display Diamond Art Painting (5 DIY Ideas)")
Simply use a slap bracelet around the rolled up diamond art to hold the roll in place.
-min.jpg "How to Display Diamond Art Painting (5 DIY Ideas)")
The slap bracelet holding the diamond art works great for holding the canvas with diamonds in tact while you decide how you want to finish it off!
-min.jpg "How to Display Diamond Art Painting (5 DIY Ideas)")
How to Seal Diamond Art Paintings:
Sealing diamond artwork is the best way to finish off a canvas so the rhinestones don't fall off.
It keeps all the precious little rhinestones in place, as sometimes the adhesive on the canvas doesn't last as long as all that hard work.
I've seen people resin their diamond art, spray it with a clear finish and use Mod Podge...
But Plaid has recently released this: Mod Podge Diamond Coat Sealer and Finish
It's all that!
It goes on a little milky and dries completely clear, flexible and still lets those rhinestones finish shine through.
Highly recommended.
")
Diamond Art Display Number 2: Scroll
Supplies Needed for Diamond Art Scroll:
- Finished and Sealed Diamond Art Painting
- Mod Podge Diamond Coat Sealer and Finish
- Paintbrush
- Hot Glue/Gun
- 2x Wood Strips (1 inch wide and about 1/4 inch thick, cut to the width of your artwork across the top edge of the diamond art painting--in this case 12 inches, use a tape measure to size your diamond painting canvas and pick up some 1 inch trim at the hardware store.)
- Twine for Hanging
- Pair of Scissors
-min.jpg "How to Display Diamond Art Painting (5 DIY Ideas)")
Step 1 for Scroll Finish: Seal
Begin by coating the entire diamond art painting in the diamond finish Mod Podge.
Let the finish get in between the gem pieces but not puddle too much.
Then let the diamond art finish dry completely on a flat surface.
-min.jpg "How to Display Diamond Art Painting (5 DIY Ideas)")
Step 2 for Scroll Finish: Trim
Next step, use scissors to trim down the edges of the canvas diamond art painting on the vertical sides only, making them the right size for the board trim.
Leave the excess canvas on the top and bottom edges.
Cut 2 pieces of thin wood to fit across the top and bottom edges of the diamond art painting canvas.
-min.jpg "How to Display Diamond Art Painting (5 DIY Ideas)")
Step 3 for Scroll Finish: Glue
Add a wavy line of hot glue across the top edge of the diamond art and then press one of the strips of wood on top of it.
You can use binder clips to hold it in place firmly while the glue dries.
-min.jpg "How to Display Diamond Art Painting (5 DIY Ideas)")
Press the wood down into the glue until the glue cools, ensuring a tight adhesion.
Then repeat the same process for the bottom edge of the diamond art painting.
-min.jpg "How to Display Diamond Art Painting (5 DIY Ideas)")
Step 4 for Scroll Finish: Twine
The finished product just needs a little hanging twine, cut a 5 inch piece of twine, and simply hot glue it to the backside of the wood strip.
-min.jpg "How to Display Diamond Art Painting (5 DIY Ideas)")
I love how the hanging scroll diamond art end result looks!
This is totally my favorite way to finish off a tall oriented diamond art piece.
The fact that this is a bright colored Hogwarts crest, it's the cherry on top!
-min.jpg "How to Display Diamond Art Painting (5 DIY Ideas)")
What do you think of the hanging scroll finish for diamond art paintings?
Would you finish off a diamond art piece this way?
-min.jpg "How to Display Diamond Art Painting (5 DIY Ideas)")
Diamond Art Display Number 3: Frame
Next up for finishing off diamond art, is framing it.
Supplies Needed to Frame Diamond Art Paintings:
- Finished and Sealed Diamond Art Painting
- Mod Podge Diamond Coat Sealer and Finish
- Frame (as close to the size as the diamond art)
- Cardboard or foam board the same size as the frame
- Spray Adhesive (optional)
-min.jpg "How to Display Diamond Art Painting (5 DIY Ideas)")
Step 1 for Frame Finish: Seal
Begin by sealing the diamond art painting with the Mod Podge Diamond Art sealer and let it dry completely.
-min.jpg "How to Display Diamond Art Painting (5 DIY Ideas)")
Step 2 for Frame Finish: Cut
I am scaling down a 12x15 diamond art piece to an 8x10, because I love this rustic wood frame.
If you get a frame to fit the size of your painting, there's no need to cut off the design.
Find the perfect frame at your favorite craft store or find fun ornate frames at thrift stores.
-min.jpg "How to Display Diamond Art Painting (5 DIY Ideas)")
Measure the diamond art canvas and cut it down to fit inside the frame.
-min.jpg "How to Display Diamond Art Painting (5 DIY Ideas)")
I'm not using glass in my frame because I want the shimmer of the diamond dots to shine and glisten, but using glass over the top of your diamond painting artwork also works.
Just place the diamond art in the frame and cover the back with the piece of cardboard, the frame backing board or the back of the foam board
No need to glue it, but you can use spray adhesive if desired.
-min.jpg "How to Display Diamond Art Painting (5 DIY Ideas)")
I used a screwdriver to lift the frame staples up to insert the picture and then to press them back down in place.
I love the way this framed landscape looks, especially with the bear, cabin, mountain scene in the rustic wood frame.
I just picked up this frame at a thrift store, it's the perfect work of art for my gallery wall in the living room!
-min.jpg "How to Display Diamond Art Painting (5 DIY Ideas)")
What do you think of the frame finish for diamond art paintings?
Would you finish off a diamond art piece this way?
-min.jpg "How to Display Diamond Art Painting (5 DIY Ideas)")
Diamond Art Display Number 4: Journal
Make a cool wrap around journal cover using your diamond art painting!
I love how this one turned out!
-min.jpg "How to Display Diamond Art Painting (5 DIY Ideas)")
Supplies Needed for Diamond Art Journal Cover:
- Finished and Sealed Diamond Art Painting
- Mod Podge Diamond Coat Sealer and Finish
- Journal (I love these from OtterBlotter)
- Pen
- Hobby Knife
- Scissors
- Rubber Cement (optional)
-min.jpg "How to Display Diamond Art Painting (5 DIY Ideas)")
Step 1 for Journal Wrap: Cut
Just a few easy steps for this journal wrap piece of art, begin by measuring the height of the journal.
Cut the sealed and dried diamond art canvas to the height of the journal.
Go slow, you can always cut off another line or two, but you can't add it back, so take your time.
-min.jpg "How to Display Diamond Art Painting (5 DIY Ideas)")
Once the height fits the journal, place it around the journal and see how much overhang there is on the sides.
-min.jpg "How to Display Diamond Art Painting (5 DIY Ideas)")
It should be about to wrap over the top about 1 1/2 inches.
-min.jpg "How to Display Diamond Art Painting (5 DIY Ideas)")
Step 2 for Journal Wrap: Pen Slot
Here's the hard part, use a stylus or pen to mark where the pen slot should be on the journal.
At least a half inch away from the edge.
-min.jpg "How to Display Diamond Art Painting (5 DIY Ideas)")
Cut a small rectangle out of the diamond art canvas where marked.
Again, this should be done a little at a time, instead of too much.
It's not a science, because it's made to fit your exact pen...that will make a difference.
Mine is about 8 rhinestone rows tall and about 12 rhinestone rows wide.
-min.jpg "How to Display Diamond Art Painting (5 DIY Ideas)")
Then wrap it around the journal again and mark the area that the square hole lines up with.
-min.jpg "How to Display Diamond Art Painting (5 DIY Ideas)")
On the other side of the diamond art canvas, cut a top slit and a bottom slit the same width as the hole with a hobby knife, utility knife or razor blade.
-min.jpg "How to Display Diamond Art Painting (5 DIY Ideas)")
Okay, typing this out makes it sound confusing...at the end of the day it's really not.
One side of the canvas has a rectangle cut out, the other side has 2 slits, and they line up when wrapped around a journal.
-min.jpg "How to Display Diamond Art Painting (5 DIY Ideas)")
Now when the diamond art wraps around the journal, the hole is on top of the slits.
The pen can then be weaved through the hole and the slits, holding the whole journal in place!
-min.jpg "How to Display Diamond Art Painting (5 DIY Ideas)")
It's a tight enough fit that it holds it together, but if you open it up, the diamond art cover is not attached to the journal.
You can use some rubber cement to just tack the cover to the journal.
Don't cover the spine area and don't put the rubber cement where the cut hole and slits are.
Rubber cement is flexible and good for book binding. (more details on this post if you want to glue them)
-min.jpg "How to Display Diamond Art Painting (5 DIY Ideas)")
What do you think of the journal cover wrap for diamond art paintings?
Would you finish off a diamond art piece this way?
-min.jpg "How to Display Diamond Art Painting (5 DIY Ideas)")
Diamond Art Display Number 5: Tray
Last way to display finished Diamond art is a decorative tray.
Supplies Needed for Decorative Tray Diamond Art:
- Finished and Sealed Diamond Art Painting
- Mod Podge Diamond Coat Sealer and Finish
- Mod Podge Matte Finish
- Paintbrush
- Wood Tray (or pick up old wooden signs from the thrift store)
- Paint (optional)
-min.jpg "How to Display Diamond Art Painting (5 DIY Ideas)")
Step 1 for Decorative Tray: Paint
Begin by painting the tray a solid color whatever color you love, it's a blank canvas.
I am using Plaid Paint and of course, picked a shade of turquoise blue that I love, you can pick different colors.
-min.jpg "How to Display Diamond Art Painting (5 DIY Ideas)")
Step 2 for Decorative Tray: Trim
Measure the inside of the tray and cut the back of the painting down to fit nicely inside the tray.
Remember, you can cut off more but it's hard to add more back on.
-min.jpg "How to Display Diamond Art Painting (5 DIY Ideas)")
Step 3 for Decorative Tray: Mod Podge
After the paint is dry, add a semi-thick layer of Mod Podge in the base of the tray.
Then place the trimmed diamond art piece inside the tray and press it down into the Mod Podge.
This will let it seep up through the canvas a little bit holding all the rhinestone pieces in place.
-min.jpg "How to Display Diamond Art Painting (5 DIY Ideas)")
What do you think of the decorative tray for diamond art paintings?
Would you finish off a diamond art piece this way?
-min.jpg "How to Display Diamond Art Painting (5 DIY Ideas)")
Phew, that's it!
5 fabulous great option to finish off and display Diamond Art!
Which of these (4) ways is your favorite way to finish a diamond painting?
- Roll it to store it, using slap bracelets helps it stay loosely rolled.
- Make a diamond art hanging scroll.
- Frame the diamond art in a frame.
- Use the diamond art for a journal cover wrap.
- Make a decorative tray with diamond art.
- Cut into squares and glue to cork for coasters
- Take cut off strips (after doing projects above) and loop them into earrings
- Coat tray or framed piece with a thick layer of high gloss resin
- Stick to adhesive magnet sheet and cut into pieces for fridge magnets
- Glue it around a rolling pin for a unique finish
-min.jpg "How to Display Diamond Art Painting (5 DIY Ideas)")
That's it!
I absolutely love all these ways to use a finished diamond art piece, and so many other ways I didn't even try.
If you love doing diamond art but aren't quite sure what to do with the finished pieces, hopefully these give you some fun ideas with very little skill level needed!
What ideas do you have for finishing off diamond art?
Which of these ideas are you excited to try?
These make great gift ideas too!
Like, Pin and Save!
-min.jpg "How to Display Diamond Art Painting (5 DIY Ideas)")
Here's some other craft ideas you might love too!
How to Make Geode Glass Art (Plaid Fragment Effects)
Learn how to make a gorgeous geode glass wall hanging using Plaid's newest product, Fragment Effects.
This stained glass comes crushed and is great for various center stage uses in wall art, canvases, stained glass effects and resin.
Let me teach you all about how to use Plaid Fragment Effects, and walk you through a beautiful geode craft that can be completed by any skill level.
-min.jpg "How to Make Geode Glass Art (Plaid Fragment Effects)")
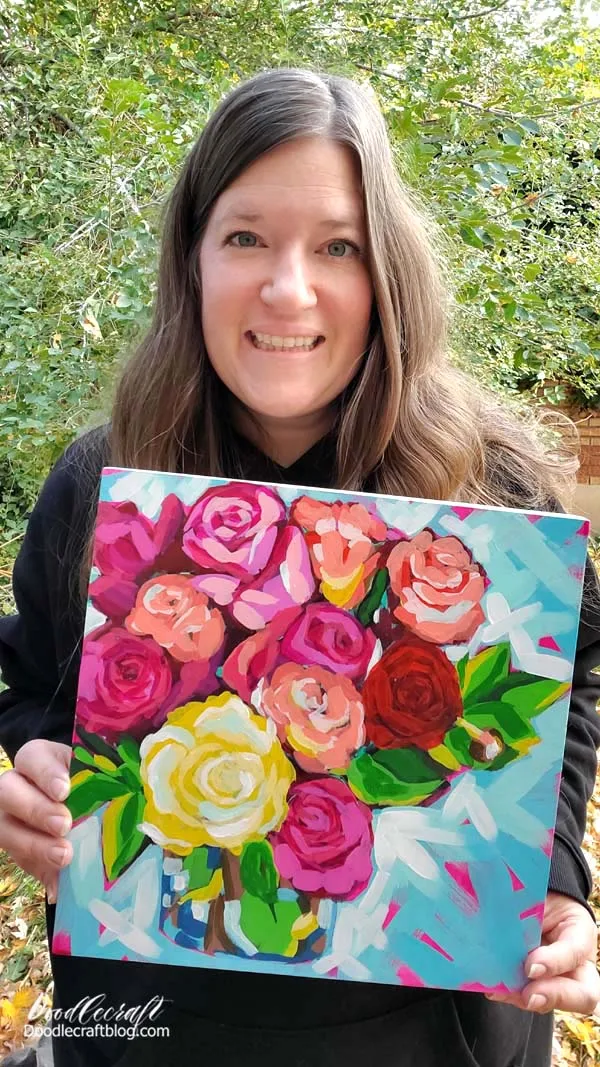
How to do Loose Acrylic Painting (Beginner Tutorial)
Loose acrylic painting is fast, quick drying paint in layers, creating depth and contrast in colors.
Back during the last week of September 2024, I picked up a new favorite hobby of loose acrylic painting!
I'm going to walk you through the basic steps of loose acrylic painting as a reference or guide, but as always, if you are excited about loose acrylic painting, sign up for a class or a course.
(More info below)
-min.jpg "How to do Loose Acrylic Painting (Beginner Tutorial)")


-min.jpg)


Comments