How to Make a Wrist Corsage or Boutonniere with Fresh Flowers!


This post may contain affiliate links, sponsored content and products received at no cost.
6:00 AM
How to Make a Wrist Corsage or Boutonniere with Fresh Flowers!   Boutineer, Wrist Corsage, Corsage, Wrist Bouquet, Boutonniere--however you say it, this is how to make it.  Making your own floral arrangements can save you money and create a uniquely custom piece that you would have a hard time finding at a floral shop.     This technique is perfect for Prom, School Dances, Military Balls, Weddings, Mother's Day or any other fancy occasion that calls for flowers.

How to Make a Wrist Corsage or Boutonniere with Fresh Flowers!


Boutineer, Wrist Corsage, Corsage, Wrist Bouquet, Boutonniere--however you say it, this is how to make it.  Making your own floral arrangements can save you money and create a uniquely custom piece that you would have a hard time finding at a floral shop.  


This technique is perfect for Prom, School Dances, Military Balls, Weddings, Mother's Day or any other fancy occasion that calls for flowers.


How to Make a Wrist Corsage or Boutonniere with Fresh Flowers!   Boutineer, Wrist Corsage, Corsage, Wrist Bouquet, Boutonniere--however you say it, this is how to make it.  Making your own floral arrangements can save you money and create a uniquely custom piece that you would have a hard time finding at a floral shop.     This technique is perfect for Prom, School Dances, Military Balls, Weddings, Mother's Day or any other fancy occasion that calls for flowers.


The first thing you will need to do is acquire your flowers.  Local florists have the best prices on florals priced by the sprig.  


Pick some greenery too, ferns, sprays, etc.  
Get a sprig of baby's breath.  
Pick about 3 to 5 fresh flowers depending on size.  
Pick a carnation or 2, mums, or miniature roses...those are my favorite.  


If you want these flower arrangements to last forever--or at least for a couple of wedding receptions, buy silk flowers and faux greenery for an equally stunning bouquet.

 
The first thing you will need to do is acquire your flowers.  Local florists have the best prices on florals priced by the sprig.    Pick some greenery too, ferns, sprays, etc.   Get a sprig of baby's breath.   Pick about 3 to 5 fresh flowers depending on size.   Pick a carnation or 2, mums, or miniature roses...those are my favorite.     If you want these flower arrangements to last forever--or at least for a couple of wedding receptions, buy silk flowers and faux greenery for an equally stunning bouquet.

Supplies Needed for Handmade Wrist Corsage:


  • Flowers and Greenery
  • 8 inches of fold over elastic
  • 12 inches of 5/8" satin ribbon (color of choice)
  • Plastic Rewards Card/Cardboard covered in packing tape
  • Hobby knife
  • Hot Glue/gun

Supplies Needed for Handmade Wrist Corsage:  Flowers and Greenery 8 inches of fold over elastic 12 inches of 5/8" satin ribbon (color of choice) Plastic Rewards Card/Cardboard covered in packing tape Hobby knife Hot Glue/gun

Step 1: Cut Base


Begin by cutting the cardboard covered in plastic--or an old plastic rewards card into an oval. The oval should measure about 2 inches long and 1.5 inch wide, does not have to be perfect.  


Then cut 1 inch lines on each side of the longer side of the ovals.  Cut them about 1/4 inch in from the edge.


I used cardboard in the photos, but if any water is spritzed on the flowers to keep them fresh longer, the cardboard will be compromised. Cover it in plastic packing tape to keep it a little more waterproof.


Step 1: Cut Base  Begin by cutting the cardboard covered in plastic--or an old plastic rewards card into an oval. The oval should measure about 2 inches long and 1.5 inch wide, does not have to be perfect.     Then cut 1 inch lines on each side of the longer side of the ovals.  Cut them about 1/4 inch in from the edge.   I used cardboard in the photos, but if any water is spritzed on the flowers to keep them fresh longer, the cardboard will be compromised. Cover it in plastic packing tape to keep it a little more waterproof.

 Thread the elastic through the slits and hot glue them in place on one side.


Thread the elastic through the slits and hot glue them in place on one side.

Measure the wrist.  Usually a wrist is around the 6-8 inches around.  You can take precise measurements to be sure and make the elastic about 1/2 inch smaller than wrist size, and glue it in place.  


If you are unsure, just thread the other end of the elastic into the cardboard and leave it unglued, so it is adjustable...just use caution when pulling it tighter so the cardboard doesn't tear. 


Measure the wrist.  Usually a wrist is around the 6-8 inches around.  You can take precise measurements to be sure and make the elastic about 1/2 inch smaller than wrist size, and glue it in place.     If you are unsure, just thread the other end of the elastic into the cardboard and leave it unglued, so it is adjustable...just use caution when pulling it tighter so the cardboard doesn't tear.

It looks like an especially simple watch...like a watch I would have made for myself when I was little if I had all these awesome supplies.


It looks like an especially simple watch...like a watch I would have made for myself when I was little if I had all these awesome supplies.

Step 2: Greenery


Clip the ferns and hot glue them on the cardboard.  The entire span of the flowers here is 7 inches across, this is a good distance up the arm and over the hand.  


Make the side of the corsage that goes up the arm the fuller side.


Step 2: Greenery  Clip the ferns and hot glue them on the cardboard.  The entire span of the flowers here is 7 inches across, this is a good distance up the arm and over the hand.     Make the side of the corsage that goes up the arm the fuller side.

Next, add some sprigs of greenery.  Simply hot glue them right on the cardboard backing.


Next, add some sprigs of greenery.  Simply hot glue them right on the cardboard backing.

Next add small sprigs of Baby's Breath and hot glue on top.


Next add small sprigs of Baby's Breath and hot glue on top.

Step 3: Satin Ribbon Bow


In order to cover the center where all the hot glue is, this ribbon is the perfect solution.  Here's a detailed post on how to wrap this simple bow.  Just wrap the ribbon 3 times in a loop and hold in place.


Step 3: Satin Ribbon Bow   In order to cover the center where all the hot glue is, this ribbon is the perfect solution.  Here's a detailed post on how to wrap this simple bow.  Just wrap the ribbon 3 times in a loop and hold in place.

Gather the ribbon right up the center and wrap around the middle of the ribbon gather with thick thread.  Tie it tight and trim the strings.  Cut the ends of the ribbon to the desired length.


Gather the ribbon right up the center and wrap around the middle of the ribbon gather with thick thread.  Tie it tight and trim the strings.  Cut the ends of the ribbon to the desired length.

Simple bow with 2 loops on each side.  See this bow post for more detailed instructions.


Simple bow with 2 loops on each side.  See this bow post for more detailed instructions.

Hot glue the satin bow right on top of the center of the corsage, right where all the plants were glued on the cardboard.  Let the glue cool completely.


Hot glue the satin bow right on top of the center of the corsage, right where all the plants were glued on the cardboard.  Let the glue cool completely.

Step 4: Flowers


Now for the main flowers.  Clip the ends of the flowers to about 1/2 to 1 inch long.


Step 4: Flowers  Now for the main flowers.  Clip the ends of the flowers to about 1/2 to 1 inch long.

Hot glue the longer stems under the bow and the shortest flower right on the center of the ribbon.  If you want to decorate with gems, buttons, rhinestones or other bling, now is the time to place it.


Hot glue the longer stems under the bow and the shortest flower right on the center of the ribbon.  If you want to decorate with gems, buttons, rhinestones or other bling, now is the time to place it.

Let it cool completely and then slide it on the wrist!  It's stunning and ready to wear to a fancy night out.  The wonderful thing is that the flowers are secure and will last for a couple days before wilting. 


Keeping it in the refrigerator is a good way to preserve it. You can spritz it with a spray bottle of water, but be cautious if you made it with just a cardboard base, as it can fall apart.


How to Make a Wrist Corsage or Boutonniere with Fresh Flowers!   Boutineer, Wrist Corsage, Corsage, Wrist Bouquet, Boutonniere--however you say it, this is how to make it.  Making your own floral arrangements can save you money and create a uniquely custom piece that you would have a hard time finding at a floral shop.     This technique is perfect for Prom, School Dances, Military Balls, Weddings, Mother's Day or any other fancy occasion that calls for flowers.


Save big money on your next formal event by making your own corsage!


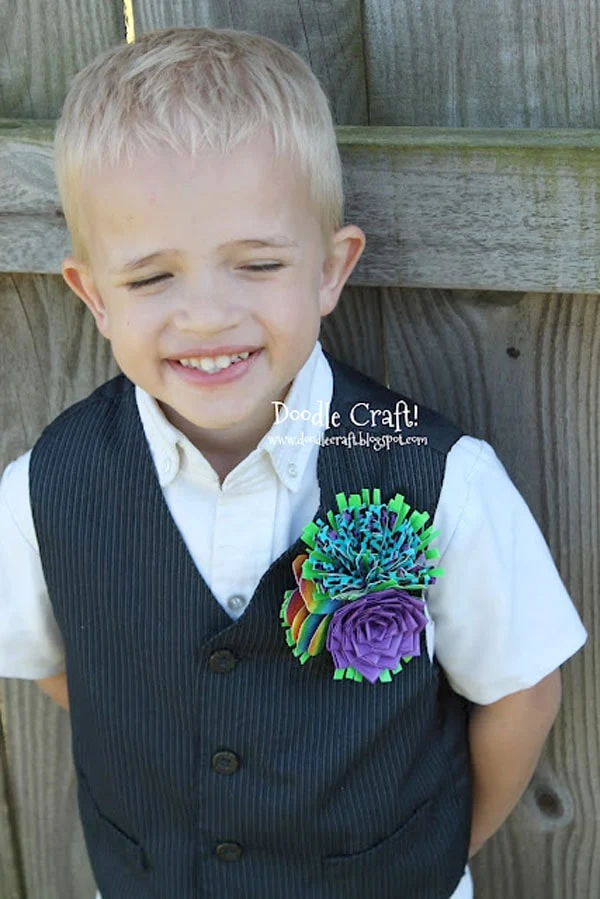
If you are making a pin-on corsage, do the same steps as above, but just leave off the elastic.  Work on a piece of thin cardboard and it's simple to pin through later...or hot glue a magnet on the back of the cardboard and use another magnet to attach it through a shirt.


Make a wrist corsage for Valentine's day, Mother's day, formal dances, as a special birthday gift, for a quinceanera, school dance, Prom or for the entire wedding party!

That's it!


Make a wrist corsage for Valentine's day, Mother's day, formal dances, as a special birthday gift, for a quinceanera, school dance, Prom or for the entire wedding party!


Like, Save, Share, Comment, Follow and Pin!


How to Make a Wrist Corsage or Boutonniere with Fresh Flowers!   Boutineer, Wrist Corsage, Corsage, Wrist Bouquet, Boutonniere--however you say it, this is how to make it.  Making your own floral arrangements can save you money and create a uniquely custom piece that you would have a hard time finding at a floral shop.     This technique is perfect for Prom, School Dances, Military Balls, Weddings, Mother's Day or any other fancy occasion that calls for flowers.


Here's some easy Boutonniere tutorials to help too!


Here's some easy Boutonniere tutorials to help too!   Make the flowers out of Duck Tape!


(can be made with fresh flowers too)
Faux Flower Boutineer (can be made with fresh flowers too)


How to Make a Succulent Boutonniere with Boutstix Wedding, Prom, Mother's Day and formal season is upon us! Instead of spending too much money on an overpriced boutonniere, learn how to make your own easily. This succulent boutonniere is easy to make, and perfected with Boutstix floral magnet closure for wearing without stabbing pins through clothes or flesh.   Boutstix sent me a few packages of their floral magnets after I reached out to them to swoon about their product! I tried one out helping a friend make a boutineer for her daughter's formal dance. These are MAGIC!


facebook Follow Me on Pinterest Youtube Instagram twitter
postscript

Comments