This post may contain affiliate links, sponsored content and products received at no cost.
6:00 AM
Upcycled Crafts: Make your own Fidget Spinner!
Recycled crafts are my favorite. I love taking things that are typically trash or used for other things and then turning them into something fun! Fidget Spinners are all the rage, right!?
I guess cubes and controllers are making it big too.
Here's a fun DIY to make your own spinner...this would be a fun summer craft with the kids!
Right click to save off this free template, personal use only please.
Print it off. Mine is 2.75 inches wide.
My son has a nice shiny metal fidget spinner...but he was pretty anxious to try mine out when he saw it! Watch it in action. Not as fast or continuous as a metal bearing spinner, but it is so fun!
Mine is double sided and opposite colors.
You will need:
Thin Cardboard, like a cereal box.
Sewing bobbin
Shiny metallic posterboard (this makes it fun)
Stapler
Scissors
Hot glue/gun
Cut 2 pieces of cardboard the size of the template.
Staple the stack together.
Cut them out.
Repeat with the posterboard.
You can print a second template, or just use the one you already cut, just staple it right in the center.
Cut them out. Then stack one posterboard and one cardboard and cut a slit on one side and then cut out the circle center.
Use the hot glue gun and glue each layer together.
So one side is blue and one side is red.
Now to fit the bobbin inside is tricky. You really have to bend the cardboard stack to slip it inside.
See how it got a little mangled? Hmm, so just be cautious and go slowly.
It looks great and you could stop there. But let's make it sturdy and look a little more flashy!
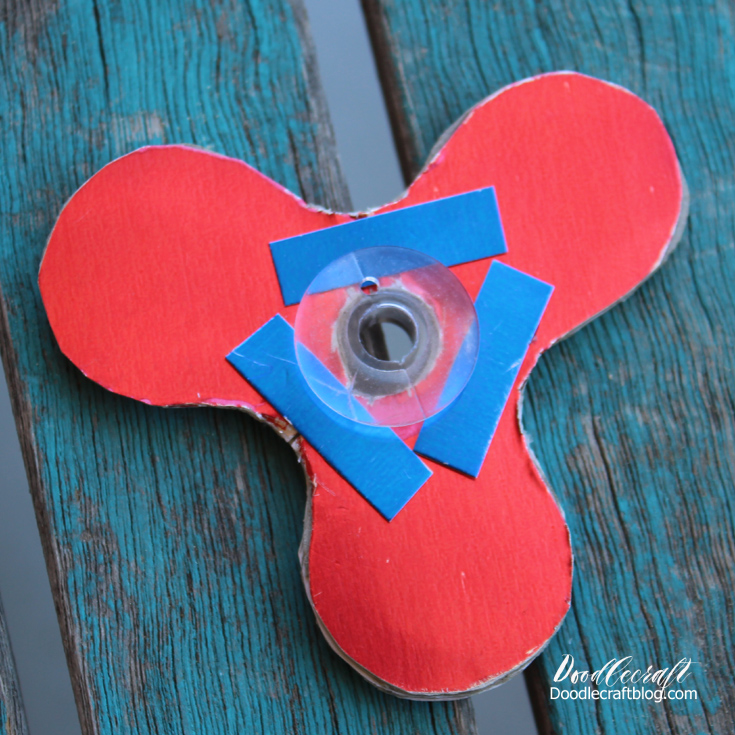
Cut some strips, about 1/4 inch by 1 inch...
3 of each color.
Hot glue them like band-aids across the weak points.
Then it's ready to spin and play with!
So much fun, can you believe how simple it is!?
Great for a fun birthday party craft or summer camp!
Like, share, pin, save, comment and follow!


-min.jpg)


Comments