Upcycled Rolled Paper Frame!
This frame is visually stunning with lots of texture and pops of color! However...it's menace runs deeper.
This was the most tedious and time consuming project I've ever wrangled my kids into doing. It turned out stunning, with vivid colors and looks amazing...but it was the most tedious project I've ever tackled!

It all started like this. I had been planning this craft for a while, and my husband was out of town, so it seemed like a good time to catch up on projects. My nearly 12 year old son said "hey mom, can I play Diablo?"and I said "Yes, but help me with this project first".
Famous last words.
I similarly convinced my 10 year old daughter to play along as well...so we had the whole crafty family working together. Minus the 5 year old who was in and out and playing his heart out. (lucky devil) We begun this escapade at 4:02 pm...and finished with the last shutter click at 8:49 pm. Completely SKIPPING dinner! No worries, we had Marshmallow Mateys at 9:00 pm. (Note: I would not do this again)
But we made it through all of:
Barbie the Island Princess, Brave, Frozen and part way into Wreck it Ralph. for this:
You will need: (affiliate links)
- Paper (lightweight)
(you could use scissors...but that would make this project suck even more)
(you could use glue...but that would make this project suck even more)
- Either a quilling tool or a toothpick
- Paint/spray paint for the frame
- Time....lots of it. and movies to play in the background...or an audio book!

Step 1: Cut Paper!
Let's begin...right...like I've totally convinced you to make your own!!! Hahaha. Begin by cutting the paper into half inch strips with the paper cutter.
Cut magazines and Astrobrights paper!
Step 2: Fold Paper!
Now, fold all those strips in half. Fun, right?
Step 3: Roll Paper!
We used quilling tools to get the rolling started and then mostly switched to just finger rolling.
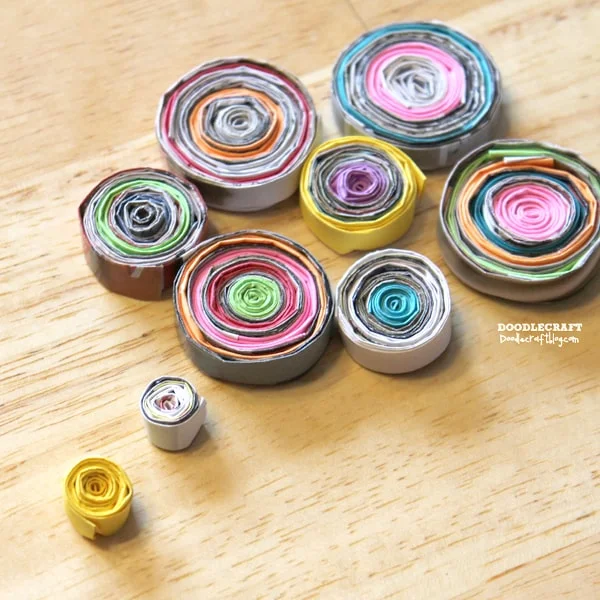
Alternating magazine strips and paper strips. Using the tape gun to tape on additional strips...and finally taping the strip to itself once we were satisfied with the size.
Repeat rolling the folded magazine papers and Astrobright colored paper over and over again.
At this point...the point of no return...maybe an hour into the process...we thought we were rocking it! They looked great and we were cranking them out!
We made 8 and they look fabulous! Go ahead and make them different sizes.
Step 4: Hot Glue Rolls!
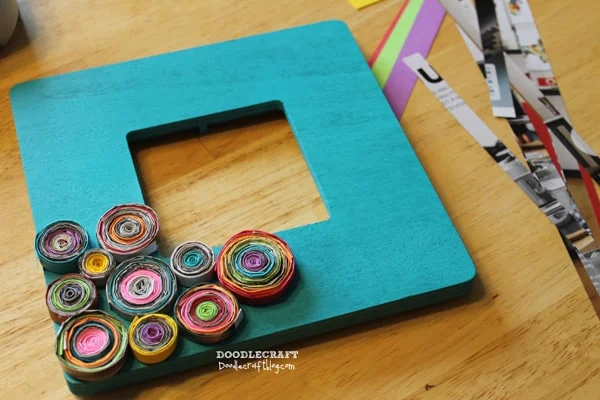
And then I put them on the spray painted frame...ouch. This was going to take forever to fill that sucka up!
Don't give up! Maybe this would be fun for a family reunion! Everyone could sit around and roll and chat...many hands make light work!
Hailee got tired of rolling, so she switched to just folding the strips...that made it easy for me to roll and use the already folded strips...you just have to make the most efficient system.
Half way! Onto another movie!
I decided to hot glue them in place as we worked...no chance that the tape on those things would give up and unroll!
Plus it gave us measurable progress! Maybe let out a scream at this point!
We spent the last bit of time making tiny little rolls to fit in the gaps. But we wanted some of the teal paint peeking through and were just plain sick of it anyway!
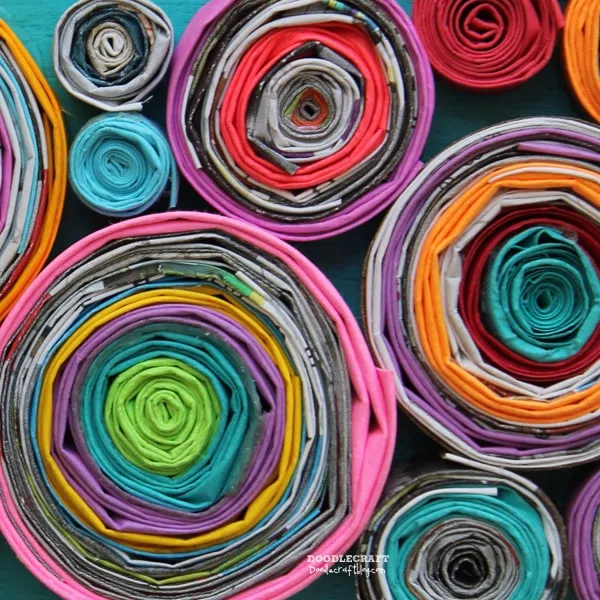
Amazing right?!!! Totally worth the time...right?!!
I really do love the frame! Haven't thought of what to put in it yet...what could possibly merit all that time?
Maybe a wedding picture?
Maybe a diamond!
It does look super cool. And the kids were proud of their accomplishment! It was like the marathon of crafting!
We probably should have just painted it and decorated it like my daughter did with this frame for me for Mother's day!
After all night, it's finished!
So what do YOU think????? Was it worth it!???? Would you ever try this????


-min.jpg)


Comments
The frame is cool and very beautiful, and you are a funny writer! Thanks you for the post.
xo laura
☮️