Make Your Own String Voodoo Dolls!
Learn how to make your own String Voodoo Dolls.
They are a fun craft that you can make in a variety of ways for cute handmade gifts, a little guy to guard the house or just for fun.
Let's get started!
These are such fun little toys...
String dolls, voodoo dolls, yarn wrapped figure...whatever you want to call it!
Each has a cute little personality!
Seriously, so cute right?
Okay...let's start with a disclaimer.
I did this project with my 10 and 8 year old kids.
I thought this would be a fun kid craft...but it turned out
to be a little harder than anticipated...
so I ended up doing all the wrapping...
and they came in to decorate.
Supplies Needed for String Voodoo Dolls:
affiliate links
Begin by making a skeleton.
Pipe cleaner folded in half...
Wooden Bead or Ball hot glued in place
Bend pipe cleaners about an inch away from head to make arms.
Then back to the middle.
Then bend remaining length in half for the legs.
It basically makes a star shape!
Then, make a bunch--because I do everything in bulk!
Next, take your yarn. We used white yarn and
covered the whole body. It's like the guts and skin.
We tied it off in the middle and began wrapping.
Our pipe cleaners were thick fuzz, so there
was some trimming that took place.
We didn't bust out the hot glue until this point...
when the heads kept popping off!
I'd recommend starting with hot glue!
My daughters stroke of genius!
The yarn slips around a bit, so this is where I sort of took over.
I used hot glue to tack the yarn in place here and there...
Especially over the head. It was so slippery that
the yarn just kept sliding off. This is where I just wrapped all the rest myself.
Finally all mummified!
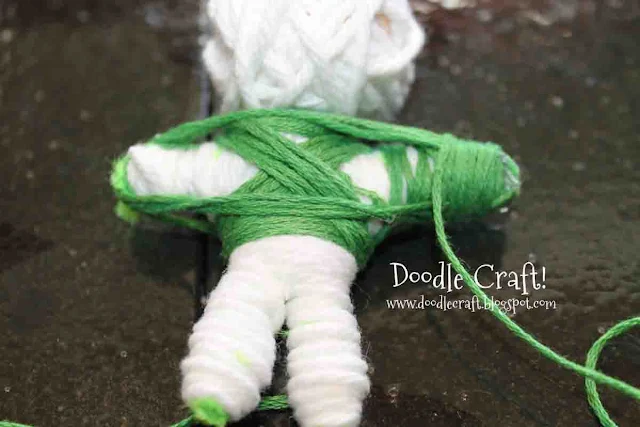
So, we got out the embroidery floss.
You could use yarn or twine...but we have gangs of this stuff.
Now you are building the clothes!
I found that hot gluing the ends of the hands and
then wrapping this way worked best.
After one complete thing of floss...
Side note: Why is it that embroidery floss always gets tangled?
I unraveled the entire thing all over the kitchen so it wouldn't
get twisted.
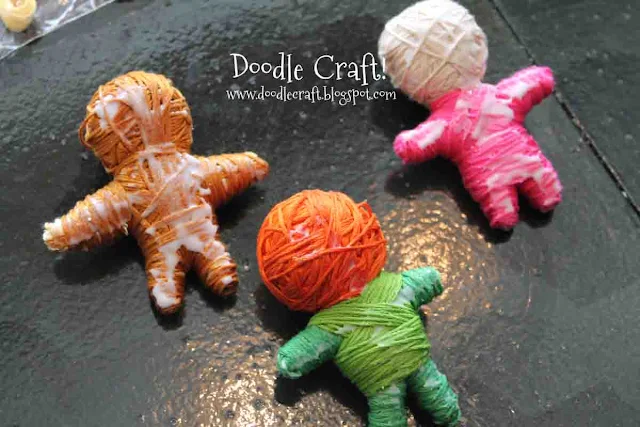
Ah...much better! Pick any color combos you want!
After they were all covered...we spread a little school glue on the
backside of them. I thought maybe this would keep the string
in place forever...since it was so much work getting it on!
Next is the FUN PART!
DECORATE!
Decide what you want your guy to look like...
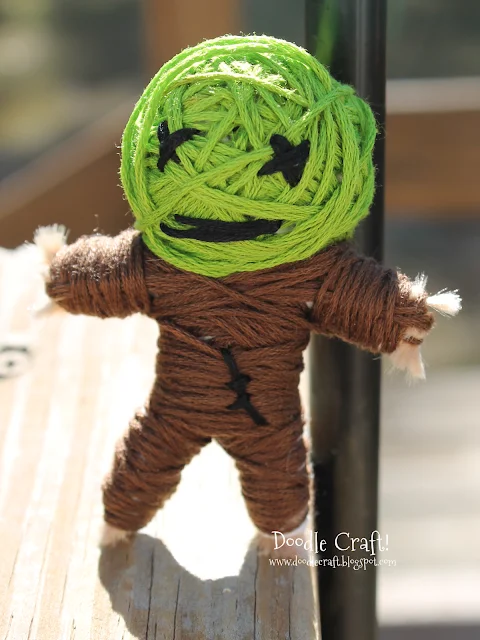
I used more floss and a needle to stitch little X eyes and a straight mouth...
and some stitches on his chest.
Green faced little zombie scarecrow guy!
Something about the raggedness of these voodoo dolls is so charming!
And I think this little bubble gum voodoo baby is my favorite!
I love the uneven legs and the whimsical smile!
I wanted this guy to look like a classic yellow happy face...
A ninja!
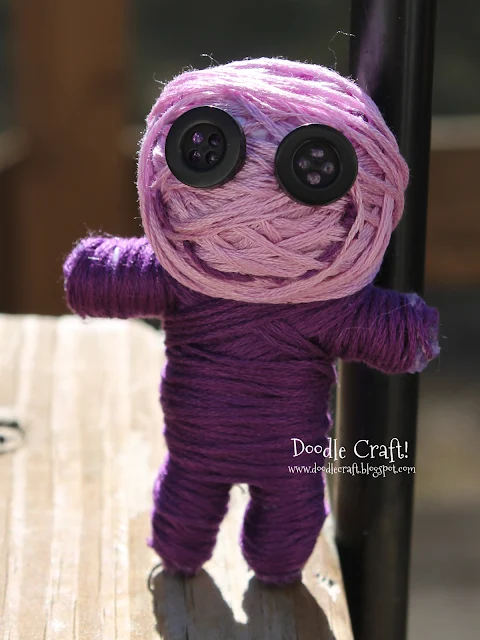
This button eyed one reminded me of Coraline.
My 4 year old son had to show me how to do the best Robot eyes...
he said "not cute eyes mom, mad eyes"
I tried. He does have an antennae, pincer hands
and wheels...and a control panel.
I knew I wanted a little Santa/gnome guy.
The hat is out of felt and topped with a pom pom!
Then we used bits of felt and hot glue to decorate the pumpkins face.
And a stick from the yard for a stem!
Eyelashes and googily eyes--and a lollipop!
Wiskers, Ears and a Nose!
I love them! I am sure I will find them scattered and
"hiding" in random places around the house!
Sounds like the beginning of a long family tradition to me!
Save for later!


-min.jpg)


Comments
I'm participating in sytyc too! :)
I like these dolls, especially the rabbit
good luck!
Cecilia
Pinned this too and now following you
sined :
Me