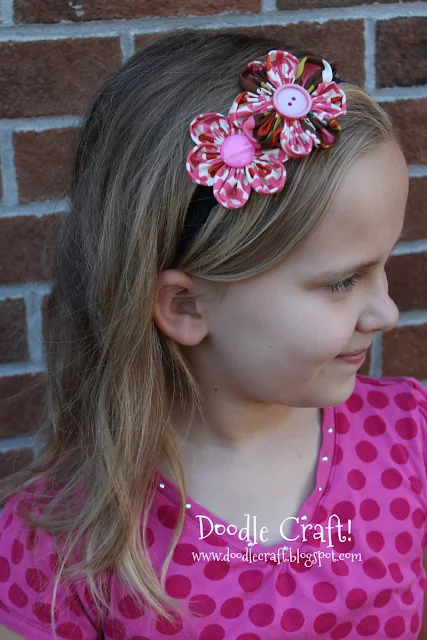
Fabric Flower Headbands!

Here's the instructions on making 3 varieties of fabric flowers
and putting them on a headband!
You will need circles of fabric.
Needle and thread.

Fold circle in half. Stitch in and out along the rainbow edge!
(I made my 10 and 8 year old make a flower too...
so that's how I described it to them!)


Here is the petal all gathered on the needle.

(here's how it looks ungathered...)

Scooch it to the end of your thread where you've tied your knot

Then add on more petals...

Until it is the size you want it. Then keep it gathered and
sew the last petal to the first petal to secure them together.
Tie it off and cut the thread.

Hopefully you've got it now!

Ooh cute! Now make a bunch!!!
(to be fair, I wasn't feeling great that week...and
I listened to audio books and did the sewing)

Now, make it into something!
I used elastic lace and black felt!
Hot glue of course too!

Cut a circle to fit the back of the desired flower...
glue on the elastic...

Then fill the felt with glue...press your flower onto it.
Don't burn yourself! I burned myself twice this week
and I feel so bad for anyone who has been a burn victim!
Ouch! Most pain ever...and I just burnt my finger!

Looks fabulous!

For the doubles I cut a figure 8 shaped piece of felt!
And glued them on overlapping!
Then embellish the centers with buttons, trinkets or gems!
2nd flower variety...
Take a circle of fabric, cut it in half.
Then fold it in half and sew that straight edge.

Flip them right side out.

Stitch along the rainbow edge!
Repeat!Until desired size is reached
Then tie it to the first petal and secure it. cut the thread.
Glue it on and embellish!

Now, what to do with the billions of flowers I made???
Make millions of headbands!

Well, 75 to be exact!
These look fab on ladies, girls and babies!

I used one to wrap around a birthday present too! So cute!
Okay, since I didn't do a tutorial on these yo-yo's...
I'll explain them.

Take a circle of fabric. Keep it open,
stitch in and out around the entire circle.
Pull in gently to gather into the center. Press flat.
Tie off thread. Embellish the gathered/tied off center with an
awesome brass vintage button! Easy!

These would be gorgeous on a wreath, a tag,
ornaments for a tree, hair bows, big necklaces, corsage pins...

You name it...you need flowers!
Linking up to THESE parties this week!


-min.jpg)


Comments
I would LOVE for you to link this up at my Ginger Jamboree Link Party!!
Good Idea. Thanks for posting on how to create them. Because am the wholesale tulle supplier in the United States. Right now we would like to create the this flowers will be using own fabric. when i finished that after posted this group.
See: https://www.facebook.com/groups/tullesuppliers/