Marbled Light Switch Covers with Easy Marble DIY
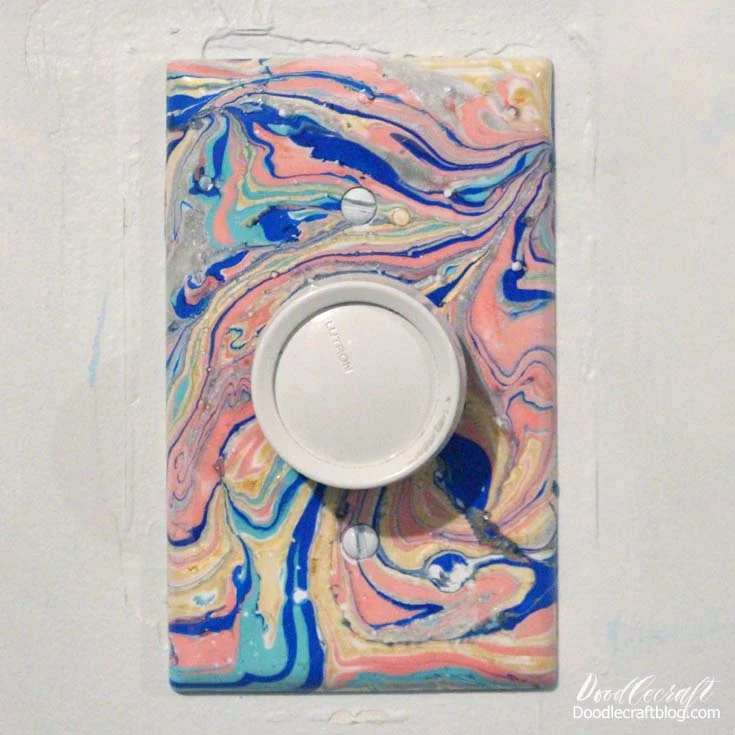
Add some fun to the walls of your home by marbling the light switch covers. This is a fun craft that older tweens and teens will love to. Customize the perfect switch covers for each room...pick the colors you like! This is a fun and quick craft that will leaving you dying to marble all the things!
Supplies Needed:
Easy Marble
Light Switch Cover
Light Switch Cover
Shallow disposable basin that fits the size of the card
Toothpick or Straight Pin
Acetone and cotton pads for clean-up
Paper towels
Water
Painters tape
Begin by adding some loops of painters tape to the backside of the switch plate.
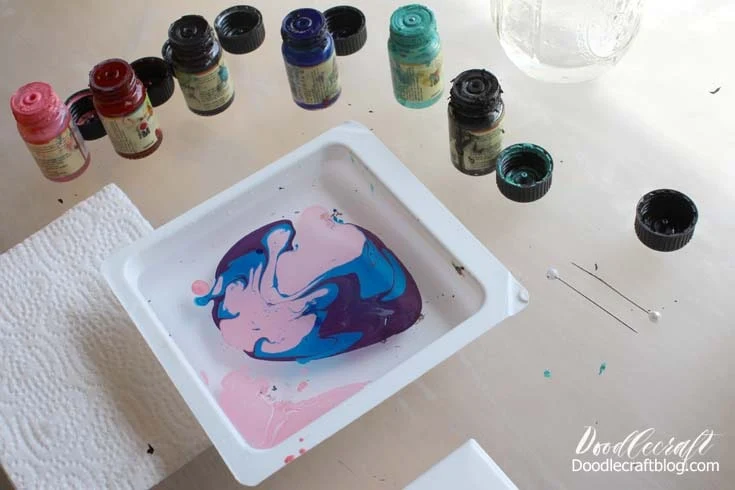
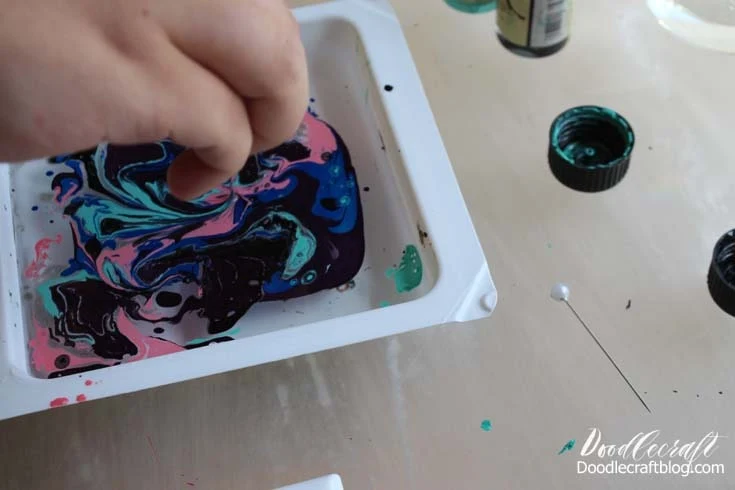
Fill the tray with water and then drop colors of Easy Marble in the water, work quickly or it will dry too much and clump. Add more colors in a bulls-eye pattern. Then swirl the Easy Marble with a toothpick or pin until satisfied with the design, again work quickly.
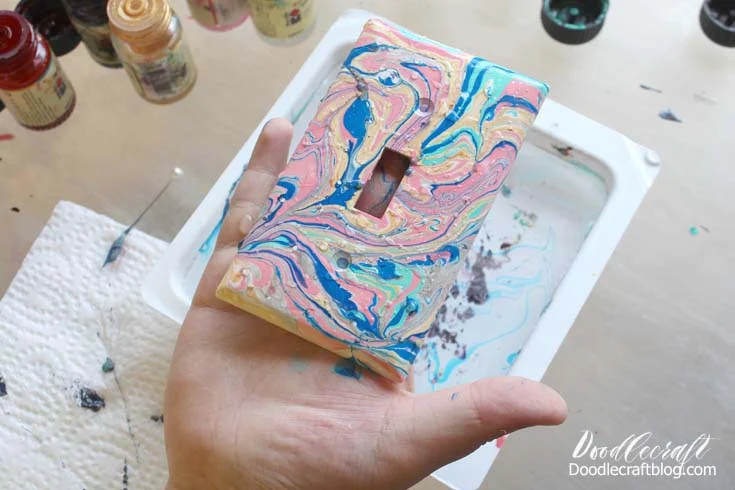
Press your fingers on the sticky tape and dunk the switch plate in the water pressing it down under the paint surface.
Use a toothpick to remove or "cut" the edges of the marble away from the switch plate and pull it out of the water.
Place the switch plate on a surface where it can dry completely. The paint cures quickly and smells similar to nail polish--with a very different viscosity.
Repeat the process for each switch plate you desire. If you aren't satisfied with the result, the Easy Marble can be removed with Acetone.
As simple as that! Drop paint in the water, swirl with a pin or toothpick, press in the water and pull out, let dry and done!
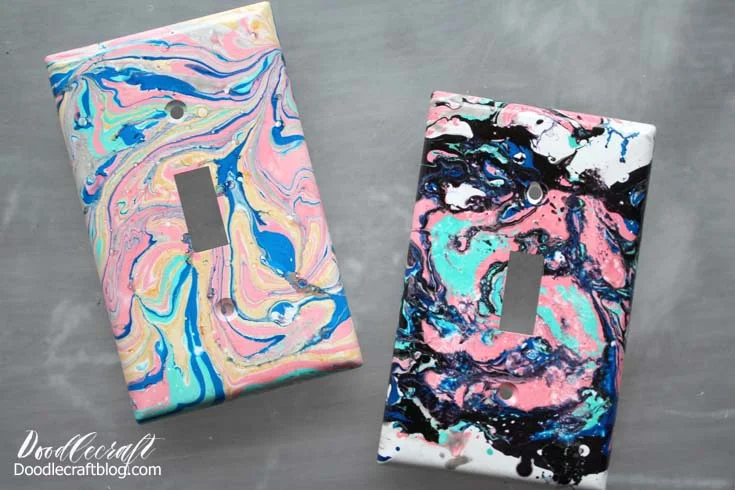
That's it! After they dry completely, screw them in place and enjoy the new light switch cover.
They look awesome and get lots of attention in every room of the house!
Like, Pin and Share!
And here's a bunch of other fun Marbling crafts!
Plus, check out these acrylic pour videos, pouring is another amazing craft!







-min.jpg)


Comments