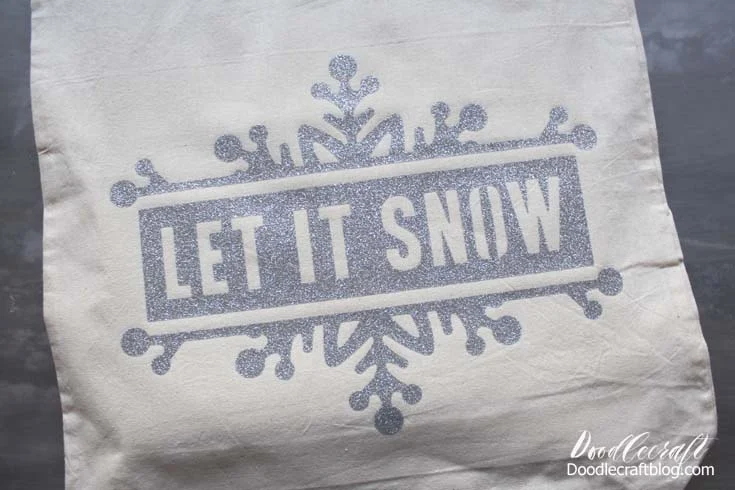
Let it Snow Glitter Iron-on Tote Bag: Christmas in July with Cricut!
I'm a big fan of getting ahead of schedule and not feeling swamped...so doing Christmas projects in July is the perfect way to get going. Make a darling tote bag for gift giving months in advance so you can enjoy December when it gets here.
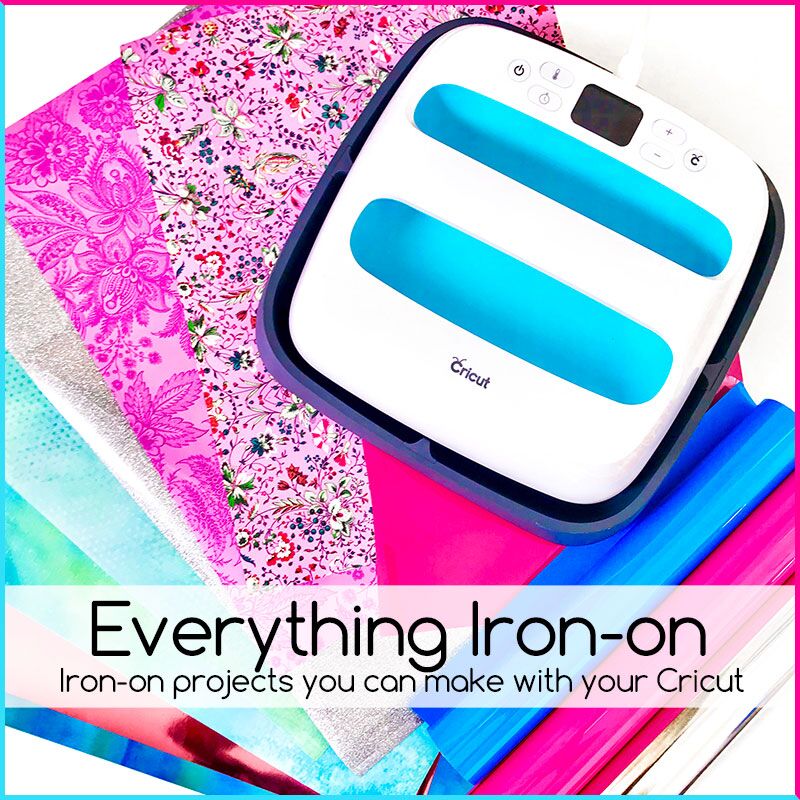
This is part of a Cricut Iron-on Event, featuring lots of projects from other bloggers, details at the end of the post. Affiliate links included.

You will need:
Tote bag (mine is from Totebagfactory.com)
Cricut Cutting Machine (I love the Maker)
Silver Glitter Vinyl
Cricut Design Space™
Let it Snow CDS Project
Cricut EasyPress and Mat
Begin by placing the glitter vinyl plastic side down on the mat. Insert into the machine and mirror the image. Set the setting to "iron-on" and the "more" depth. Then cut and remove the vinyl from the mat.
Use the hook tool to remove the excess vinyl.
Warm up the tote bag with the EasyPress.
Then place the iron-on vinyl on the warm bag. Heat the EasyPress to 340* and heat for 20 seconds for each section of the vinyl. Heat up the backside of the bag for about 10 seconds.
Let the vinyl cool down completely.
Peel off the plastic covering by rolling it back over itself.
Now your bag is ready to fill! Great to have a bunch on hand for neighbor gifts or last minute parties. Fill with goodies, wrapping paper or other fun items to help the season be bright!
Remember when you are making things in advance for Christmas, put them away in a place that you will remember in December. I use the same closet every year when I start accumulating Christmas stuff...then there's nothing forgotten.
Like, Save, Share, Comment, Follow and Pin
Check out these other fun Iron-on Vinyl ideas!
I'm a big fan of getting ahead of schedule and not feeling swamped...so doing Christmas projects in July is the perfect way to get going. Make a darling tote bag for gift giving months in advance so you can enjoy December when it gets here.
This is part of a Cricut Iron-on Event, featuring lots of projects from other bloggers, details at the end of the post. Affiliate links included.

You will need:
Tote bag (mine is from Totebagfactory.com)
Cricut Cutting Machine (I love the Maker)
Silver Glitter Vinyl
Cricut Design Space™
Let it Snow CDS Project
Cricut EasyPress and Mat
Begin by placing the glitter vinyl plastic side down on the mat. Insert into the machine and mirror the image. Set the setting to "iron-on" and the "more" depth. Then cut and remove the vinyl from the mat.
Use the hook tool to remove the excess vinyl.
Warm up the tote bag with the EasyPress.
Then place the iron-on vinyl on the warm bag. Heat the EasyPress to 340* and heat for 20 seconds for each section of the vinyl. Heat up the backside of the bag for about 10 seconds.
Let the vinyl cool down completely.
Peel off the plastic covering by rolling it back over itself.
Now your bag is ready to fill! Great to have a bunch on hand for neighbor gifts or last minute parties. Fill with goodies, wrapping paper or other fun items to help the season be bright!
Remember when you are making things in advance for Christmas, put them away in a place that you will remember in December. I use the same closet every year when I start accumulating Christmas stuff...then there's nothing forgotten.
Like, Save, Share, Comment, Follow and Pin
Check out these other fun Iron-on Vinyl ideas!


This post published on Doodlecraft first


-min.jpg)


Comments