
-min.jpg "Layered Laser Cut Wood Sign with Tooli-Art Paint Pens")
Layered Laser Cut Wood Sign with Tooli-Art Paint Pens
Layered laser cut wood signs are beautiful, fun to make, and totally the thing right now!
The intricate cuts of a laser cutter make it possible to stack very delicate layers into a work of art easily and making it not quite so delicate.
The depth, texture and colors make this little planter sign so intriguing!
-min.jpg "Layered Laser Cut Wood Sign with Tooli-Art Paint Pens")
This planter wood sign with its six layers of wood is such a fun piece of home decor.
I love plant as art...because I am not good with plants--I've tried over and over to grow plants and instead it just doesn't work and I hurry and give them away so they don't die in front of my eyes.
So, this darling planter wall art was just what I needed to brighten my home with the idea of plants.
However, there are so many fun laser cut wall hanging varieties that you can make in any theme--and they are perfect for special events!
-min.jpg)
Let's start with these Tooli-Art Paint Pens!
I discovered Tooli-Art at a Rock Painting Valentine Day Party.
One cute lady I sat by had a whole rolling cart filled with rock painting and diy craft supplies.
She was super excited to show us her latest color pack of Tooli-Art Paint Pens.
She let me try them out.
Guess what!?
They ARE that good!
-min.jpg "Let's start with these Tooli-Art Paint Pens!")
I immediately reached out to Tooli-Art to see if we could work together.
They sent me the Metallic, Glitter and Essential packs in exchange for this post.
But they absolutely live up to the hype--they are high quality!
They are smooth and easy flowing paint pens...work on rocks, layers of wood or other great things.
Here's the Tooli-Art Paint Pens I am using:
-min.jpg "I immediately reached out to Tooli-Art to see if we could work together. They sent me the Metallic, Glitter and Essential packs in exchange for this post. But they absolutely live up to the hype--they are high quality! They are smooth and easy flowing paint pens...work on rocks, layers of wood or other great things. Here's the Tooli-Art Paint Pens I am using: affiliate links Essentials Extra Fine Essentials Medium Metallic Medium Glitter Medium Get the Glitter and Metallic sets as a combo here!")
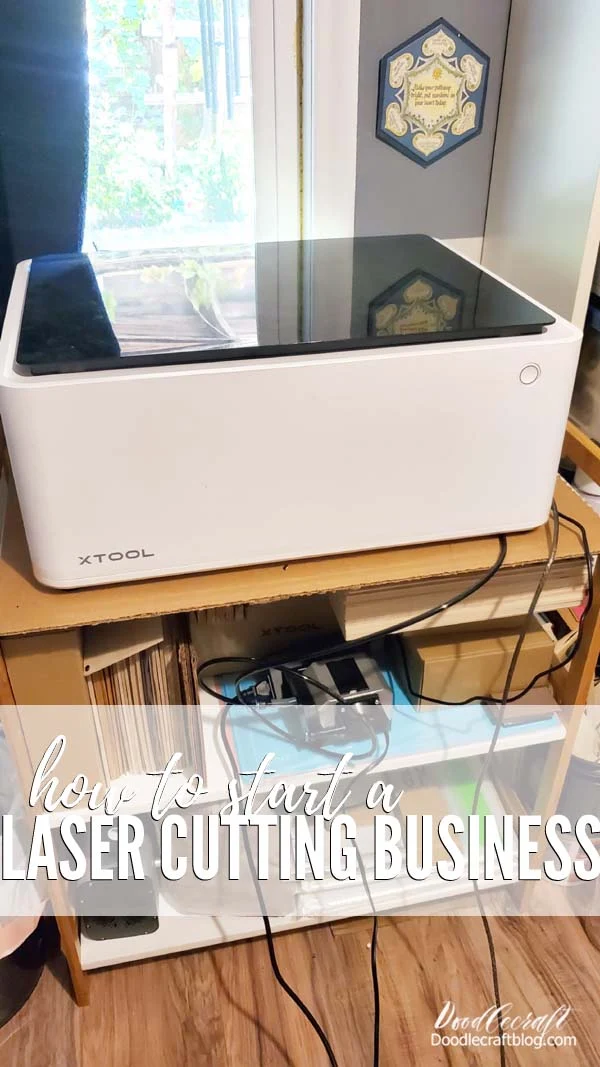
Now let's talk about Laser Cutting.
The world of home laser cutters is expanding!
Owning your own laser cutting machine is not only possible, it's pretty commonplace!
The xTool S1 20W laser cutting machine stands at the forefront allowing crafters and creators to engrave intricate designs with unparalleled precision.
This advanced laser cutting machine is equipped with a powerful 20W laser that can etch designs onto various materials, including glass. Its precision and efficiency make it an ideal tool for crafting intricate patterns on mirrors, transforming them into personalized works of art.
It doesn't take years of experience to operate the best laser engraving machine--it just takes a little leisure time to get started.
-min.jpg "Now let's talk about Laser Cutting.")
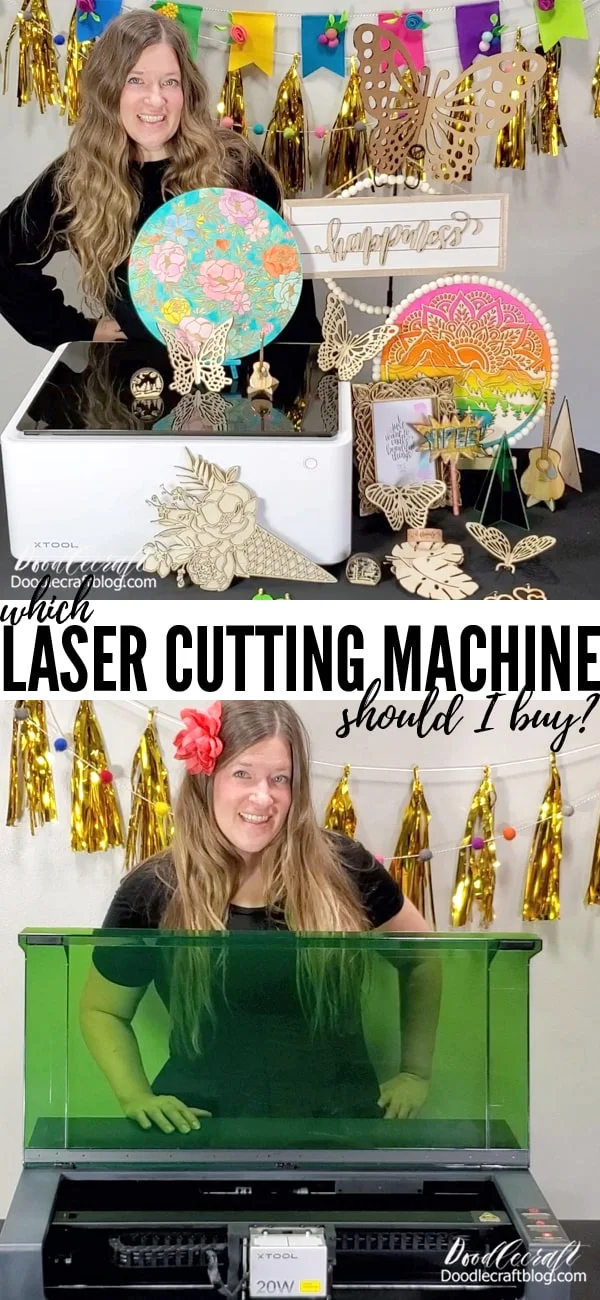
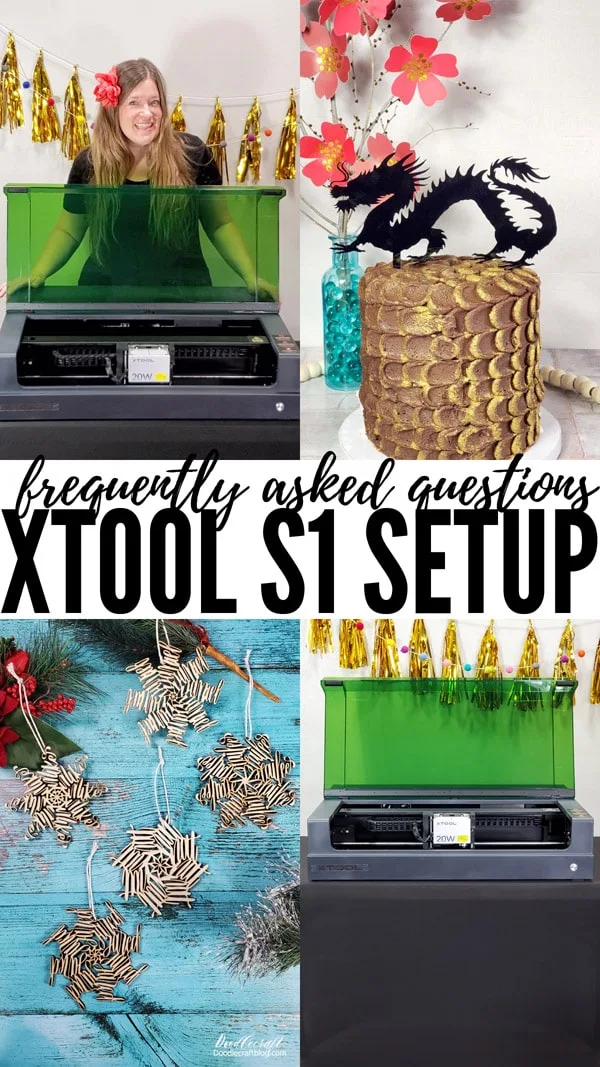
If you don't have a home laser cutter yet, here's some to consider:
xTool Machines:
- CO2 Laser xTool P 2 Machine (CO2 is the only laser beam that cuts all colors of ACRYLIC)
- xTool F 1 Portable Laser Cutter
- xTool S 1 20W or 40W ( I have the 20W--see this post)
- xTool M 1 10W Deluxe RA2 Pro (this is the one I have--see this post)
Diode laser machines are very capable as a laser engraver and cutter on multiple surfaces including some colors of cast acrylic sheets.
They are great for adding a personal touch to so many surfaces, giving intricate designs or any customized design of your choice.
Laser cutting projects are great for laser enthusiasts, side hustles and small businesses too!
The latest version, xTool S1 has built in fire detection which helps keep you safe and give xTool it's outstanding track record of current safety standards...this is very important when doing these fine delicate cuts on wood.
Check out my post on xTool and all the company info.
-min.jpg "xTool Machines: CO2 Laser xTool P 2 Machine (CO2 is the only laser beam that cuts all colors of ACRYLIC) xTool F 1 Portable Laser Cutter xTool S 1 20W or 40W ( I have the 20W--see this post) xTool M 1 10W Deluxe RA2 Pro (this is the one I have--see this post)")
Supplies Needed for Layered Laser Cut Wood Sign:
- Tooli-Art Acrylic Paint Pens
- Decorative wall panels with Wooden Beads (Dollartree)
- xTool S1 (or similar)
- 3mm Basswood
- Wood Glue
- Laser Cut File (more on this on step 2⬇️)
- Book for weighing down while gluing
-min.jpg "Supplies Needed for Layered Laser Cut Wood Sign: affiliate links Tooli-Art Acrylic Paint Pens Decorative wall panels with Wooden Beads (Dollartree) xTool S1 (or similar) 3mm Basswood Wood Glue Laser Cut File (more on this on step 2⬇️) Book for weighing down while gluing")
Step 1: Tooli-Art Acrylic Paint Pen Instruction
Tooli-Art Acrylic Paint Pens are awesome, I hope you caught that earlier.
When using them for the first time there is a little process to follow that is outlined on the small box.
- Shake the pen until the ball moves freely around inside the chamber.
- Then take the lid off the pen.
- Press the top of the nib down to release extra air inside the chamber. (burping the pen)
- Then press down on paper until the paint begins flowing.
-min.jpg "Step 1: Tooli-Art Acrylic Paint Pen Instruction")
Step 2: Laser Cut Wood Layers
Here's the file I'm using from Design Bundles: Framed House Plant.
Design Bundles offers free laser cut files, free vectors, and other file formats regularly and has tons of awesome designs that integrate effortlessly right into xTool Creative Space.
Get a free download then place the wood in the xTool S1 and cut all the beautiful layers.
I sized mine to fit on this dollar store wood hanging bead panel, but you can make these a different size, but not too small or it will catch fire or break too easily.
➡️➡️➡️Here's a full post on cutting with the xTool S1.
After the layers are cut, use great care because they are super fragile!
Here's some other Design Bundles I love:
- Cut Wooden Layered Bear
- Laser Cut Wooden Dogs
- Cute Wooden Box
- Puzzle Animals (FREE set of 10 animal puzzle varieties)
- Wooden Docking Station
- Wooden Easel Stand
- Wooden Doll Cradle
- Wooden Clutch Bag (lots of wooden handbag files)
- British Phone Booth
- Decorative Jewelry Box
- Wooden Desk Organizer
- Decorative Basket
- Wooden Bench
- Cosmetic Boxes
- Wooden Dragon Craft
- Wooden Glasses
- Wooden Educational Toys
-min.jpg "Step 2: Laser Cut Wood Layers")
Step 3: Paint the Wood Cut Outs
Then you can compare the one that will stack on top of the one you are working on and you only need to paint the area that will show through.
-min.jpg "Step 3: Paint the Wood Cut Outs")
I used the Medium brush tip Tooli-Art paint pens for covering large areas of the basswood.
The paint is smooth and easy to paint right on the layers.
-min.jpg "I used the Medium brush tip Tooli-Art paint pens for covering large areas of the basswood. The paint is smooth and easy to paint right on the layers.")
Picking the acrylic paint pen colors was fun too--there are so many beautiful shades of acrylic paint pens in the Tooli-Art collections!
Deciding which of the layers everything should be colored is not my strong suit, but I like how it all worked out.
Of course I picked shades of aqua, teal, blue and pink!
-min.jpg "Picking the acrylic paint pen colors was fun too--there are so many beautiful shades of acrylic paint pens in the Tooli-Art collections! Deciding which of the layers everything should be colored is not my strong suit, but I like how it all worked out. Of course I picked shades of aqua, teal, blue and pink!")
The coloring process actually goes very fast because you don't have to color every single part of every laser cut out.
Just a little color on each layer is all they need.
-min.jpg "The coloring process actually goes very fast because you don't have to color every single part of every laser cut out. Just a little color on each layer is all they need.")
Step 4: Top Layer of Laser Cut Wood
Take extra special care coloring the top layer of the unfinished wood shapes.
It's so fragile with those little delicate lines...and it's so easy for it to break. If it does, it's not the end of the world, since the gluing stage is the next step.
I outlined the pot in white and the leaves in dark teal.
-min.jpg "Step 4: Top Layer of Laser Cut Wood")
Step 5: Adhesive Layering
Now it's time to put this little layer puzzle together permanently with wood glue.
I am using Tombow MONO Liquid Glue, but it dries a little shiny, so I would recommend wood glue.
Start with the base layer and add glue all over the base, but not too goopy, and press it down on the hanging bead panel.
-min.jpg "Step 5: Adhesive Layering")
Then repeat the gluing on the next basswood layer.
You can smear the glue around with a finger or craft stick so that it's a thin layer and doesn't gloop out the edges when pressed down on the wood.
-min.jpg "Then repeat the gluing on the next basswood layer. You can smear the glue around with a finger or craft stick so that it's a thin layer and doesn't gloop out the edges when pressed down on the wood.")
I noticed when I was starting to glue these layers, they didn't stick down immediately.
This gives a little wiggle room for lining it up at the last layer.
-min.jpg "I noticed when I was starting to glue these layers, they didn't stick down immediately. This gives a little wiggle room for lining it up at the last layer.")
Repeat the gluing process for all the wood cut out layers.
-min.jpg "Repeat the gluing process for all the wood cut out layers.")
As you glue these delicate layers together, your mind will fill with so many more ideas of things to make with your laser cutter and color with your Tooli-Art Acrylic Paint Pens.
-min.jpg "As you glue these delicate layers together, your mind will fill with so many more ideas of things to make with your laser cutter and color with your Tooli-Art Acrylic Paint Pens.")
Okay, now the top layer of laser cut wood.
This is the most delicate part of the gluing process.
My top layer broke in one little place, but the glue made it match up perfectly, so it was no problem.
Then place a piece of wax paper or parchment over the top of it and gently set a heavy book on top to press the layers together and glue them firmly together.
I let mine sit overnight and then it was revealed.
-min.jpg "Okay, now the top layer of laser cut wood. This is the most delicate part of the gluing process. My top layer broke in one little place, but the glue made it match up perfectly, so it was no problem. Then place a piece of wax paper or parchment over the top of it and gently set a heavy book on top to press the layers together and glue them firmly together. I let mine sit overnight and then it was revealed.")
So absolutely gorgeous--I love the multiple layers!
It's 6 layers thick, so more than an inch off the board--it could be a little less layers, but you decide when you open up the file and start cutting.
It's got fun depth and colors that just brings plant lady life into my home decor!
-min.jpg "So absolutely gorgeous--I love the multiple layers! It's 6 layers thick, so more than an inch off the board--it could be a little less layers, but you decide when you open up the file and start cutting. It's got fun depth and colors that just brings plant lady life into my home decor!")
Look at the fun layers of wood squished together! You can tell I used a lighter board for one of the layers, because it looks like a white line around the edge. I love it!
Some people sell layered kits with little packs of paint--I love this idea, but I would pick designs that aren't quite as delicate, especially if they are for children.
You could paint the edges if you desire...but I love wood items with the natural look.
-min.jpg "Look at the fun layers of wood squished together! You can tell I used a lighter board for one of the layers, because it looks like a white line around the edge. I love it! Some people sell layered kits with little packs of paint--I love this idea, but I would pick designs that aren't quite as delicate, especially if they are for children. You could paint the edges if you desire...but I love wood items with the natural look.")
You could take the time to paint more details on the leaf layers or more details on the planter, add veins and different colors...maybe even a glossy finish.
You could paint patterns or colors on the wooden hanging panel...or leave it plain like mine!
-min.jpg "You could take the time to paint more details on the leaf layers or more details on the planter, add veins and different colors...maybe even a glossy finish. You could paint patterns or colors on the wooden hanging panel...or leave it plain like mine!")
These wood panels from the dollar store are cheap enough, you could make these layered wood art signs in bulk to sell at amazing places, like a craft market or fair.
This is the perfect piece of wall art for a crazy plant lady--or someone like me that is a chronic plant killer and just needs a little immortal nature on the wall.
-min.jpg "These wood panels from the dollar store are cheap enough, you could make these layered wood art signs in bulk to sell at amazing places, like a craft market or fair. This is the perfect piece of wall art for a crazy plant lady--or someone like me that is a chronic plant killer and just needs a little immortal nature on the wall.")
That's it!
Make a gorgeous layered laser cut wood sign painted with Tooli-Art acrylic paint pens!
Will you make a cute planter sign--maybe add some text to it?
Or will you find another awesome layered laser cut file or free print templates and make something totally different?
Trust me though, using Tooli-Art paint pens is the way to go--they are great for painting on rocks and layered laser cut projects.
Like, Pin and Save!

Want more laser cut wood crafts?
Happiness Calligraphy Sign
Hand written laser cut outs are my favorite thing!
Nothing is quite as awesome as seeing your own artwork, hand lettering, family name or your artistic touch come to life.
Using an iPad is an easy way of saving off artwork in a useable file, like svg files, and sliding it directly into xTool Creative Space (XCS).
-min.jpg)
Make a layered Snow Globe Scene
Layered laser cut wood is the trending laser cut craft of choice.
Adding multiple layers of delicately lasered basswood makes all those precise designs stand out.
You can take the time to paint the layers or put kits together for a great product for consumers to paint and assemble!
-min.jpg "How to Make a Layered Snowglobe Scene Learn how to make a layered snowglobe scene using a laser cutting machine and wood sheets. I am having so much fun using my new xTool laser cutter. It's easy to set up and can cut all sorts of materials. Today I'm sharing these cute little layered snowglobe scenes and how simple they are to create.")
Laser Cut Comic Cake Topper!
A custom cake topper made from wood that fits the theme of the party is a great addition for special occasions.
This simple cake topper with its colorful designs was the crowing piece for this cartoon cake.
Give your wedding cake a special and unique look by making the topper yourself using xTool and basswood!
With the xTool's ultra-fast laser engraving speed, you'll quickly be in mass production status with these best sellers!
-min.jpg)
Laser Cut Heart Earrings
Earrings, earrings and more earrings!
Earrings are the BEST laser cut craft and fashion accessories to use up all those scraps of basswood from other projects.
They are the perfect size, but they boast delicate and intricate laser cut designs--so lightweight and gorgeous to wear!
Make dangles, studs, everyday wear and holiday specials!
If you are running a laser business, earrings are a great item--one of the BEST sale items!
.jpg)
Laser Engraved Bookmarks
Laser engraved bookmarks are an awesome project to start with to learn engraving and outlining.
Laser engravers are a big component of a laser machine, it's awesome to engrave images, detailed images like photographs and more.
The 3mm basswood might be a little heavy duty for a bookmark, but they are beautiful display pieces for a bookshelf, gift tag or just laser cutting practice.
-min.jpg)
Miniature Acoustic Guitar Studio!
This miniature guitar is arguably one of my favorite laser cut crafts made with my laser cutter--look at its compact size--it's so cute.
The 3 layers of basswood make it look to scale sitting on a stand by these little clay plants in pots--like a little tiny living space!
I absolutely love it!
The guitar and stand laser cutter projects starts as the engraving machine does all the engraving, then it switches to the cutting beam for the perfect print.
-min.jpg)
Personalized Wood Tags
These wood tags are easy to make and are a great project for beginners.
These laser cut and engraved wood tags can be used for Stocking tags, luggage tags, Easter Basket name tags, keychains and much more!
Custom projects and special orders are a big ticket item--just make sure your customers know that custom/personalization are non-returnable items!
-min.jpg)
Guitar Pick Holder
This miniature guitar is a little larger than the one above, but it's a little box.
This cute guitar has 3 layers, revealing a place to store 3 guitar picks inside!
This guitar pick holder is a great gift idea for Father's day, birthdays or holiday gifts.
-min.jpg)
Hello Spring Sign
Welcome Spring with the perfect sign!
This darling sign is mostly sourced from amazing products bought at the dollar store with a little laser cut hello on the front.
This could be adapted to any word, or even a phrase like "hello Spring" or "welcome baby".
-min.jpg)
Laser Cut Ornate Frame
This laser cut ornate frame is 6 layers of gorgeous intricate cuts!
This frame was actually cut without air assist--back before I had it.
I love how it turned out--I got this file in a super cheap bundle, and I'm so happy about it. It came with about 10 other designs and I need to make them all.
It even has a display stand that notches in to the back of the layered frame!
I am such a lover of natural wood finish, so no paint is necessary for me.
What do you think? Would you paint it? It would look stunning in gold!
-min.jpg "How to Make a Laser Cut Ornate Frame! I just want to make beautiful things, even if nobody cares! Learn how easy it is to make a beautiful ornate frame with the xTool M1 Laser Cutting Machine. I have been loving my xTool M1 laser cutting machine that was gifted to me. It's opened up a whole new world of crafting to me. I love it! Read more about it here: xTool M1 10W Deluxe RA2 Pro")
Disco Ball Plant Pick
This is the perfect little laser cut "I will survive" disco ball plant stake! (my husband thought it was the death star...lol)
I need to make more plant adornments for all my other plants now too!
It's easy to engrave and cut with the xTool.
The software is smart, it does all the outlining, then engraving and finishes off with the cutting, so the print turns out perfectly every time!
This specific item ends up soaking up the moisture in the planter and does not last forever.
-min.jpg "This is the perfect little I will survive disco ball plant stake! I need to make more plant adornments for all my other plants now too! Do you have plants? This is the first time I've tried houseplants. I've had bamboo and succulents, which I manage to kill somehow or another. But to actually have a plant feels a little like having a toddler...I check on it all the time, move it around the house and pray for it. Please let me know all your best houseplant tips!")
Wood Burned Engraved Florals:
First, let's talk about the FolkArt Watercolor Gelz.
They are awesome acrylic paints in more of a gel consistency than other acrylic craft paint--works almost like a wood stain--I love being able to see the wood grains under the colors.
You don't have to water them down, but I like to add water and paint just like watercolors.
They come in a huge array of beautiful and vivid colors--I'm using 14 different colors in the one engraved wood plaque.
They are perfect to use in connection with the xTool M1 Laser Cutting Machine.
This image was a single file I bought on etsy and then repeated over and over to make a stunning bouquet of flowers to be engraved in the plywood.
-min.jpg)
Sunset Mountain Mandala
This mountain sunset mandala art is the perfect Summer craft!
It's got all the late night/camping/sunset in the mountains vibes--it's layered on a piece of pallet signage and then the delicately laser cut mandala is glued on top. I love the vibrant colors peeking through!
I'm a beach girl in my mind, but my budget and location make me a mountain girl.
Learn How to Make a Mountain Sunset Mandala Wood Pallet!
-min.jpg "How to Make a Mountain Sunset Mandala This mountain sunset mandala art is the perfect Summer craft! It's got all the late night/camping/sunset in the mountains vibes. I'm a beach girl in my mind, but my budget and location make me a mountain girl. Let's make this gorgeous wall art piece in just a few minutes! Learn How to Make a Mountain Sunset Mandala Wood Pallet!")
Hand Lettered Cake Topper
Another fabulous laser cut cake topper made with xTool--customization is going to be your number one best seller!
This cake topper is to celebrate Diwali, but it could be made to celebrate anything!
A little paint and a little glitter make this cake topper the perfect bling for the cake!
-min.jpg)
3D Butterfly Place Settings
Make 3D butterfly place settings with basswood and xTool.
This cut easily and beautifully--the file is a freebie on Designbundles.net and is made for 3mm wood or acrylic, so it just fits together perfectly after its cut.
Test them out of cardboard first and you will instantly fall in love and want to cut them out of every material--I've done cardboard, basswood and acrylic!
-min.jpg)
Snowflake Name Ornaments
Make custom name ornaments with an iPad, ProCreate app and xTool Laser Cutting Machine.
I love how these turned out, but they are very fragile...they cut out perfectly from cardboard and are way less delicate.
I love the custom names giving it uniqueness and personalization--names are best sellers!
-min.jpg)
That's it--all the best laser cut craft projects for wood!
Making laser cut wood crafts is my favorite part of using the xTool M1 and S1.
I have so many more ideas and so little time--I'll update this post regularly as I do more wood laser cut projects!
Hopefully this answers some of your questions and gets you excited about laser cutting!
If you have any other specific questions, leave them in the comments and I'll follow up!
Like, Pin and Save!

Check out this post for More xTool Projects!

EVERYTHING YOU NEED TO KNOW ABOUT STARTING A LASER CUTTING BUSINESS HERE:
-min.jpg)
-min.jpg)
.jpg)


-min.jpg)


Comments