

Glitter Resin Tumbler with Cricut Vinyl DIY
Are you on the tumbler craze yet? This was my first one and I love the intense glitter! Make a glitter tumbler for the perfect handmade gift...great for school teachers, friends or family.
Customize them with favorite colors or names and intensity of glitter. It's a great reminder to drink plenty of water each day...or perfect for a warm drink on a cold morning.

It shines in the sunlight like a beacon! Note, this is not dishwasher safe...but I wouldn't wash a stainless steel tumbler in the dishwasher anyway. Just hand wash to be safe. Let's get started!

Supplies Needed for Glitter Resin Tumbler:
Chrome Vinyl cut with Cricut Maker
Painters Tape
Rubbing Alcohol
Sand Paper

Step 1: Rubbing Alcohol!
Begin by wiping the tumbler down with rubbing alcohol.

Step 2: Tape!
Then tape off the top edge and the bottom edge of the tumbler with blue painters tape.

Step 3: Glitterific!
Begin painting the glitterific paint all over the visible tumbler. Coat the entire tumbler and let it dry. Then mix some chunky glitter with the modpodge and paint it all over the tumbler. Then let it dry completely.

Step 4: Cricut Vinyl!
Use the Cricut Maker to cut out a phrase or name in metallic vinyl or adhesive foil.

Once the tumbler is completely dry, sand the glitter so the surface is smooth enough to stick vinyl to. Apply the cut vinyl to the tumbler, right on top of the glitter.

Step 5: Cup Turning!
Now we need a cup turner station for doing the resin.
Cup Turners are cheap enough and popular enough that you should probably just buy one! But here's a makeshift version in case you want to do it the DIY way.
I used a long dowel shoved through holes in a cardboard box. Then a piece of a pool noodle shoved on the end the of the dowel.

Step 6: Resin!
Now mix up the high gloss resin according to the package directions.

Mix thoroughly in the 2 phase process.

Now use a stirring stick to spread the resin over the tumbler...on the turning station. Turn slowly and constantly for the first 30 minutes.
This is where the electric station would be fantastic! If you have a powered station, just let it spin for 4 hours and then rotate the spin for another 4 hours. Then reverse the spin and let it run all night long, for 24 hours straight.

Use a straw to pop any bubbles that formed after the 30 minutes of turning.

Then turn the cup a 1/4 turn every minute for the next 30 minutes. Then turn every 1/4 turn each 2-3 minutes...and continue to turn periodically for the next 4-5 hours.
Again, getting an electric turner would eliminate all this extra time commitment.

Gently check the resin after the 5 hours and see how much it has set up. If it still feels sloppy, then keep the turning going...otherwise leave it to dry overnight.

Then let it sit overnight. Next day, peel off the painters tape.

The tape will leave a clean line, perfect for drinking out of or keeping the resin away from your lips. The Resin is FOOD SAFE, so it's not really an issue, just a comfort thing.

That's it!
It looks fabulous, although hard to photograph with all the shiny resin gloss!

Like, Pin and Share!


And this awesome paint poured tray coated in high gloss resin!
Here's some more helpful Cricut Posts:
Check out this link for tons more things you can make with your Cricut!
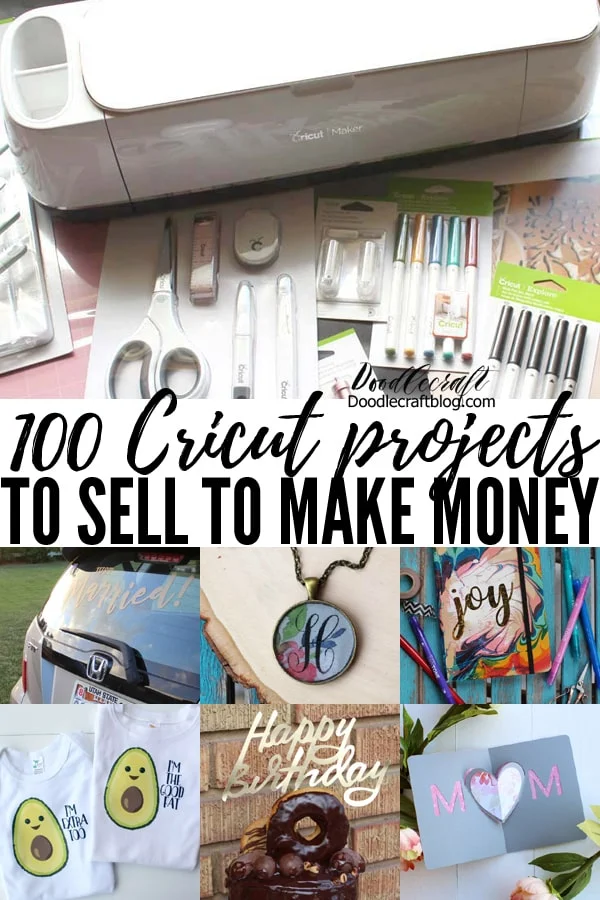
Check out this post on 5 ways to make money with the Cricut Explore Air 2, which has key tips that can be applied to any of the Cricut electronic cutting machines.


This post published on Doodlecraft first

-min.jpg)


Comments